In HoloCure, the Stamps are a great system that can help you progress quickly. It solely focuses on enhancing your character’s starting weapon, by providing various kinds of upgrades. This system allows you to use 3 upgrades at a time, which can make your weapon pretty overpowered. But that only depends on what kind of stamps you choose. At the time of writing, there are 20 types of stamps available for you. If you’re not sure, how you can unlock them in the game, then we’ll tell you all about it.
How to Unlock Stamps in HoloCure

To use Stamps in HoloCure, you’ll first have to unlock the Stamp System. To do so, head to Shop and under the Buy Upgrades menu purchase the Stamps system for 500 HoloCoins. Once done, the Stamp upgrades will be dropped by the enemies during the runs. However, the drop rate from usual enemies is 1/780, but Silver YAGOOs has a guaranteed drop of stamp once defeated. Silver YAGOOs are harmless and have a 20% random spawn rate. Despite being harmless, they are still quite difficult to defeat, because of their 9999999999 HP.
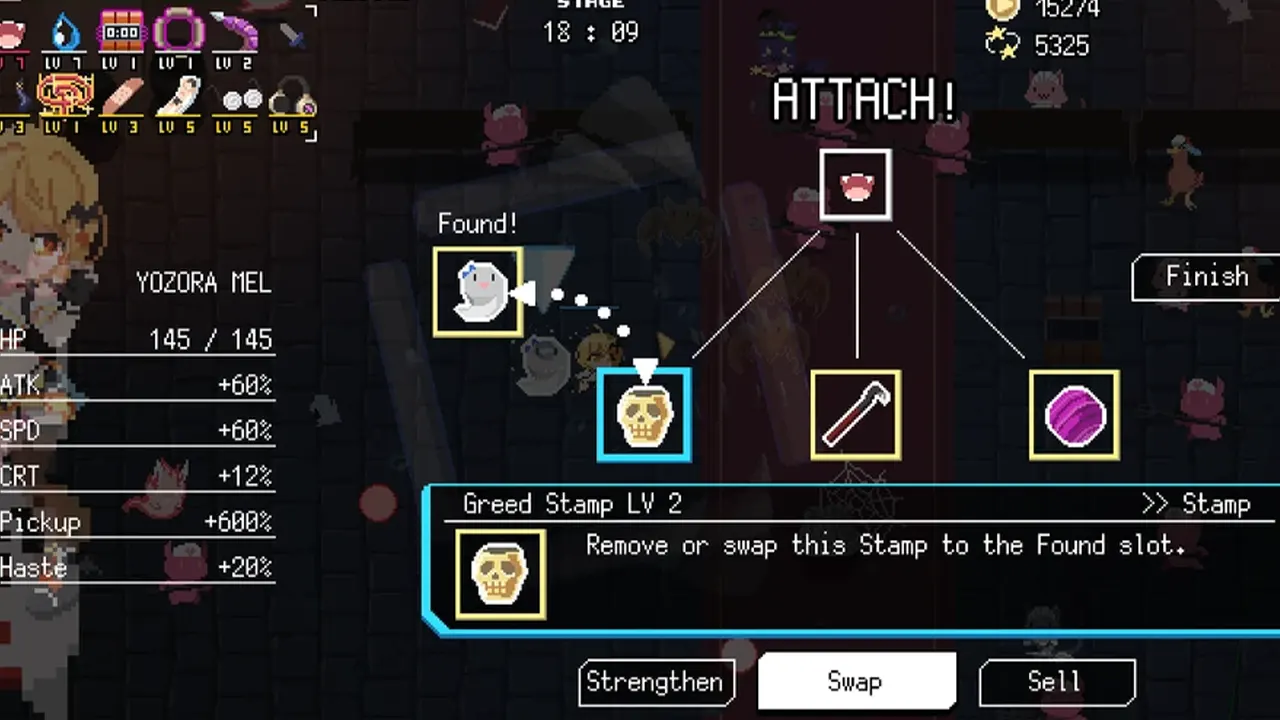
If you successfully get Stamps in HoloCure, don’t forget you can only equip it to your characters’ starting weapon. As mentioned earlier, you can only equip 3 Stamps at once. But don’t worry, you can always swap the current one with a better one or Strengthen it to increase the level of the stamp. However, Strengthening them is always the best option to go with, as it’ll keep making your weapon stronger. On the other hand, players can also sell them to farm a good amount of HoloCoins. For your reference, below we have mentioned all the Stamps and their Rankings from best to worst.
HoloCure Stamps Tier List: Best Stamp to Use
Here we have ranked all the Stamps from best to worst on the basis of their effects. Before we begin, do note that the rankings are purely subjective and may differ from your opinion.
S Tier
Below are all the Overpowered stamps that you must pick in the game.
- Attack Up
- Level 1: Buffs Damage by 15%
- Level 2: Buffs Damage by 20%
- Level 3: Buffs Damage by 25%
- Haste Up
- Level 1: Buffs Haste by 15%
- Level 2: Buffs Haste by 20%
- Level 3: Buffs Haste by 25%
- Crit Up
- Level 1: Buffs Weapon Crit Damage by 10%
- Level 2: Buffs Weapon Crit Damage by 15%
- Level 3: Buffs Weapon Crit Damage by 20%
- Size Up
- Level 1: Buffs Weapon Size by 15%
- Level 2: Buffs Weapon Size by 20%
- Level 3: Buffs Weapon Size by 25%
- Cold Stamp
- Level 1: Freezes enemies for 4 seconds & gives 50% cold damage.
- Level 2: Freezes enemies for 4 seconds & gives 60% cold damage.
- Level 3: Freezes enemies for 4 seconds & gives 70% cold damage.
A Tier
Here are all the Stamps that are also good to use during the run.
- Bomb
- Level 1: 10% chance of attack explosion.
- Level 2: 20% chance of attack explosion.
- Level 3: 30% chance of attack explosion.
- Knockback
- Level 1: Chance to knockback enemies, 30% knockback strength increased.
- Level 2: Chance to knockback enemies, 50% knockback strength increased.
- Level 3: Chance to knockback enemies, 100% knockback strength increased.
- Weaken
- Level 1: Chance to reduce enemies 20% ATK and 5% DEF, upon your attack.
- Level 2: Chance to reduce enemies 25% ATK and 7% DEF, upon your attack.
- Level 3: Chance to reduce enemies 30% ATK and 10% DEF, upon your attack.
B Tier
In this tier list, all the Stamps are Average to pick & use in HoloCure
- Projectile Up
- Level 1: Adds 1 extra shot to multi-shot ranged weapons.
- Level 2: Adds 2 extra shots to multi-shot ranged weapons.
- Greed
- Level 1: 10% chance to drop HoloCoins.
- Level 2: 15% chance to drop HoloCoins.
- Level 3: 20% chance to drop HoloCoins.
- Life Steal
- Level 1: Heal 5% of Max HP every second randomly.
- Level 2: Heal 10% of Max HP every second randomly.
- Level 3: Heal 15% of Max HP every second randomly.
- Marking Stamp
- Level 1: Marks an enemy and gives 20% of the damage inflicted to other enemies.
- Level 2: Marks an enemy and gives 25% of the damage inflicted to other enemies.
- Level 3: Marks an enemy and gives 30% of the damage inflicted to other enemies.
- Solo
- Level 1: Buffs 20% damage with each empty weapon slot
- Level 2: Buffs 30% damage with each empty weapon slot
- Level 3: Buffs 40% damage with each empty weapon slot
- Slow
- Level 1: 10% chance to stun enemies for 5 seconds and give 30% damage
- Level 2: 20% chance to stun enemies for 5 seconds and give 40% damage
- Level 3: 25% chance to stun enemies for 5 seconds and give 50% damage
C Tier
Below are the Stamps that are Okay to be used in the game.
- Stun
- Level 1: 10% chance to stun enemies.
- Level 2: 20% chance to stun enemies.
- Level 3: 30% chance to stun enemies.
- Lightness Stamp
- Level 1: Gives 20% Speed to the idol but decreases damage by 20%
- Level 2: Gives 30% Speed to the idol but decreases damage by 20%
- Level 3: Gives 40% Speed to the idol but decreases damage by 20%
D Tier
Here are all the Stamps that should be avoided to be used.
- Unit Stamp
- Level 1: Buffs damage of other weapons by 4% but decreases main weapon damage by 30%
- Level 2: Buffs damage of other weapons by 6% but decreases main weapon damage by 40%
- Level 3: Buffs damage of other weapons by 8% but decreases main weapon damage by 50%
- Reverse
- Level 1: Weapon fires in reverse
- Level 2: Weapon fires in reverse and gives reverse effect
- Level 3: Weapon fires in reverse and gives reverse effect
- RGB
- Level 1: Makes the attack look pretty
- Level 2: Nothing happens
- Level 3: Makes the attack look pretty as earlier
- Trumpet
- Level 1: Gives trumpet sound effect
- Level 2: Gives trumpet sound effect but louder than before
- Level 3: Gives trumpet sound effect even more louder than before
That covers everything about how you can unlock & use the Stamps and its Tier List in HoloCure. If you are dicey about which Idols you should pick, then here’s a Characters Tier List for you. Also, take a look at the steps to combine items & weapons in the game.