Evil Dead The Game brings back characters and demons from the classic franchise by Sam Raimi. You can play the characters from the franchise as they slay infested enemies. While the first two missions are a zombie-slashing frenzy, it’s nothing compared to the third mission. It is titled “Kill ’em all” and as the name suggests, you need to kill all the Deadites in the different infestation areas. But with the tickling time limit, it can be a bit of a challenge. So, here’s our guide on how to complete mission 3 in Evil Dead The Game.
How to Complete Mission 3 in Evil Dead The Game
It all squares down to the tickling timer of 12 minutes and two bosses ready to infest Ash. While progressing through this mission, you need to make sure to have enough health and ammo to ward off the Deadites. So, here’s how you complete chapter 3.
First Deadite Infestation Area
- As you start at Faison’s Farm, make sure to collect all the items and ammo before getting into the car.
- You need to make sure to collect these items as soon as possible.
- You can find three Amulets, three Shemp’s Cola, and tons of Long Gun ammunition over there.
- Pick these items within two minutes or we suggest starting over with the mission to reset the timer.
- Once you are done collecting items, find a car and travel to the Deadite infestation area near Railway Loop.
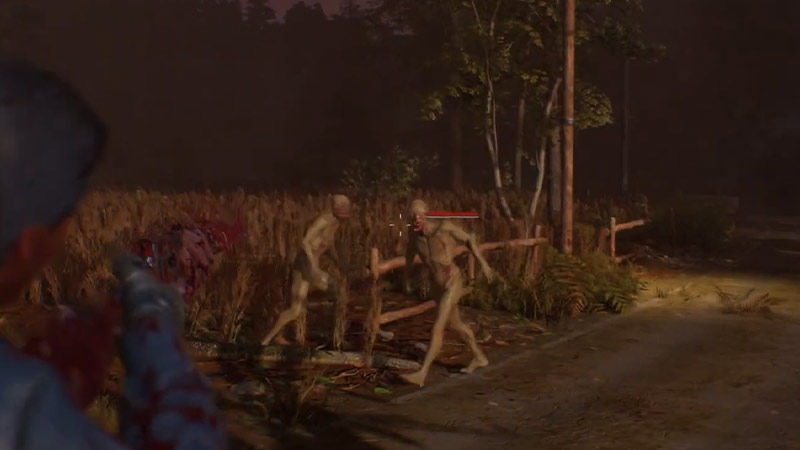
- Stay close to the car as you smash the heads of the Deadites.
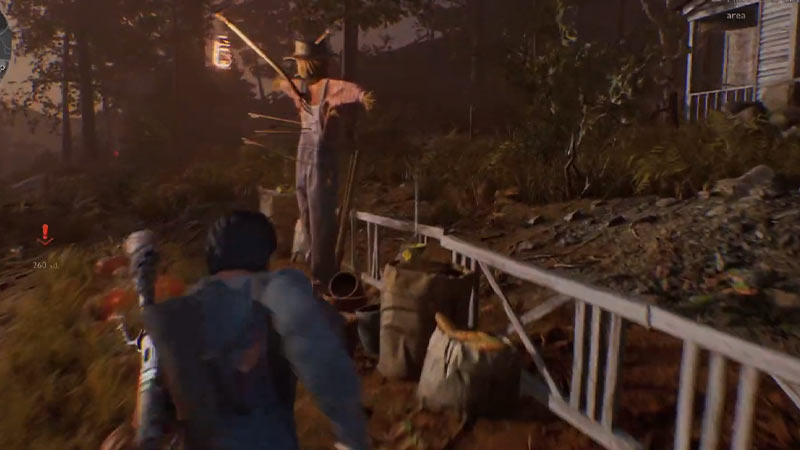
- If you have enough time and don’t find them at the location, collect the ammunition near the Scarecrow over there. You might get a moment before fighting these Deadites.

- As these infested walking dead can explode, make sure to maintain a safe distance and use ranged weapons to shoot their heads.
- After you have killed 12 of them, drive to the next infestation area. But don’t forget to collect the ammo near the scarecrow and in the proximity.
Second Deadite Infestation Area
- As you reach the next infestation area in the Dead End near Royal Oak Cemetry, you will find an open shed.
- Park the car somewhere close and head towards the open shed. You will find a Lumberjack Axe and lots of ammunition in that shed.
- While you have collected an Axe, don’t use it to kill the exploding Deadites.
- Instead, use the Axe to bash them whilst making sure not to get hit by them.
- There are nine Deadites out of which one is a Boss that can spawn more clones.

- This boss Deadite can zap closer to close the gap. So, use a Shemp’s Cola and smash his head with the Lumberjack Axe.
- Once you have killed all nine, head to the next and the final infestation area. Also, make sure to collect all items nearby the shed before you drive.
Final Deadite Infestation Area
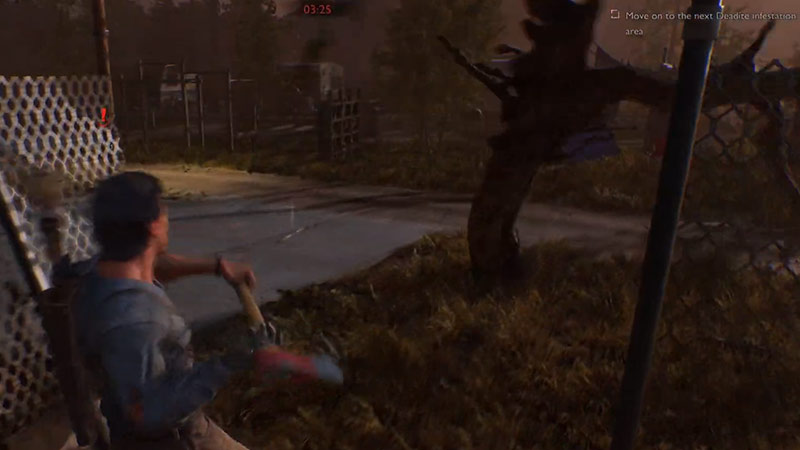
- Upon entering the Fairview Campground, a tree will strike you to damage slightly.

- You can find several valuable items like Amulet, Long Ammo ammunition, and Shemp’s Cola near the campers.
- You need to kill four of the Deadites. Out of these, one is a boss that has teleportation abilities.
- While you fight the three Deadites, the boss will reach closer and damage you.
- Thus, you need to be cautious and keep an eye on this one.
- We recommend killing the three Deadites before dealing with the boss.
- Whenever you find the boss in your range, shoot it with the ranged weapons.
- If the boss comes closer to you, we recommend switching to the Axe to damage greater.
- Once you have killed all the four infested Deadites, you will get the rewards and be able to progress to the next mission.
If you are ready for completing the next missions already, check out our guides on how to complete missions 4 and mission 5.
That’s all on how to complete mission 3 in Evil Dead The Game. If you liked this guide, check out our other guides on all the mission lists and rewards, how to switch weapons, and how to heal and revive teammates in Evil Dead The Game right here on Gamer Tweak.

