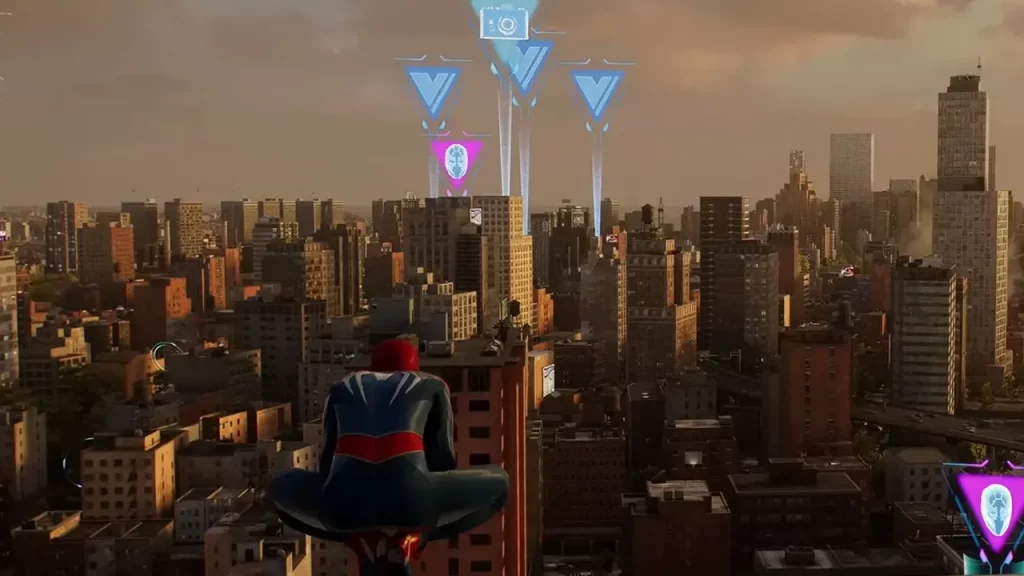
In Spider-Man 2 collectibles and other side missions are not directly mentioned on the map or the mini-map as you start the game. Similar to the previous edition, you need to explore the area, actively scanning to locate these side missions and objectives. The scanning feature will mark and highlight important places, buildings, areas, and also the next objective in the game, making it easier to find. Wondering how to scan objectives in the game? Follow along with this guide to find out how to scan the environment in Spider-Man 2.
How to Scan Environment in Spider-Man 2

You can scan the Environment in Spider-Man 2 by pressing R3 on your controller, whether you are resting on the heights of the New York City building or in the middle of combat on a mission.
How to use Scanning in Spider-Man 2 effectively
By scanning the environment, players will be able to mark and locate collectables, tokens, and other missions in the area. Moreover, if you are already in a highlighted area, you can again use the scan features even further to accurately spot the object or place.
Another great advantage of scanning is that, if you are in a given district, the marker will be visible until you clear the mission/objective. However, once you Fast Travel to another district the makers will be reset, and you need to scan again to highlight them back.
That’s everything covered for how to scan environment in Spider-Man 2. If you find this guide informative and helpful, check out more helpful guides for this game from our dedicated section about Spider-Man 2 right here on Gamer Tweak. Also, here are direct links to some related guides that might be helpful for you in this Spider-Man 2 journey;
- How To Unlock Fast Travel In Spider-Man 2
- How To Increase Focus Fast In Spider-Man 2
- How To Switch Characters In Spider-Man 2
- How To Heal In Spiderman 2 PS5

