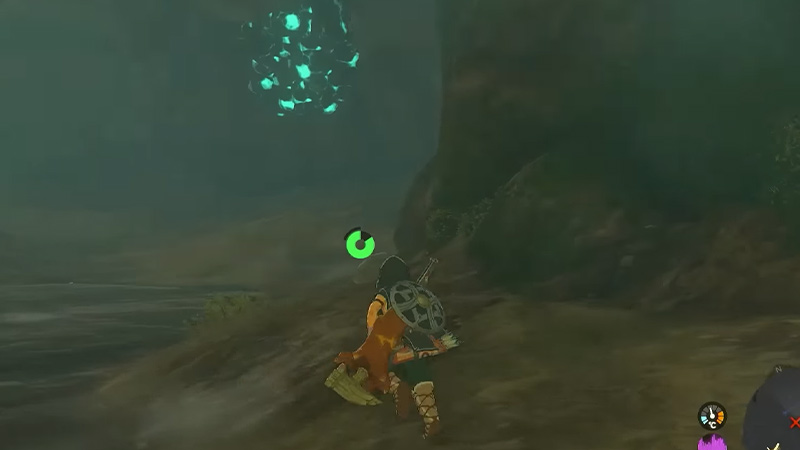
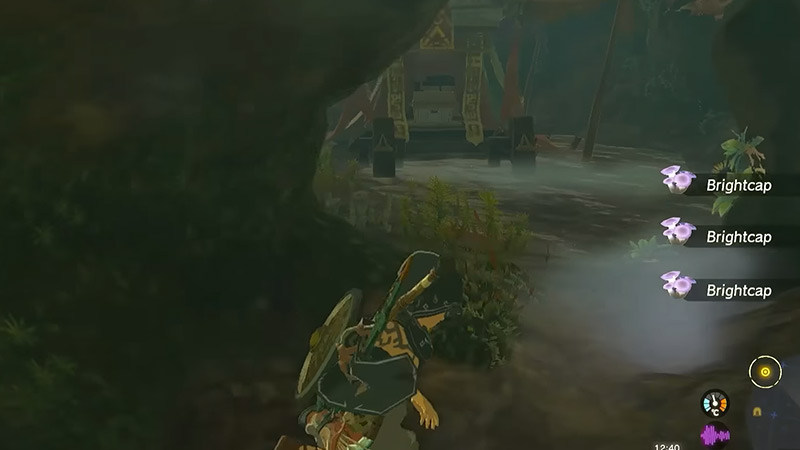
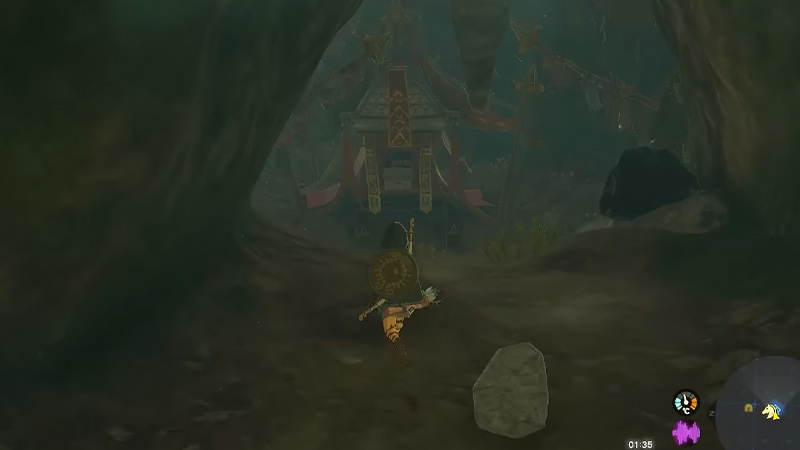
Misko’s Treasure in Zelda TOTK is one of the optional sidequests that involve finding treasure sets scattered around different locations by a legendary Bandit Misko. Once you find these hidden treasures, you can offer Link a new drip to roam across Hyrule. Alongside the fashion part, the armor pieces inside the treasure also offer buffs like shock resistance, increased attack power, & climbing speed. Soon as you embark on this side quest, certain NPCs will cue you in for the treasure. Getting Misko’s Treasure can be a bit tricky as you must find three locations across Hyrule. Don’t worry, check out our location guide to find every Misko’s Treasure in Zelda Tears of the Kingdom.
All Misko’s Treasure Locations in Zelda: TOTK
Once you meet Meeshy and unlock the Misko’s Treasure side-quest in Zelda Tears of the Kingdom, she will mark three locations on your map. You can head to these locations to get three armor pieces offering you distinctive buffs. These three treasures can reward Link with Powerful, Climbing, and Shock–resistant armor pieces or outfits.
Here are the exact map coordinates and locations of every Misko’s Treasure in Zelda TOTK:
Barbarian Armor (Powerful Outfit)
- Location: Crenel Hills Cave
- Map Cooordiates: (0630, 0817, 0027)
Climbing Gear (Stylish Outfit)
- Location: North Hyrule Plain Cave
- Map Cooordiates: (-1210, 0774, 0068)
Rubber Armor (Shock Resistant Snappy Outfit)
- Location: Whistling Hill Cave
- Map Cooordiates: (-0071, -1117, -0004)
As you head to these locations, you can face a wide array of enemies and bosses. Before heading to these locations, we recommend upgrading your armor by unlocking the Great Fairies.
So, here’s how you can get every Misko’s Treasure in Zelda Tears of the Kingdom:
How to Get Misko’s Crenel Hills Cave Treasure in TOTK

You can find the Barbarian Armor or the Powerful outfit located to the southwest of the Crenel Hills region. Before you head inside the Caves, make sure to farm Bomb Flowers. If you are unable to navigate to the Crenel Hills Cave, here are its exact map coordinates:
-
- (0481, 0723, 0040)
- As you head inside the Crenel Hill Caves, take a left and glide down using a Paraglider.
- You can see several Luminous Stone Ores surrounding the Cavern.
- You need to destroy the big Luminous Stone Ore at the center by throwing a Bomb Flower.
- Be cautious as a Stone Talus will emerge from the waters.
- You can either fight this monster or walk straight to the mentioned map coordinates.
- For the latter part, head straight and climb the huge rubble.
- You will find a treasure chest with the Barbarian Armor waiting for you.
While this will get you only an Armor piece, our Barbarian Armor Set guide can help you get pieces like Helm and Leg Wraps.
How to Get Misko’s Climbing Gear Treasure

You can find the Climbing Gear outfit at the North Hyrule Plain Cave. This cave is located to the northeast of the New Serene Stable. Here are the exact map coordinates to reach the North Plain Cave:
-
- (-1189, 0646, 0072)
- Once you reach inside the Caves, you will come across a huge rubble surrounded by water.
- From there, you must use the Ascend ability to get to the upper level of the Caves.
- While heading toward the above coordinates, you will face many Likes Likes. You can either beat or avoid fighting them.
- Head down towards the waterfall to find a Brightcap (-1192, 0775, 0067)
- Finally, head straight to find Misko’s Climbing Gear inside the treasure chest.
To get your hands on other gear pieces, check out our guide on how to get the Climbing Armor Set in TOTK.
How to Get Misko’s Shock Resistant Rubber Treasure

Lastly, to get Misko’s Shock resistant rubber armor, head to the Whistling Hill Cave. This cave is located to the south of the Lookout Landing next to Teniten Shrine. Before you head inside the Caves for Misko’s Treasure, make sure to farm enough Bomb Flowers and get a sharp Blade. Here are the exact coordinates for the Whistling Hill Cave:
- (-0065, -1053, 0019)
- Unlike the previous Caves, you will face electric Likes Likes in Whistling Hill Caves.
- You can check out our guide on how to get the Rubber Armor for a full walkthrough.
That’s all about the Zelda Tears of the Kingdom Misko’s Treasure locations. If you liked this guide, check out more guides to find all Bargainer Statue locations, Divine Beast Helm locations, and more Legend of Zelda: TOTK Guides right here on Gamer Tweak.

