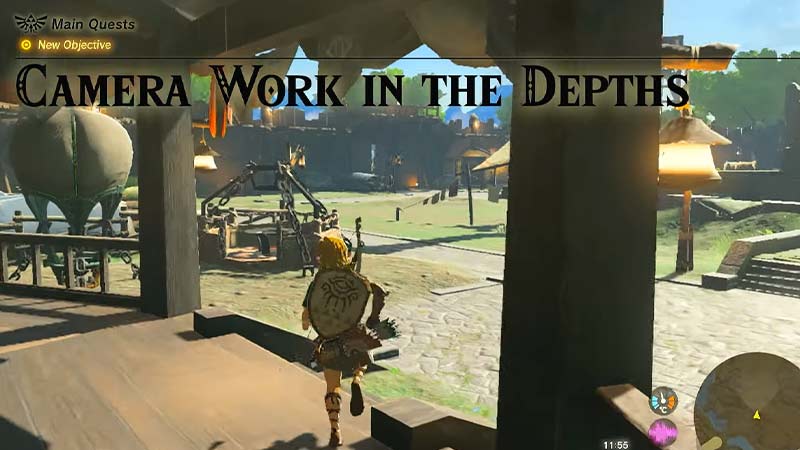
Similar to BOTW, Hyrule Compendium, and Camera are not unlocked from the start in Zelda: Tears of the Kingdom. Being a returning feature or device, it is possible to beat the game without unlocking them. But then, you won’t be able to use Photo Mode in TOTK to take pictures around Hyrule kingdom. You can unlock the Camera after completing a side quest named Camera Work in Depths. But how and where to start this side quest? Don’t worry, check out our guide on how to unlock the Camera and take pictures in Zelda: TOTK.
Disclaimer: The following guide contains some mild spoilers about the storyline, gameplay, & characters. So, if you mind such spoilers, now is the best time to head back and check later.
How to Start Camera Work in the Depths Quest in Zelda: TOTK
You can unlock the Camera in Zelda: TOTK by completing the “Camera work in the Depths” side-quest. For that, you must advance the storyline quests until you reach the first village, the Lookout Landing. Once you reach there, head to the Northern Gate where you will find Josha and Robbie. While talking to them, they will talk about their research in the Depths and ask for your help.
Josha will ask you to head straight out of the Lookout Landing’s southern gate to help Robbie. After helping Robbie with his research beyond the Chasm in Depths, he will enable the Camera ability on your Purah Pad.
How to Unlock Camera in Zelda: Tears of the Kingdom
Before starting the Camera work in the Depths in TOTK, ensure that you have unlocked the Paraglider ability & have enough Brightbloom seeds. Now, for this side quest, you must find Robbie who has gone deeper beyond the Depths.
So, follow these steps to unlock the Camera in Zelda TOTK:
- Firstly, head over to the Hyrule Field Chasm area and enter the large hole.
- As soon as you enter, talk to Ponnick standing near the campfire who will state Robbie is missing.
- Then, head to the Nisoij Lightroot, which Ponnick directed you to.
- Head over to another campfire in the area. Be cautious of the deadly Chasm corruption.
- From there, head west of the map and keep using the Brightbloom seeds to get past darkness.
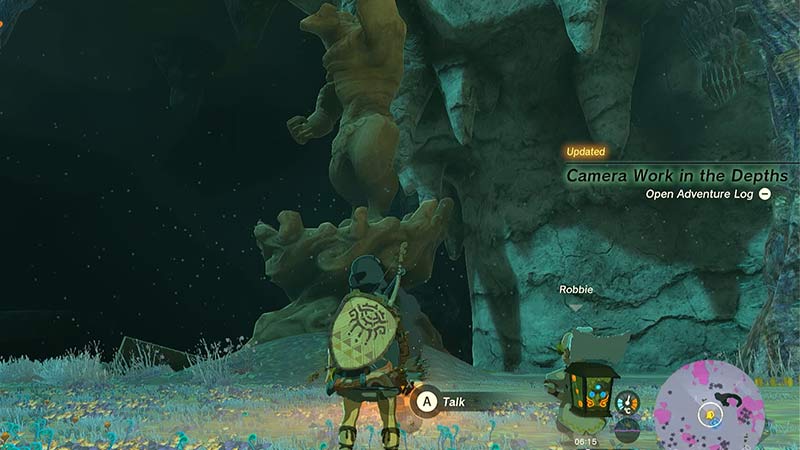
- Keep moving straight to find the Iayusus Lightroot, where Robbie is. Here are the exact coordinates to find the location easily:
- -0786, 0433, 00469
- Once you reach this location, you will spot a campfire at the edge of the Lightroot from a distance.
- Head towards the campfire to find Robbie standing near it.
- Then, interact and talk to Robbie who will teach you how to use a Camera.
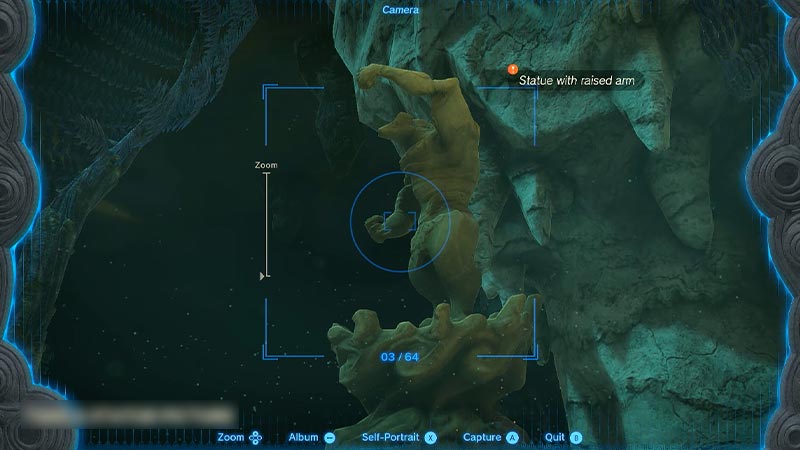
- Finally, click a picture of the statue and head to Josha to complete the Camera work in the Depths quest.
Along with unlocking the Camera ability, Josha will also reward you with x5 Zonaite. If you are confused or cannot find Robbie in the Depths, check out our guide on where to find Robbie in Tears of the Kingdom for more insight.
How to Use Photo Mode in Zelda: TOTK & Take Pictures
You can use the Photo Mode after completing the Camera work in the Depths quest in TOTK. While Goggles will give you a tutorial, here’s some extra help on using Photo Mode in Tears of the Kingdom:
- Use the R button to prompt the ability wheel and select Camera from it.
- Then, move your left joystick and press the A button to capture a photo.
- For taking self-portraits or selfies, press the X button. You can press the X button again, to enable the Landscape Shots.
- Press the ZL button to switch to different poses of the Link.
That’s all about how to unlock the Camera & use Photo mode in Tears of the Kingdom. If you liked this guide, check out our guides on how to fast travel, how to perfect dodge and flurry rush, and more Legend of Zelda: TOTK Guides in our dedicated section right here on Gamer Tweak.