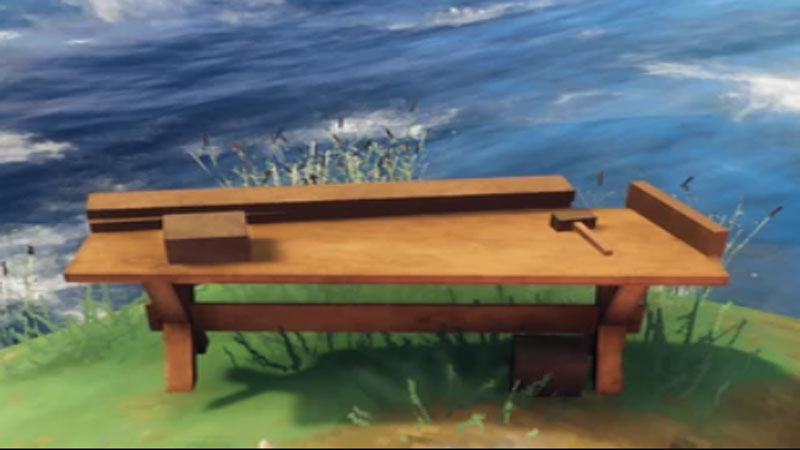
As you are dropped into the 10th Nordic realm in Valheim, you will find that you have to fend and make stuff for yourself. This is where your workbench comes in handy and you learn the necessity of having an upgraded workplace. In this guide, you can read about how to create and upgrade Workbench in Valheim to Level 2, Level 3 and Level 4 to unlock new crafting recipes.
How to Build the Workbench
The first step you need to do is build your workbench. To make one you will require a hammer which utilizes 2 stones and 3 wood. You can make it using the crafting menu. Now for the workbench you will need to gather 10 wood. After that you will get some options of what workbenches to create and you can select any one of your choice. Once you’re done with creating the workbench, you can move on to upgrade it.
How to Upgrade the Workbench in Valheim

After building your workbench, you have to place a roof over it and build walls around it. You can even opt to construct a bed here as that too requires a roof and allows you to respawn with easy access to your workspace. Once your workbench is inside the house you can unlock new recipes.
Players will require these recipes to upgrade:
- Chopping Block: Available after collecting Flint. (Upgrade level 2)
- Tanning Rack: Available after killing a Deer. (Upgrade level 3)
- Adze: Available after crafting Bronze Nails and collecting Fine Wood from Birch trees. (Upgrade level 4)
- Tool Shelf: Available after collecting Fine Wood, Scrap Iron and mine Obsidian. (Upgrade Level 5)
The next step is to upgrade your hammer. Open the crafting menu, which is accessed by clicking the right button on the mouse. You will come across a recipe called chopping block. This recipe asks for 10 wood and 10 flints, so make sure you have these items handy and if not you can stock up on them beforehand, as they are necessary for building and crafting various items.
Once you have these items you can craft the chopping block. Make sure to place it next to your Workbench. This process is called “Building Improvement”. Having placed it next to the workbench will automatically increase the level of your workbench to 2. By killing a deer, you can unlock the Tanning recipe which will increase your workbench level to 3.
Here is a recap for you:
- Build a workbench inside your home or build a home around it.
- Get the chopping block recipe after equipping your hammer.
- Find the necessary items to build a chopping block.
- Craft a chopping block and place it next to your workbench.
- Your workbench will automatically upgrade to level 2.
Here’s all you had to know about how to upgrade your workbench in Valheim. Also, read How to tame a boar in Valheim. It is a tough animal to catch but refer to the guide for details on befriending the beast. For more details do not forget to visit our Valheim Wiki Guide for cheats, boss fights, rare resource locations, etc.

