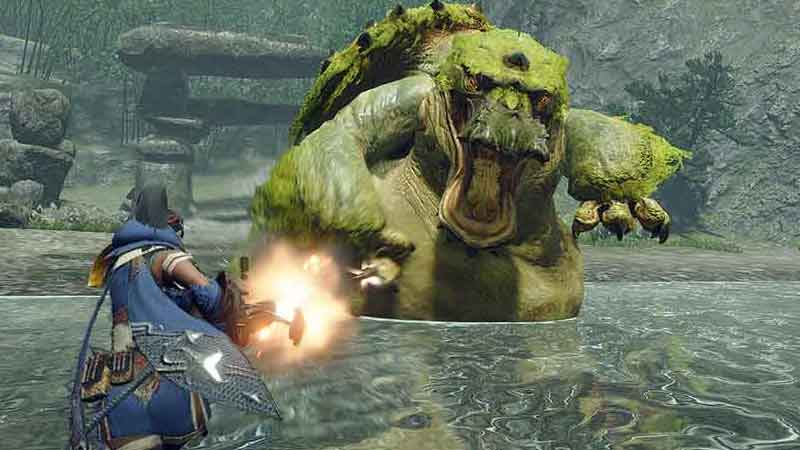
The sixth main installment in the series, Monster Hunter Rise is the game we all waited for. Perfectly running in Nintendo Switch, the gameplay is as fluid as you expect from the franchise. The game introduces some new features along with polished old ones too. New features include a new companion called Palamute. You can use your companion to traverse the world on its back or even charge into battles. The next main feature is the new Photo Mode in MHR. You can use it to take photos or screenshots including selfies with gestures. So, today let us look at how to take pictures using Photo Mode in Monster Hunter Rise.
How to Take Pictures Using Photo Mode in Monster Hunter Rise (MHR)?
To take pictures using Photo Mode in Monster Hunter Rise, you need to first access Photo Mode by an action bar or from your custom radial menu shortcuts. This will allow you to either select Character View to take pics of other creatures and objects around you or the Cohoot View for solo and group selfies.
Here are the camera controls once you are in MHR’s Photo Mode:
| Adjust Angle | R |
| Adjust Position | D-pad |
| Cohoot View | L |
| Exit | B |
| To Album | X |
| Zoom In | ZR |
| Zoom Out | ZL |
By selecting the Cohoot View instead of Character View, you will switch to selfie mode. From here you can select different poses and gestures for the selfie. This works in both solo and co-op modes.
That’s everything you need to know about how to take photos using Photo Mode in Monster Hunter Rise. While you are here make sure to read other Monster Hunter Rise Guides like:
- How to Sheath Weapon in MHR
- Monster Hunter Rise: How to Sharpen Weapons
- Best Beginner Weapon That You Should Pick in Monster Hunter Rise
- How to Climb Walls in Monster Hunter Rise