Your adventure never ends in Dave the Diver as you surf through the Ocean at day and sell Sushi at night. But on a serious note, working at a Sushi Bar is really fun, especially when it comes to making decisions for maximizing the profit. You will know your Sushi business has skyrocketed when you get to open a Branch for it. Yes, you can open and run a Branch after reaching a certain point in the story. However, there’s a lot that needs to be done before you start earning Gold through it.
Here is your ultimate guide to learning everything about running a Branch in Dave the Diver. We will explain how to unlock a Branch, hire the Best Branch Managers, and then perform all those activities to earn maximum Gold. With that said, let’s get started.
Here’s How to Set Up a Branch in Dave the Diver
First Step – Unlock a Branch

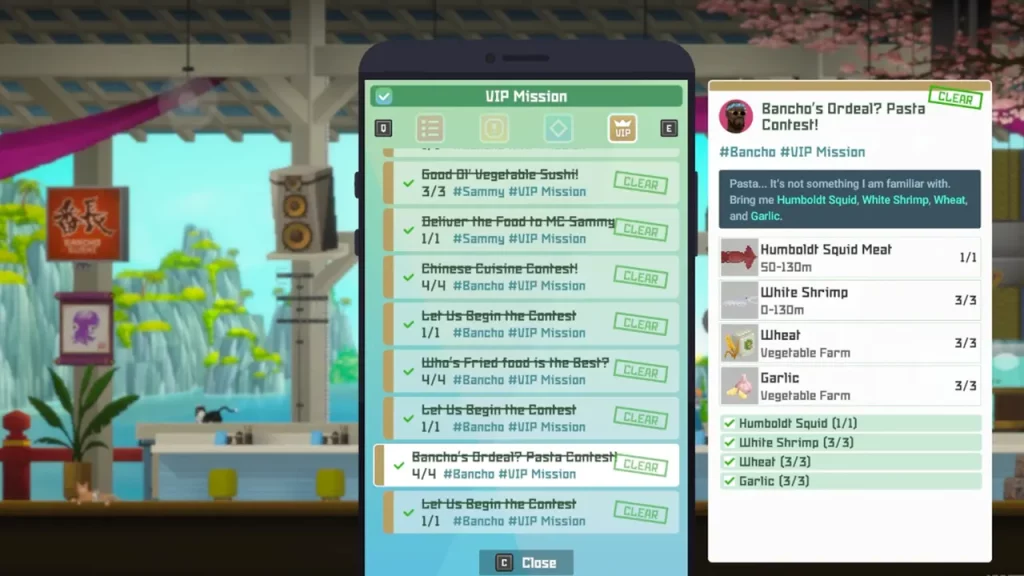
After completing the Bancho’s Ordeal? Pasta Contest! mission, you will get the golden opportunity to open a Branch of Bancho’s Sushi Bar. This happens fairly late in the game, almost after you have peaked your first restaurant. Unlocking the Branch is an excellent way of earning extra income and utilizing everything that you have learned throughout your entire gameplay.
Second Step – Hire the Best Branch Managers & Employees

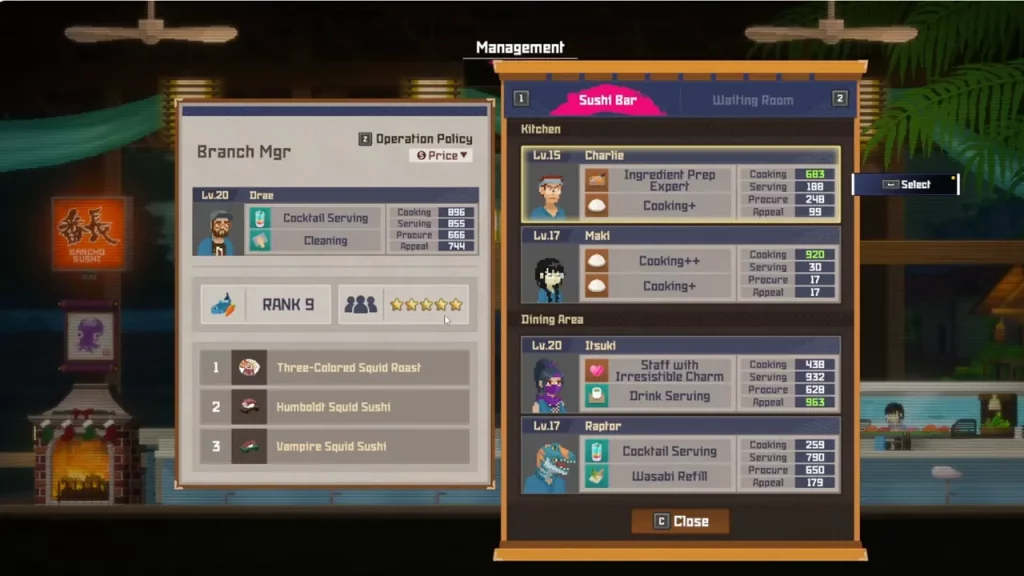
As you can’t be available in two places at once, you will have to Hire Staff for your secondary Sushi Bar. First up, you will have to assign a Branch Manager with a higher rank. That’s because a manager with a higher rank will unlock ingredients with a higher rank. Ranks are determined by the Cooking Stat. So while assigning a Manager, make sure to take a look at his/her Cooking skills.
If you ask me, then I would suggest you pick a Branch Manager who’s at Rank 9, which is only possible if they have a 450+ Cooking stat. Other than this, the manager must also have good Serving stats. Those who are better at serving are efficient for the company and eventually contribute to maximizing the profit.
Once you are done picking up your Branch Manager, it’s time for you to fill up your second Sushi Bar with some employees. Just to let you know that it is possible to bring some employees from your main branch to the secondary one. But for that, you will have to put them in the Waiting Room first. Anyways, to get more employees, you can put a hire notice.
Third Step – Operation Policy & Menu

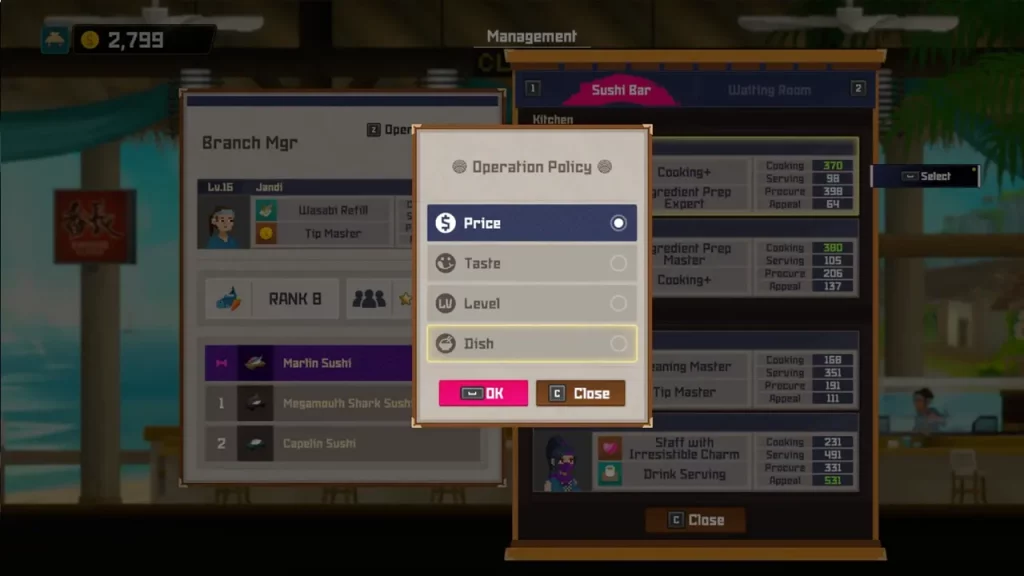
Once you have all the Employees lined up, it is time to set up the Operation Policy. You have to set it up every evening before starting the restaurant. To select an Operation Policy, you will have to go to the Staff tab. Price, Taste, Level, and Dish are the four categories of Operation Policy. Your menu for that evening will be decided on the basis of the policy you select.
If you choose Taste as your Operation Policy, then the Menu for that night will prioritize Taste.
Fourth Step – Collecting Ingredients

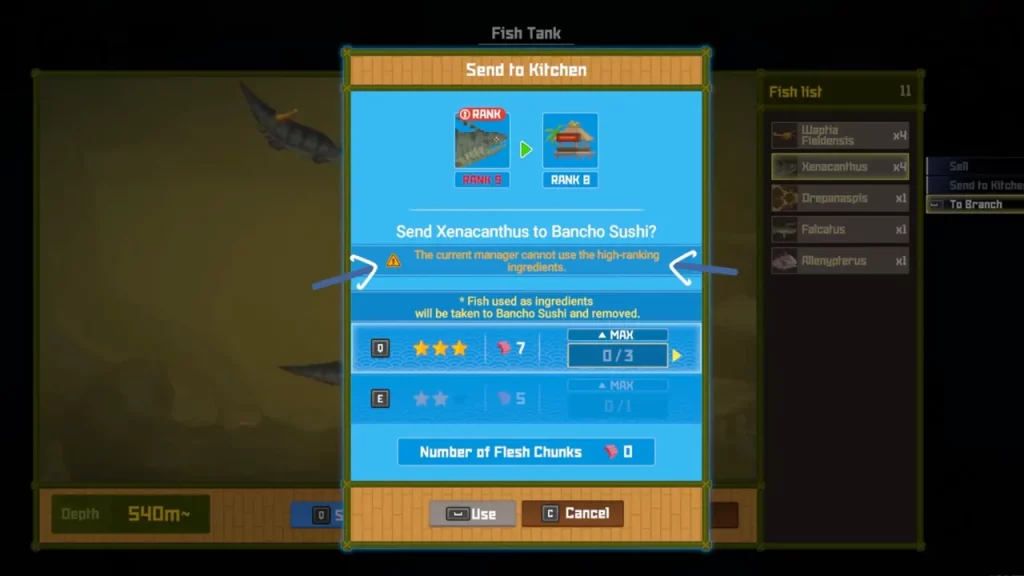
This is a crucial part of setting up your Branch in Dave the Diver. Because what’s the point of running a Sushi Bar if you don’t have the necessary ingredients, right? You can send ingredients to your Branch either from Bancho’s Sushi Bar or from the Fish Farm. But before you send them, make sure that your Branch Manager can handle them. Remember, each Ingredient has a rank, just like your Branch Manager. That’s why I was telling you to assign a Branch Manager with a higher Rank earlier.
Let’s do a quick check now. You now have a Branch Manager and Employees, you have set up the Operation Policy and Menu, and you have all the Ingredients. What’s next? Well just open the Sushi Bar Branch and let the workers do their job. In case you aren’t present in the Branch, you can press the ‘6’ key to access the CCTV Camera. This will keep you notified about the happenings at the bar.
With that out of the way, you now have a fully functional Branch in Dave the Diver.
For more content like this, feel free to check out our dedicated section for the Dave the Diver Guides on Gamer Tweak.

