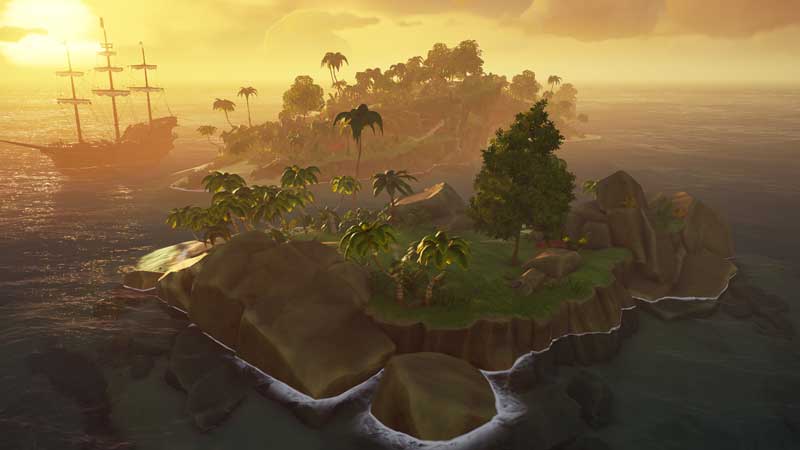
In Sea of Thieves, the islands play an important role (of course) and you may want to visit them to find treasure, fight pirates or catching animals and more. Now, if you are searching for certain island locations and want to know their coordinates, we’ve got you covered. Go ahead and explore these regions and face their dangers and reap their benefits as well.
Sea Of Thieves Islands Map Locations & Coordinates

| Island Name | Map Coordinates | Region |
| Ancient Spires Outpost | Q-17 | The Ancient Isles |
| Plunder Outpost | J-18 | The Ancient Isles |
| Stephen’s Spoils | L-15 | The Ancient Isles |
| The Finest Trading Post | F-17 | The Ancient Isles |
| Barnacle Cay | O-15 | The Ancient Isles |
| Booty Isle | K-20 | The Ancient Isles |
| Castaway Isle | K-14 | The Ancient Isles |
| Chicken Isle | I-16 | The Ancient Isles |
| Cutlass Cay | M-18 | The Ancient Isles |
| Fools Lagoon | I-14 | The Ancient Isles |
| Lookout Point | I-20 | The Ancient Isles |
| Mutineer Rock | N-19 | The Ancient Isles |
| Old Salts Atoll | F-18 | The Ancient Isles |
| Paradise Spring | L-17 | The Ancient Isles |
| Crook’s Hollow | M-16 | The Ancient Isles |
| Devil’s Ridge | P-19 | The Ancient Isles |
| Discovery Ridge | E-17 | The Ancient Isles |
| Plunder Valley | G-16 | The Ancient Isles |
| Shark Bait Cove | H-19 | The Ancient Isles |
| Snake Island | K-16 | The Ancient Isles |
| Thieves’ Haven | L-20 | The Ancient Isles |
| Lost Gold Fort | H-17 | The Ancient Isles |
| Old Boot Fort | L-14 | The Ancient Isles |
| The Crow’s Nest Fortress | O-17 | The Ancient Isles |
| Morrow’s Peak Outpost | V-17 | The Devil’s Roar |
| Brian’s Bazaar | Y-12 | The Devil’s Roar |
| Roaring Traders | U-20 | The Devil’s Roar |
| Brimstone Rock | X-18 | The Devil’s Roar |
| Cinder Islet | U-14 | The Devil’s Roar |
| Cursewater Shores | Y-13 | The Devil’s Roar |
| Flame’s End | V-19 | The Devil’s Roar |
| Glowstone Cay | Z-18 | The Devil’s Roar |
| Magma’s Tide | Y-20 | The Devil’s Roar |
| Roaring Sands | U-21 | The Devil’s Roar |
| Schored Pass | X-11 | The Devil’s Roar |
| The Forsaken Brink | U-16 | The Devil’s Roar |
| Ashen Reaches | V-23 | The Devil’s Roar |
| Fetcher’s Rest | V-12 | The Devil’s Roar |
| Flintlock Peninsula | W-14 | The Devil’s Roar |
| Ruby’s Fall | Y-16 | The Devil’s Roar |
| The Devil’s Thirst | W-21 | The Devil’s Roar |
| Molten Sands Fortress | Z-11 | The Devil’s Roar |
| Tribute Peak | Y-2 | The Shores Of Gold |
| Golden Sands Outpost | D-10 | The Shores of Plenty |
| Sanctuary Outpost | F-7 | The Shores of Plenty |
| The North Star Seapost | H-10 | The Shores of Plenty |
| The Spoils of Plenty Store | B-7 | The Shores of Plenty |
| Boulder Cay | G-5 | The Shores of Plenty |
| Lagoon of Whispers | D-12 | The Shores of Plenty |
| Lonely Isle | G-8 | The Shores of Plenty |
| Picaroon Palms | I-4 | The Shores of Plenty |
| Rapier Cay | D-8 | The Shores of Plenty |
| Rum Runner Isle | H-9 | The Shores of Plenty |
| Salty Sands | G-3 | The Shores of Plenty |
| Sandy Shallows | D-5 | The Shores of Plenty |
| Sea Dog’s Rest | C-11 | The Shores of Plenty |
| Twin Groves | H-11 | The Shores of Plenty |
| Cannon Cove | G-10 | The Shores of Plenty |
| Crescent Isle | B-9 | The Shores of Plenty |
| Lone Cove | H-6 | The Shores of Plenty |
| Mermaid’s Hideaway | B-13 | The Shores of Plenty |
| Sailor’s Bounty | C-4 | The Shores of Plenty |
| Smugglers’ Bay | F-3 | The Shores of Plenty |
| Wanderers Refuge | F-12 | The Shores of Plenty |
| Hidden Spring Keep | I-8 | The Shores of Plenty |
| Keel Haul Fort | C-6 | The Shores of Plenty |
| Sailor’s Knot Stronghold | E-14 | The Shores of Plenty |
| Dagger Tooth Outpost | M-8 | The Wilds |
| Galleon’s Grave Outpost | R-8 | The Wilds |
| The Wild Treasures Store | O-4 | The Wilds |
| Three Paces East Seapost | S-9 | The Wilds |
| Black Sand Atoll | O-3 | The Wilds |
| Black Water Enclave | R-5 | The Wilds |
| Blind Man’s Lagoon | N-6 | The Wilds |
| Isle of Last Words | O-9 | The Wilds |
| Liar’s Backbone | S-11 | The Wilds |
| Plunderer’s Plight | Q-6 | The Wilds |
| Scurvy Isley | K-4 | The Wilds |
| Shark Tooth Key | P-13 | The Wilds |
| Shiver Retreat | Q-11 | The Wilds |
| Tri-Rock Isle | R-10 | The Wilds |
| Kraken’s Fall | R-12 | The Wilds |
| Marauder’s Arch | Q-3 | The Wilds |
| Old Faithful Isle | M-4 | The Wilds |
| Shipwreck Bay | M-10 | The Wilds |
| The Crooked Masts | O-11 | The Wilds |
| The Sunken Grove | P-7 | The Wilds |
| Kraken Watchtower | L-6 | The Wilds |
| Shark Fin Camp | P-5 | The Wilds |
| Skull Keep | P-9 | The Wilds |
All you have to do to get to these locations is use the onboard map on the ship and sail to it. Depending on your Ship type, the onboard map position will change. If you are using a Sloop, it will be near the staircase, on the Brigantine, check behind the staircase and on the Galleon, you will find it right in the middle of the ship.Thank you to Sea of Thieves Fandom for this information.
That’s pretty much all the information you need to start navigating and exploring islands in Sea of Thieves. Now, if you would like to know more about how to get all curses, how to find and use ritual skulls, find and kill a Kraken and get ancient coins in Sea of Thieves, head over to our guides on Gamer Tweak!


