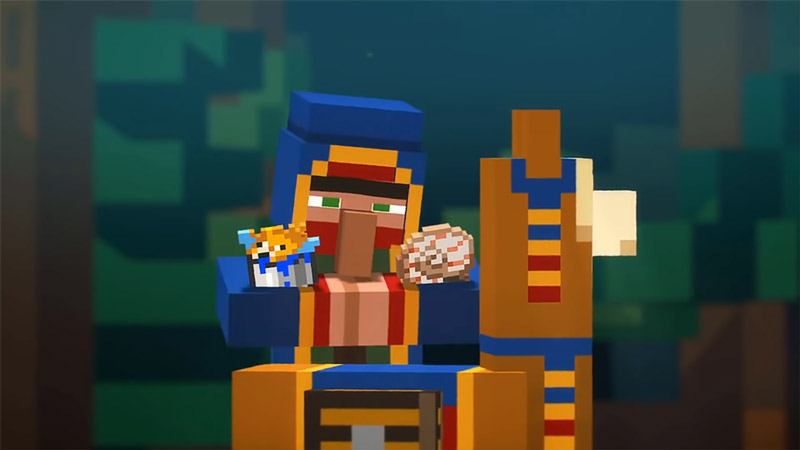
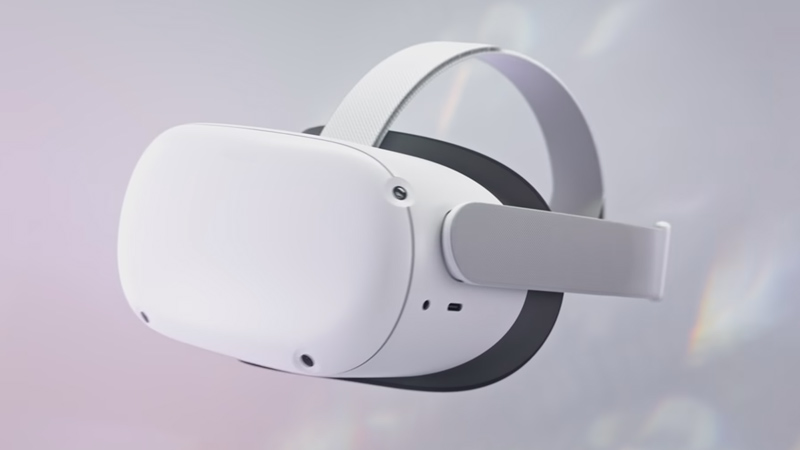
Minecraft is an amazing Sandbox game that brings the 2D Pixels aesthetic to a 3D game and it’s one of the best games to get, play and experience in VR via Meta/Oculus Quest 2. Through virtual reality, you can interact with blocks, go closer to the block, and change your camera angle to get a better look at it. Here’s how you can make it happen.
How to Get and Play Minecraft VR on Meta Oculus Quest 2

There are three ways are getting Minecraft on the Oculus Quest 2, and all of the three are kind of convoluted, so bear with us. The first way is by using Vivecraft, this only available for the Java Edition of Minecraft. The second way is by getting Minecraft directly to the Oculus Quest 2. Finally, the third way is not using your system for the primary resources. I will explain all three below.
Vivecraft for the Oculus Quest 2
To use this method, you will need a VR-ready PC, a Link Cable for your Oculus Quest 2, Minecraft Java Edition, and SteamVR. To know if your PC is ready for VR, download & install SteamVR.
- Firstly, download the latest version of Vivecraft.
- During the Download process, follow the steps and allow any permission if requested.
- It may ask you to download a Java file, if so then do it.
- When you run the .exe file, it will open up a page, and make sure to change the RAM allocation to half of your PC RAM.
- If your PC has 8 GB RAM, then set it to 4. Likewise, if your PC has 16 GB RAM then set it to 8 GB, and so forth.
- After that step, install Vivecraft.
- If you are connecting your Oculus Quest 2 wirelessly, you will need to use a third-party app. Virtual Desktop or ALVR is what you will need. Virtual Desktop is a premium app but is very reliable while ALVR is free but is a hassle to set up.
- You will need to buy Virtual Desktop for the Oculus Quest otherwise it won’t work if you are going Wireless.
- Once you have everything set up, launch SteamVR on your Oculus Quest 2 and then Vivecraft from your Minecraft Launcher on your PC, and Minecraft should be playable.
- For the Wired technique, it’s pretty much the same the only difference is that you don’t need Virtual Desktop or ALVR, just the Link Cable and you are good to go.
Official method for Bedrock Edition

To use this method, you will need a VR-ready PC, a Link Cable for your Oculus Quest 2, and Minecraft Bedrock Edition from the Microsoft Store.
- The first step is downloading the Oculus Software & Minecraft from the Microsoft Store.
- Now with the Link Cable, connect your Oculus Quest 2 to your PC.
- Once that is done, you can go to the Oculus Home and from the Library run Minecraft. This is how you can play the Bedrock Edition on the Oculus Quest 2.
How to Get Minecraft on Oculus Quest 2 without a PC
Yes, you read it correctly. You will be able to play VR Minecraft through the Oculus Quest 2 without a PC. Well, without a good PC. You can give the power of a high-end PC to your mediocre to Low-end PC. As long as you have a good Internet Connection. You can achieve this by using Shadow. All you have to do is Download and Install Shadow onto your PC and follow the required steps. Shadow is not free and you will have to pay a monthly subscription. By applying the necessary steps from above, you will be able to get the game on the Oculus Quest 2 through Shadow.
These were all of the steps required to get Minecraft VR on the Oculus Quest 2. Hopefully, this guide has helped you in experiencing the game with true immersion. You can also check our guides on How to Charge Oculus Quest 2 headset and controllers & How to Download & Install Mod Menu.

