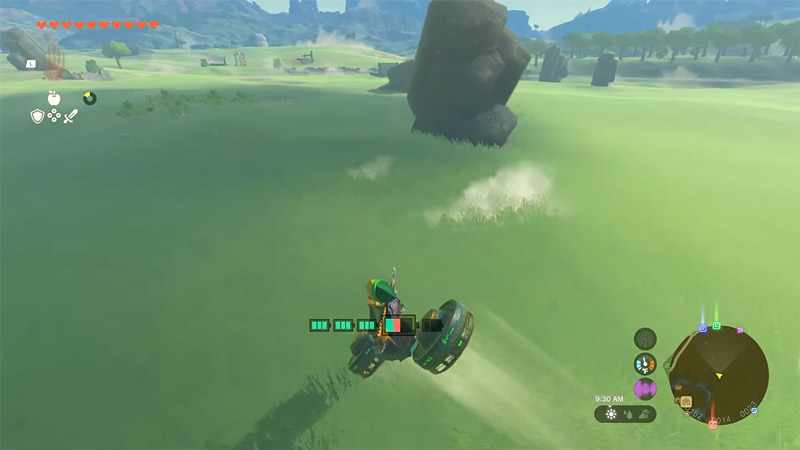
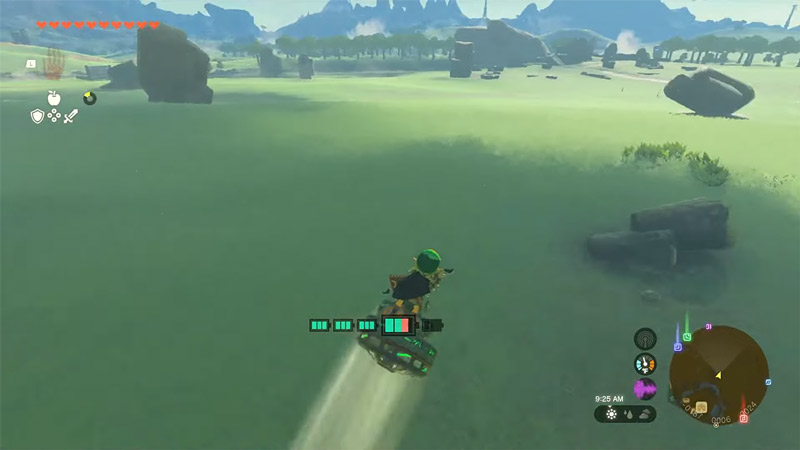
The creative possibilities in Zelda Tears of the Kingdom are limitless and one of the coolest vehicles that players have made is the Hover Bike. Not only is it quite fast but also a cool way to explore the vast region of Hyrule. And the best part is making it is also quite easy. So here is how you can make it and its two variations.
How to Make a Hover Bike in Zelda Tears of The Kingdom

For making a Hover Bike you will always need 2 Fans and 1 Control Stick. There are two different types of bikes that you can make. Here are them both.
Traditional Hover Bike

In this Hover Bike, the fans will be placed like the wheels on a regular bike. That is one ahead of the Control Stick and one behind it. This is how to make it:
- Use Ultrahand and place a fan upside down and flat on the ground. That means the air should flow below.
- Next, grab a Control Stick, tilt it 45 degrees upwards, and attach it to the Fan on the ground.
- Finally, grab another fan and attach it to the front of the Control Stick.
With its weight, the bike should fall forward. Now simply grab the Control Stick and the fans will start working and you can glide around easily.
Hover bikes do take quite a lot of energy to work so make sure you upgrade your Battery to use it for a long time.
Segway Hover Bike

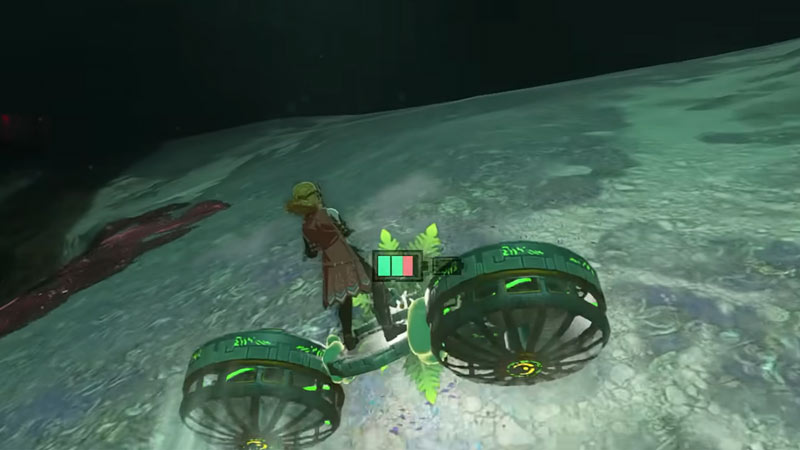
In this Hover Bike, instead of having fans at the front and back, each fan is attached to the side of the Control Stick.
- Use Ultrahand and place a fan upside down on the ground.
- Grab a Control Stick, tilt it 45 degrees up, and stick it to the side of the fan.
- Now, grab another Fan and stick it on the other side of the Control Stick.
Using it is slightly different than the Traditional Hover Bike. When you start it, the bike will start flying up, simply move your left joystick forward to realign it and then use it normally.
That’s all you need to do to make a Hover Bike in Zelda Tears of the Kingdom (TOTK). You should also find our other guides interesting on Obsidian Frox Location, how to do Duplication Glitch, and how to beat Sludge Like.


