Oculus Quest 1 & 2 has made the gaming experience of many players better than before. This VR headset can be used to play various games wirelessly and immerse in the Meta world. However, there are some flaws that players are coming across globally. Users with optic glasses are not able to use this device properly. And also end up scratching up the device lenses. But don’t worry, the glasses spacer is the solution to this problem that can come in handy. So if you have been struggling with the same issue then we’ll help you solve it. In this article, we’ll walk you through the steps to install Glasses Spacer in Oculus Quest 2 & 1 and help you use it easily.
How to Install & Use Glasses Spacer in Oculus Quest 2 & 1

As mentioned earlier, to use Oculus Quest 2 & 1 with glasses you’ll need a Lens Spacer. This is one of the accessories you’ll get in the device box itself. To install the spacer follow the steps listed below and you’ll be good to go.
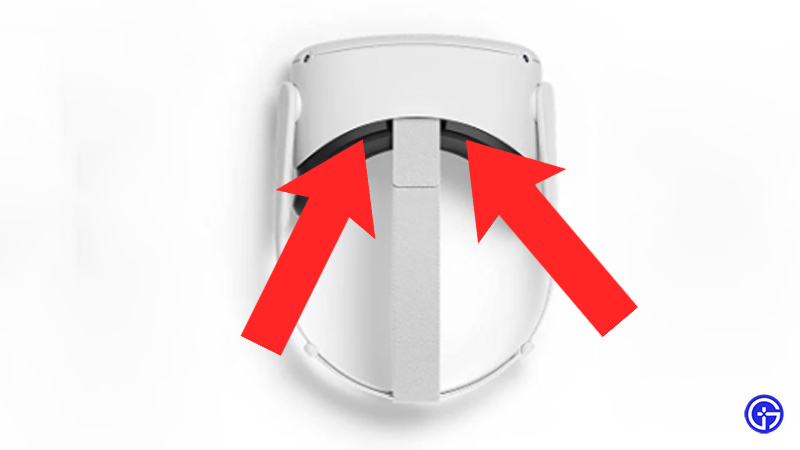
- Take the Oculus and try to remove the facial foam pad. To do that, first, apply gentle pressure on the center upper part of the handset and try to pull the foam pad away.
- Then, do the same to the lower nose shape area and that’ll do the trick.
- Next, take the glasses spacer and clip it on the handset. Apply gentle pressure until you hear the snaps.
- After that, take the foam pad and attach it again to your Oculus device.
Also Read | How to Play Steam Games on Oculus Quest 2
Now you can easily wear your optic glasses to use Oculus Quest 2 & 1. However, make sure the size of your glasses is under 145mm in width and 50mm in height. Or else your glasses won’t fit in the handset. That covers everything about the Spacer installation process. While you are here check out how to download free games on Meta Quest 2 easily. For more tips & tricks check out other Video game guides.

