Knowing how to use a Workbench is very important in Dead Island 2. This is because you will need it to prepare yourself before heading out to take on any mission. As you play, you use your weapons and end up damaging them. And that is where the workbench comes in you can use it to fix such weapons. But it also serves other purposes. So without further ado let us check them all out.
How to Use Workbench in Dead Island 2

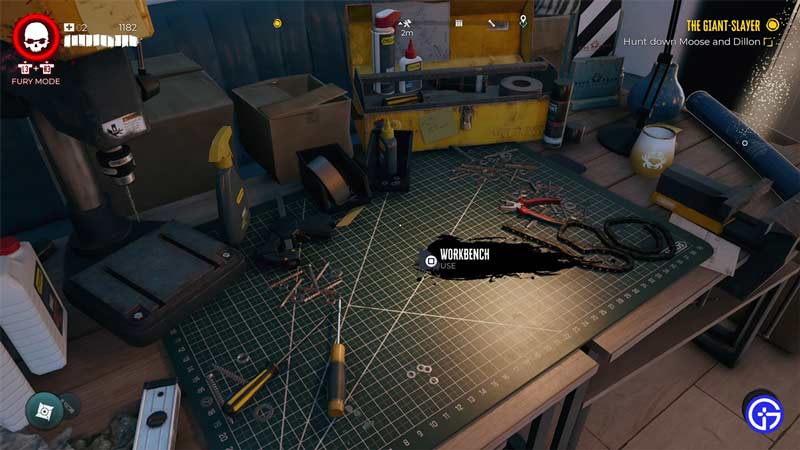
You can use the workbench mainly to repair your broken or damaged weapons. But they are also useful for adding mods to such weapons and crafting items. Simply walk up to one and press the Square button on your PlayStation controller. Xbox players can do the same by pressing the X button, and PC players can press the F-key to interact with the workbench. Once you do it will show you two tabs. Weapons and Fabricate. Here is what each of them is used for:

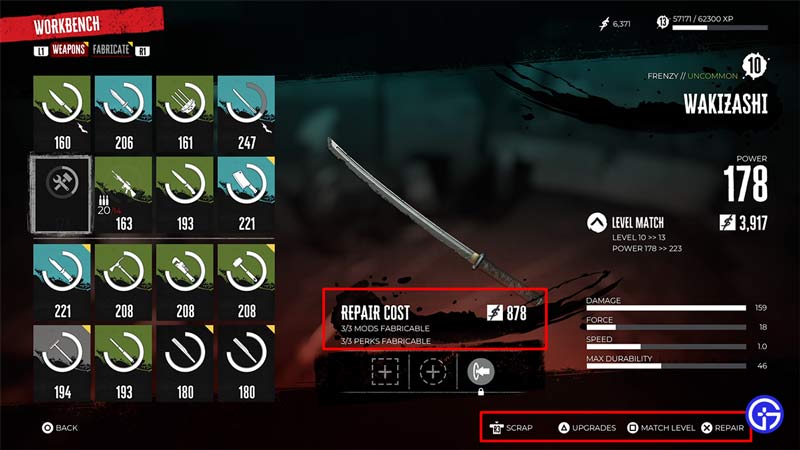
- Weapons: Here you can find all the current weapons you have. You can do the following things to your weapon:
- Repair: Repairs and restores your weapon’s HP. Press X on PlayStation and A on Xbox for it.
- Match Level: This will increase your weapon’s level to match yours. It also increases its durability and damage.
- Upgrade: This lets you add mods to the weapon.
- Scrap: Scrap the weapon to get its spare parts and any mods that you applied to it. This is also useful to discard any weapons you don’t need to free up space and get spare parts.
Do remember though that repairing your weapons isn’t free. Each time you repair a weapon you use up your money in exchange.

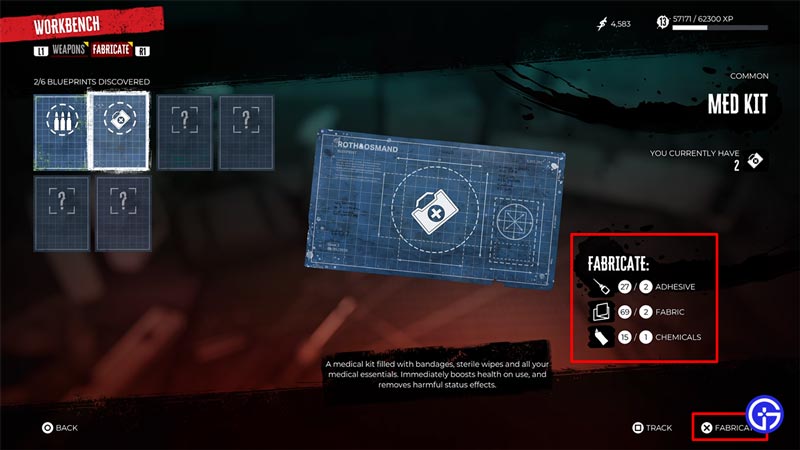
- Fabricate: As you play the game you will collect blueprints for several consumables like medkits or gun ammo. Fabricate allows you to craft these items. Instead of using money they require you to have the parts needed for the item that you want to craft.
That covers everything you should know about how to using a Workbench. For more help on this game check out our other guides on how to beat Becki the Bride and how to dodge.

