Minecraft is a game where you can literally do anything from building houses to castles, making Redstone contraptions, and much more. Farming is another thing you can do where you can obtain tons upon tons of a single item and I am not just talking about vegetables. In this guide, I will show you an easy Pumpkin farm in Minecraft.
How to Make a Pumpkin Farm in Minecraft

So to make this farm you will need:
- Farming Materials:
- Observers: 8
- Pistons: 8
- Redstone Dust: 8
- Solid Blocks: 8
- Stairs: 8
- Collection System:
- Chests: 2
- Hopper Minecart: 1
- Hoppers: 2
- Levers: 2
- Powered Rails: 4
- Rails: 12
- Other Items:
- Pumpkin Seeds: 8
- Hoe Tool: 1
- Water Buckets: 2
- Building Blocks: 64
- Light Sources: 64
Now that we have got our resources for the farm, let us build it. First off you will need a 4×4 area. Now dig 2 blocks deep in that area. You can have this anywhere even underground as long as it’s in a convenient spot.

Steps to Construct the Pumpkin Farm
- Go to one of the sides of the area and dig two adjacent holes at the middle of the side and place the two Hoppers in them. Place them in such a way that both of the Hoppers are facing away from the area.
- Now where the Hoppers are facing, place the two Chests. This should make a Double Chest.
- Now go to the opposite side of where the Hoppers and Chests are and place two Powered Rails at both corners. The rails should be in a 2×1 formation from where you are standing.
- After that connect both the ends by Zigzagging the area with rails. If you haven’t moved your position, the Rails should form into an “M” shape. If the Rails connect weirdly then break and place the Rail again.
- Now, wherever your Powered Rails end, dig one block deep and place your Levers and activate them. Alternatively, you can replace one lever with a Redstone Block as it will do the same thing. The reason why I said replace one of them as the Lever will allow you to Activate or Deactivate the Farm.
- Place the Hopper Minecart on the Rails and it should move on its own and should move back and forth on the track. If the Hopper Minecart is slowing down then remove the blocks that surround the Rails. This should make it go faster.
- Now that the Collection System is done, time to get the Farming Section setup.
- Go to the side where your Chests are and stack two temporary blocks in one corner. On top of that stack place an Observer facing downwards. From the Observer, place a temporary block on the side and place another Observer facing down. Repeat this process till you get a 4×4 grid of 8 Observers in a Checkered Pattern over the Hopper Minecart.
- In that Checkered Pattern, place the Pistons also facing downwards. You should now have a proper square grid of Pistons and Observers in the Checkered Pattern.
- Now fill the floor with Dirt, this is where the Pumpkins will be planted.
- Now come to the sides of the farm area. Until now we have used two sides of the are and they are opposite to each other. We will need Water for the farm so we will place them on the other pair of opposite sides. There replace the sides with Stairs in such a way that the Stairs face into the farming area.
- Somewhere close by make a 2×2 hole and make an Infinite Water Source. All you have to do is place the water from the 2 Water Buckets in the opposite corners of the hole and you will get an Infinite Water Source. From that Water Source fill in each Stair with Water. The reason we are doing this is if by accident some blocks break then Water won’t flow around and destroy the farm.
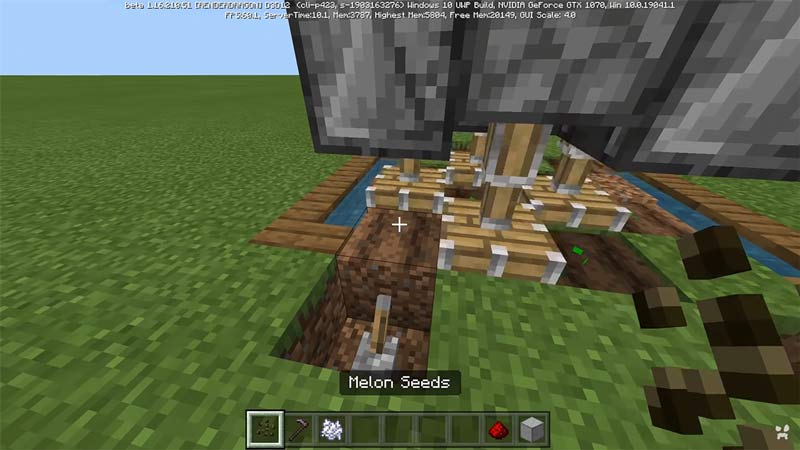
- Now comes the technical part of the farm. On top of each Observer place a Solid Block and top of every Piston place a Redstone Dust. The logic here is when an Observer detects a Block Update, it will fire a Redstone pulse. That pulse will power the Solid Block and this power will be distributed to the neighboring Redstone Dust. Once the Redstone Dust is powered, it will fire the Piston it is on top of. This is how the Farm becomes automatic.
- Finally, it’s time for planting the Pumpkin Seeds. With a Hoe, till the Dirt blocks that are under the Observers only and plant the Pumpkin Seeds on the tilled Dirt Block. The growing of Plants is a Block Update which the Observers can Detect. Every time the Plant grows, the Pistons will fire. As Pumpkins can grow in any of the directions from the main Plant, they will grow under any one of the Pistons.
- Once you are done, surround your farm such that the drops won’t fly outside of the farm area. Here you can use a Building Block of your choice. You can go wild and decorate it as much as you want.
- And with this, your Pumpkin Farm is done in Minecraft.
Things to be kept in Mind
Like Plants IRL, Minecraft plants need light. So make sure whenever you are done building a section you light up the area with Torches or Sea Lanterns or any other Light Sources as per your liking. This farm is Tileable, i.e. you can expand the farm to whatever size you want. All you have to do is repeat the steps for that many times you want. Alternatively, you can downsize it as well. Just know that the bigger the farm, the better is the yield. This Farm can also be used for growing Melons as they grow similarly to Pumpkins. You can also have a mix of Melon and Pumpkin Plants on the Farm to get the best of both Drops.
This was all about Pumpkin Farms in Minecraft. Hopefully, this guide has helped you in making the perfect farm. You can also check out our guides on Crashing Error Fix and Can’t Connect To Server Fix in Minecraft.