War Thunder Custom skins can come in handy if you are looking to change the aesthetics of the game. Since the normal skins are not exactly the most look-savvy, the developers have allowed players to make and use their Custom Skins. If you are wondering whether any of the skins have additional boosts for better gameplay, the answer is no. None of the custom skins provide any boosts and the skins are locally added. That means other players won’t be able to look at your skin or get caught by some form of camouflage that you choose to use.
How to Download Custom Skins in War Thunder

Players can either create Custom Skins themselves or they will have to download them for War Thunder. If you are looking to download some of the latest custom skins, you should check out live.warthunder.com or NexusMods. Once you find the latest skins, download the files so you can install them on your PC.
How to Install Custom Skins in War Thunder

Once players download the custom skins, they will have to follow the steps below in order to install and use them in War Thunder:
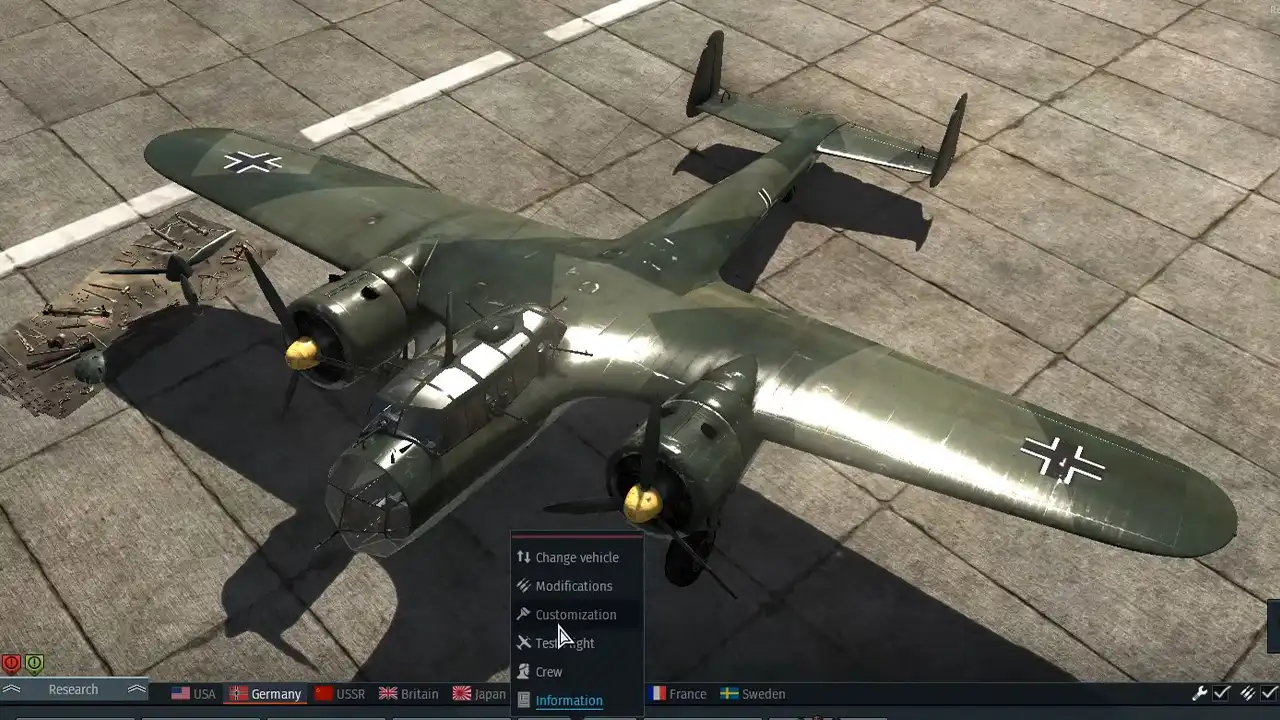
- While you are playing War Thunder, right-click on your vehicle and choose the Customization option.
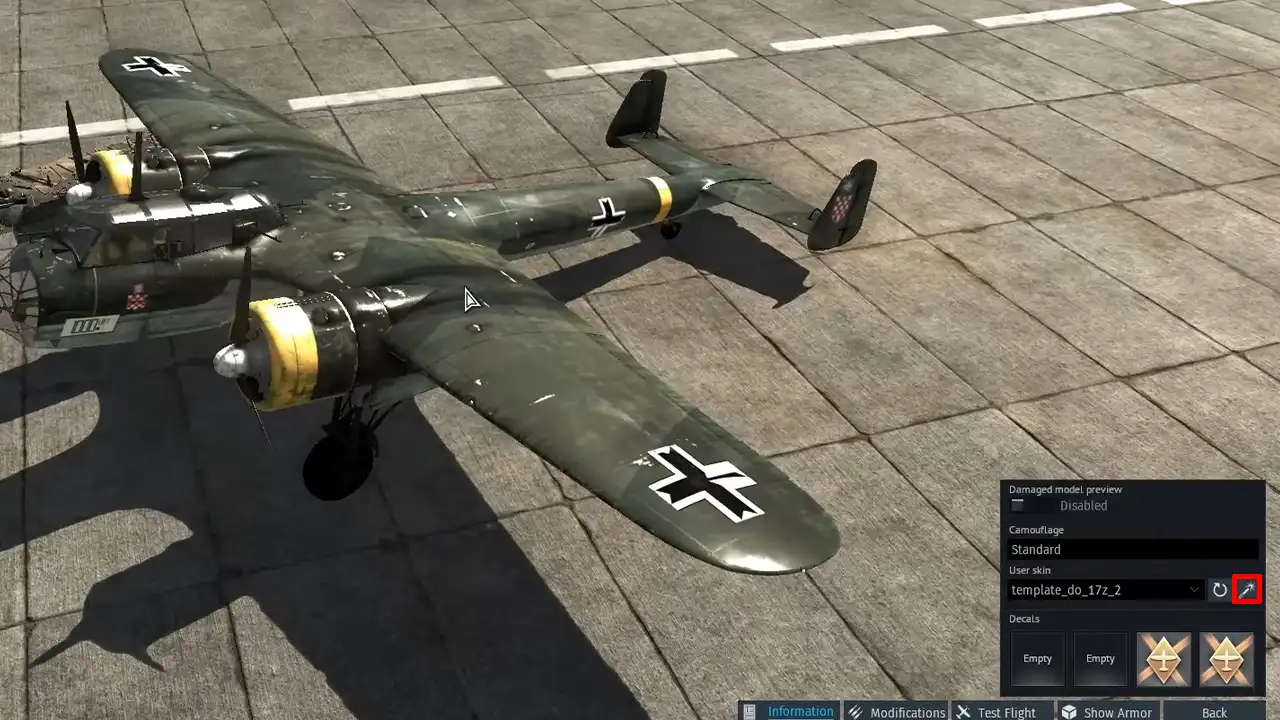
- Players will see a menu turn up on the right side where they need to look for a Magic Wand like icon.
- This will create a User Skin folder in your game files where players need to add the downloaded content so make sure you remember the folder name.
- Head over to the folder where your game files are stored –
- C:\Program Files (x86)\Steam\steamapps\common\War Thunder\UserSkins (if you are a steam user).
- C:\Program Files (x86)\Gajin\War Thunder\UserSkins
- Now, look for the recently created folder for the new template using the Magic Wand.
- Copy all the downloaded content and paste it in this folder. Make sure you replace all the files in the destination.
- Lastly restart or refresh War Thunder in order to use the newly installed custom skins.
That’s all we have on how to get and install custom skins. Since you are playing War Thunder, do check out our other guides on our dedicated section right here at Gamer Tweak.

