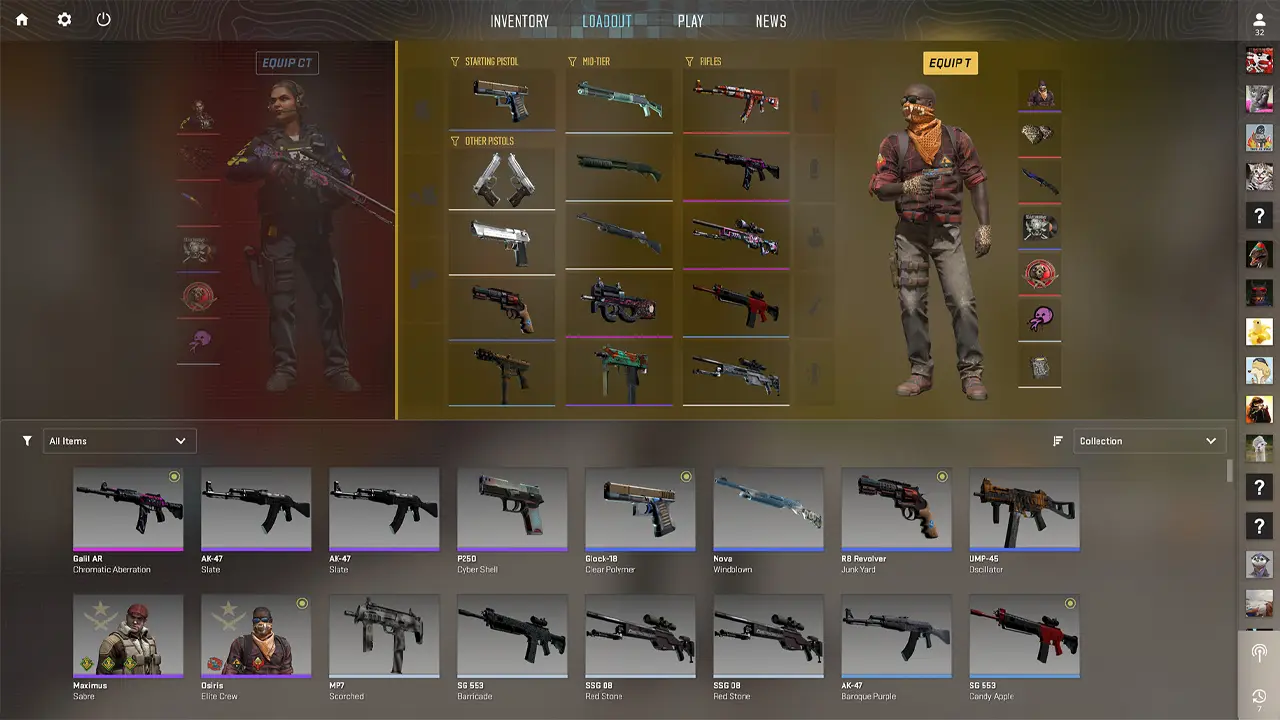
Players can inspect skins in CS2 to get a closer look at other’s creativity and craftsmanship. This helps a lot while trading skins. Even though, the skins in the CS 2 game aren’t for skill enhancement and do not contribute to performance advantage. However, it is worth mentioning that these skins do visual improvement, and it’s about giving the personal touches to the game, making it more fun and exciting to play and enjoy. In this guide, we will walk you through how to inspect skins CS2.
How to Inspect Skins in CS2

Inspect Own Skins
To inspect your own, there are two ways, either you can directly open the skins from the inventory and check them, or while in the match you can use the inspect option to inspect the skin.
- Open your Inventory, this is where all your collected skins are stored.
- Further, click on the weapon skin that you are interested in inspecting.
- Next, find and click on the Inspect button, located near the skin’s image.
Now, If you want to inspect skin while in the ongoing match,
- First, equip the weapon in the match.
- Now click on the inspect button on the screen to start inspection mode.
- In inspection mode, you can use your mouse to rotate the weapon and get a 360-degree perspective of the skin.
- Further, to exit the Inspection Mode, click outside the inspection window, or else you can press the inspect button again.
Inspect Others Player’s Skins
Going ahead with inspect skins in CS2 methods, if you want to view other players’ skins, you need to have the skin link.
- Now, before we start with inspecting skins using the link, Firstly you need to make sure you have the developer console enabled in the game. To do this,
- Go to the settings option, located on the top left of your in-game menu.
- Furthermore, search for the developer console in the menu.
- Once found, enable the developer console, by selecting Yes beside the Enable Developer Console.
- Now, copy the link of the skin you want to inspect.
- Further, to inspect, open your developer console by pressing the “~” key on your keyboard.
- Next, paste the copied inspect link into the developer console command by pressing Ctrl + V on Windows or Cmd + V on macOS.
- Now edit the inspect link
- Here, remove the text before “csgo_econ_action…”
- Next, remove the “percent 20” after the word “preview”.
- Lastly, add a space after “preview”
- Now, click Enter to the edited link.
If done correctly, the skin will appear on your screen. Now this is a bit different from the CSGO, in CS2, you can move around in all directions to inspect each and every aspect of the skin.
Further, if you use this same method if you want to inspect crafts in Counter Strike 2. That’s everything you need to know about how to inspect skins in CS2 game. If you find this guide interesting and helpful, you can check out other guide tips and more on this game from our dedication Counter Strike 2 section right here on Gamer Tweak.

