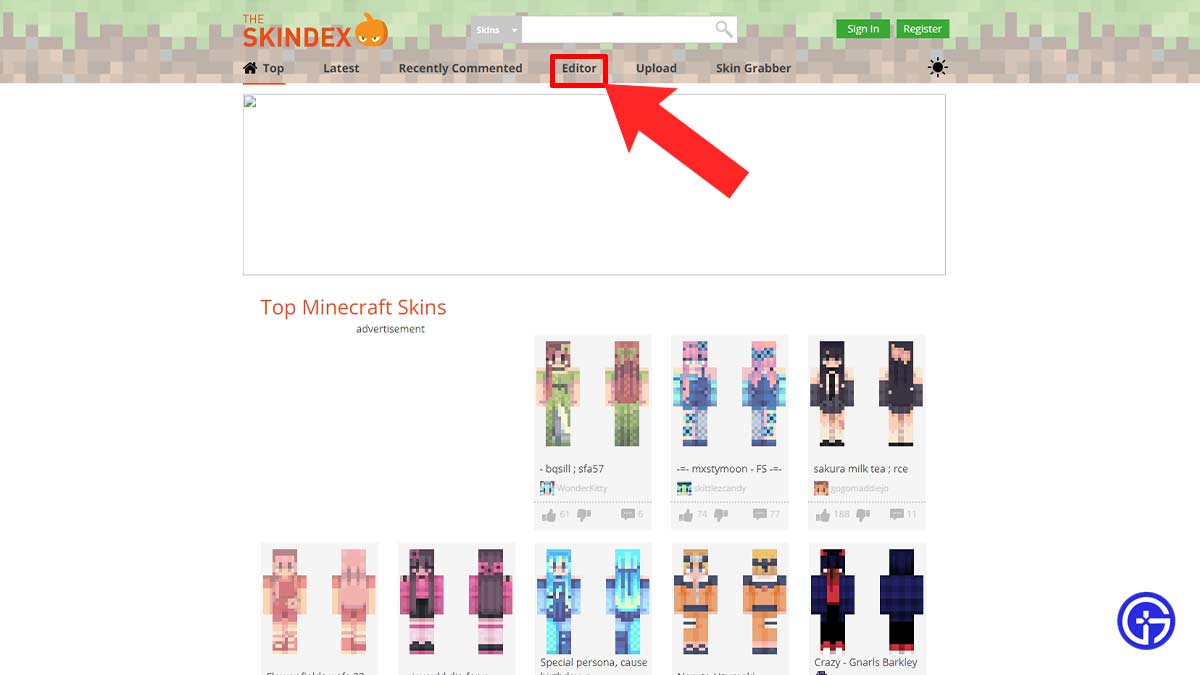
The Skindex Editor not only allows you to download skins but also edit and use them in Minecraft. This site has one of the largest collections of skins that you can add to your game. There players can easily flex their creativity by editing the existing skins or making some new ones. However, the process can be tricky if you’re new to the site but easy once you get a hang of it. So without waiting any further let’s see how you can edit and make Skins on Skindex Editor.
How to Use Skindex Editor to Edit Skins in Minecraft

To edit and make Minecraft skins simply type Minecraftskins.com in your browser to access the Skindex Editor. Before doing that do note, that Bedrock users can only add and save a limited number of skins to their account. However, that’s not the case with the Java users. With that being said let’s dive right into the steps.
- First things first, open the Skindex site on your browser.
- Next, click on the Editor option located on the upper side of your screen.
- After that, it’ll bring up a page with all the customization options. Where you can select colors and draw your designs.
- Players can even select one of the existing skins and edit them using the Edit Skins option.
- Once done, click the Download option to get the skin you created.
- Then, simply load up the Minecraft launcher and upload the skin to the game.
- Java users: Minecraft launcher> Skins tab> New Skin option> Select Player Model> Browse Skin File> Save & Use.
- Bedrock users: Open Minecraft game> go to your in-game Profile> Classic Skins tab> Owned option> Choose New Skins> Import.
- And now you can use the new skins in the game.
That covers all about how to use Skindex Editor to edit skins in Minecraft easily. If you’re looking for more editing options then check out other best Minecraft Skins creator websites. Also, take a look at the list of cool skins for boys & girls in the game.

