The Disasterpiece quest in Cyberpunk 2077 is part of the Automatic Love questline and begins after you complete The Space In Between quest. This walkthrough will show you how to exactly how to complete this particular quest and where to find specific items and what dialogue options and choices to select for the best outcome.
Disasterpiece Quest Cyberpunk 2077 Walkthrough
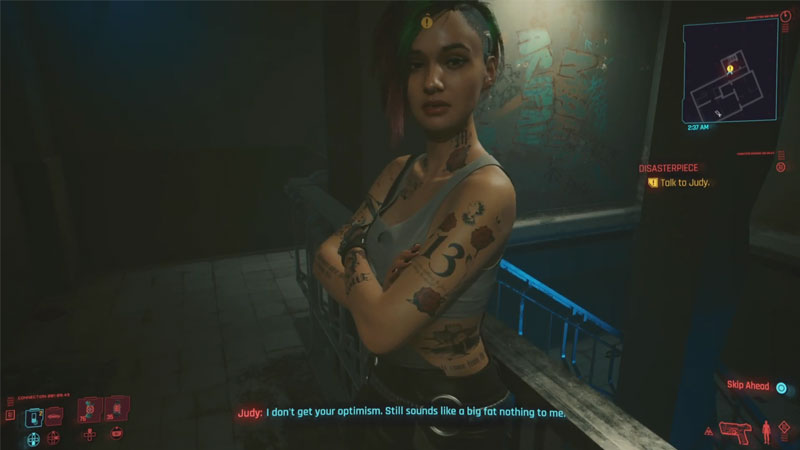
Talk To Judy Alvarez
The Disasterpiece quest starts after you’re done talking with Fingers during the end of the previous quest, when you go to the hallway you will see Judy waiting for you to have a conversation. Choose the Dialogue option: Don’t worry, we’ll find her. After this proceed to select: Need to find out where they scroll these things and after that select: I’ll take a look around Jig-Jig- Street. Using these dialogue options will help you save a bit of time and proceed in the quest easily.
Jig-JIg Street
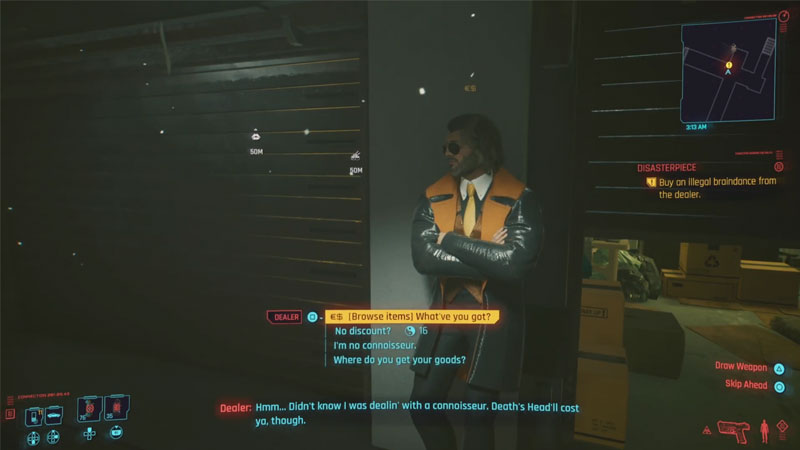
While on Jig-Jig Street, go to the sex shop your objective marker asks you to go. Once here select the option that says, “Looking for a special kind of braindance.” After a brief conversation, you will be asked to meet with a different XBD dealer at a different place.
To find this XBD dealer you will need to go into the tunnel and look for two people talking to each other. Interrupt them and talk to the dealer. Select the following dialogue lines:
Need a special braindance > “Want the kind with the Death’s Head badge” > “Cops don’t go out alone around here”. This XBD DEEP-FRIED DEATH’S HEAD MOTH is the item you’re looking for and it will cost you about a thousand eurodollar, if you do not have the money, you can always shoot the dealer and then loot it off him.
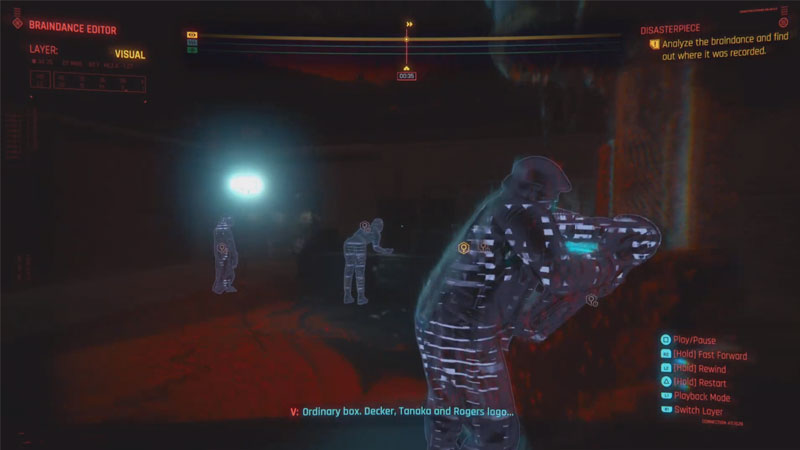
After this, you will need to meet Judy at her van, put on the headset, and start to view the braindance while she edits it. You will need to determine the location where the braindance was located and there are 3 things that you will have to scan here.
Also Read: How To Get More Ram In Cyberpunk 2077
The first section will have the pizza box on the counter, the second section will have the lab suit behind the female scav, and finally in the third section will have a cup that the woman places on the counter where the pizza was found.
Scav Lab In Charter Hill
You will get the location of the old power plant in Chater Hill of the lab and this is your next destination. We recommend that you choose the option of [Won’t be safe in there]. As you proceed, Judy will follow as soon as you enter the main building.
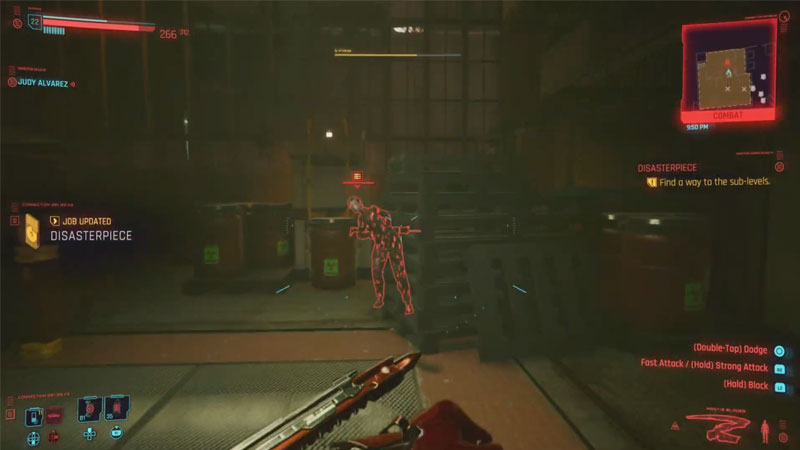
To get to the main building we chose the stealth option, all you need to do here is climb on the stacks of wood on the left of the van. You can simply choose to barge in through the main gate, it doesn’t matter much, but make sure that you select the option that is suited to your character build and playstyle.
Takedown every enemy that you see and keep following the marker, as soon as you enter the building you will be prompted to enter the lower level of the lab. If you disable the cameras of each area, enemies will have a harder time defeating you.
Also Read: Cyberpunk 2077 All Acts
Go To Sublevels
Inside you should be able to see Sector written on the wall, this will take you to a level below. Be careful as there will be a group of scavs waiting for you. Your job is to reach Level -1.
Once you get to level -1, you will be accompanied by Judy who you have to take further to sub-levels in this particular lab to find Evelyn Parker.
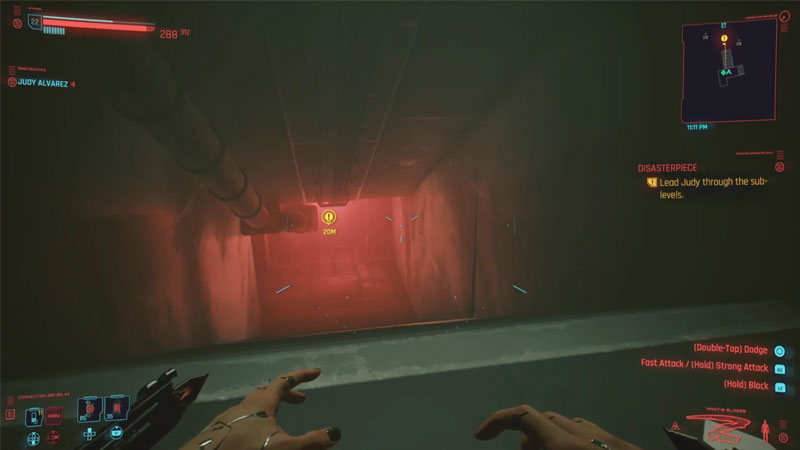
All you have to do is follow the marker and take out whoever comes in your way. It is a pretty straightforward quest and will lead you towards Evelyn, make sure to wait for Judy as she will help open doors and take out a few of the enemies along the way.
Save Evelyn Parker
When you get to the objective room, you will see Evelyn Parker hooked up to the machine beside the bed. Wait for Judy’s before pulling out the cable that’s been hooked into her.
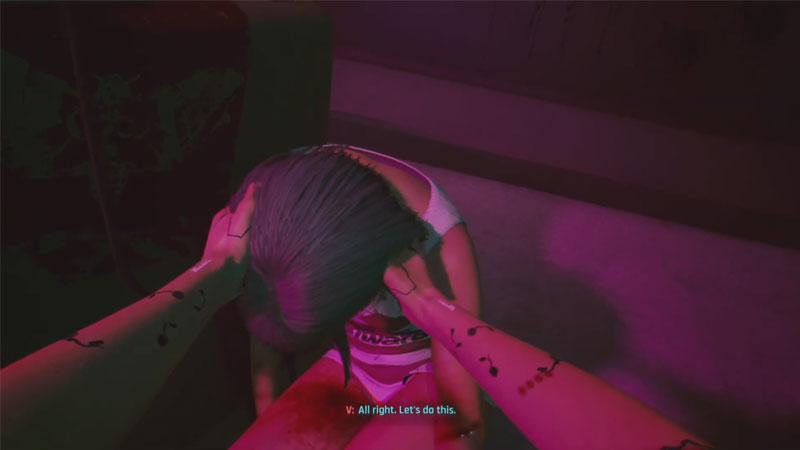
Follow this dialogue line: [Pull] Now! > [Pick up] Let’s get her someplace safe. You will then need to pick Evelyn up and walk towards the elevator the Judy has activated.
Get in the elevator and this completes the Disasterpiece quest in Cyberpunk 2077. This is all there is to know about Disasterpiece Walkthrough in Cyberpunk 2077, for any more queries about the game, make sure to check out our Cyberpunk 2077 Wiki Guide right here on Gamer Tweak.