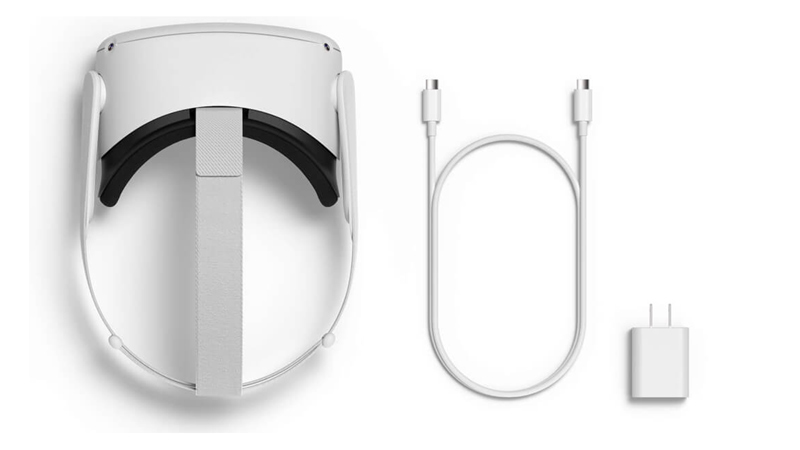
Oculus Quest 2 is one of the best budget VR headsets available in the market. If you purchased an Oculus Quest 2 knowing how to charge its headset and controllers is very important. This will ensure they are all juiced up and ready when you want to play with it. So in this guide let us take a look at how to charge its headset and controllers.
How to Charge Oculus Quest 2 headset and controllers

- Charging your headset: In order to charge your headset, plug a USB-C cable on the left side of the headset. It is best if you use the charger and cable you got in the box. You could also use third-party cables and chargers to charge it.
- Charging your controllers: Controllers of Oculus Quest 2 run on AA batteries. As such, there is no way to charge your controllers. Although you can buy good third-party rechargeable batteries. So instead of charging your controller, you’ll just have to charge your batteries. In any case, whether you use rechargeable batteries or buy new ones, you can replace them by doing the below steps:
- Gently slide down the battery panel of your controller. You can see an icon that indicates the direction where you should slide to remove it.
- Replace the battery of the controller.
- Once replaced slide back the panel of your controller. Make sure you slide it up carefully as to not break or damage the panel in the process.
The headset should charge in around 2.5 to 3 hours based on how low the battery is. If you use a rechargeable battery for your controller then the charging time may vary based on the battery that you use.
That covers everything you need to know about how to charge Oculus Quest 2 headset & controllers. Now that your Oculus Quest 2 is all charged up check out how to play Steam games on it. Also, if you like playing Roblox then learn how to play Roblox VR on Oculus Quest 2.

