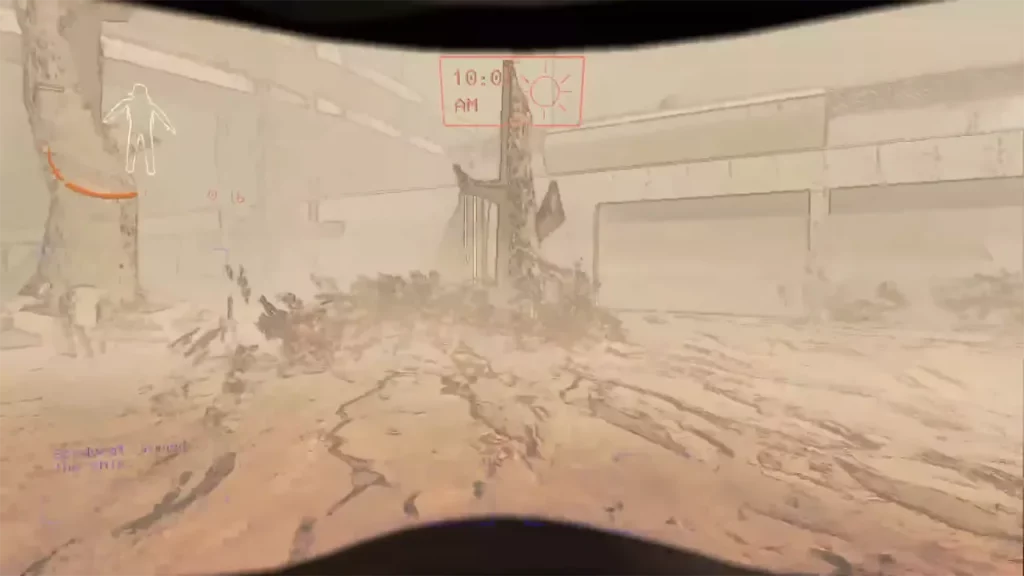
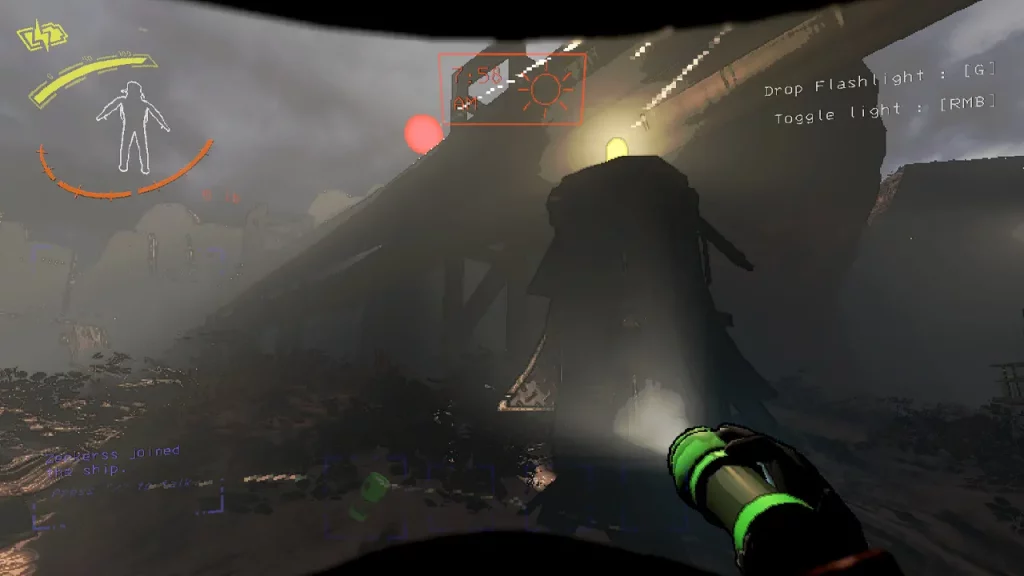
In Lethal Company, you just have to scavenge moons for scraps which you can later sell to the Company for some profit. Of course, if you are getting such a cheesy deal to make fast cash, there has to be a catch. Well, there is, if you have been playing the game for a while and have tried different maps, you must have some idea about the dangers each possesses. However, to help you grasp the depth of the situation, here is what you should know about each map and the dangers you can expect on these moons.
For beginners, the easier the moon you go to, the fewer rewards you get, but this increases your survival. As you start selecting difficult maps. You not only have to be wary of monsters but also take into account weather and other atmospheric changes to improve your survival.
Lethal Company Maps – Every Moon Explained

There are a total of 9 moons in this game. Here is how you can break them down based on their difficulty:
- Practically Safe
- Gordion 71
- Easy
- Experimentation
- Assurance
- Vow
- Normal
- Offense
- March
- Hard
- Rend
- Dine
- Titan
Do remember that the game is in Early Access at the time of writing this guide. So there is a chance that they can update the difficulties of these moons.
71 Gordion
- Possible Monsters: Company Monster
- Weather: Rainy
- Flying Cost: 0
This moon is where The Company has set up its base. There isn’t much to explore and you mainly visit here to sell your scraps or purchase items. It is the safest map in the game and the only possible times you may die is when you ring the bell too often or jump off of some edge or cliff.
Experimentation

- Possible Monsters: Earth Leviathan and Eyeless Dog
- Weather: Rainy, Foggy, Stormy, Flooded, and Eclipsed
- Flying Cost: 0
- Fire Exits: 1
This moon is ideal for beginners to start with and get used to what they can expect from the game. This is a deserted area where you shouldn’t have trouble finding the facility. The main hazard in this map is the lack of cover so while you could easily spot enemies, the same is true for them.
Assurance

- Possible Monsters: Earth Leviathan, Forest Keeper, Manticoil, and Eyeless Dog
- Weather: Foggy, Stormy, Rainy, and Eclipsed
- Flying Cost: 0
- Fire Exits: 1
This a very rocky moon and things will not be very smooth going forward (pun intended). This map is quite similar to Experimentation in terms of design but with added challenges. For example, it takes longer to reach the facility and you need to be wary of sudden cliffs.
Vow

- Possible Monsters: Earth Leviathan, Forest Keeper, Circuit Bee, Manticoil, and Eyeless Dog
- Weather: Foggy, Stormy, Flooded, and Eclipsed
- Flying Cost: 0
- Fire Exits: 1
So far you were used to deserted areas, but with this map, you get to experience the Forest. One of the most notable things on this moon is a wooden bridge. It appears tempting to use to reach the facility but you should tread cautiously as it can collapse easily when too many players walk on it.
Offense

- Possible Monsters: Babboon Hawk, Earth Leviathan, Forest Keeper, Manticoil, and Eyeless Dog
- Weather: Rainy, Stormy, Flooded, and Eclipsed
- Flying Cost: 0
- Fire Exits: 1
Things start to pick some heat from here as the moons henceforth will not be as simple as the previous ones. It is another Desert map. While it appears similar to Assurance in terms of looks, you can recognize it by the increased danger in your surroundings.
March

- Possible Monsters: Babboon Hawk, Earth Leviathan, Forest Keeper, Manticoil, and Eyeless Dog
- Weather: Foggy, Stormy, Flooded, and Eclipsed
- Flying Cost: 0
- Fire Exits: 3
This is a very interesting moon compared to the others. Most importantly it is the only map where you get 3 Fire Exits. However, this advantage isn’t just thrown there to make things easier. In this forested region, you are more likely to come across quicksand irrespective of what the weather conditions are.
Rend

- Possible Monsters: Earth Leviathan, Forest Keeper, Snare Flea, Eyeless Dog, and Bunker Spider
- Weather: Foggy, Eclipsed and Stormy
- Flying Cost: 550 credits
- Fire Exits: 1
This moon is constantly engulfed in a blizzard so be prepared for low visibility. Make sure to be well-equipped when you decide to explore this map. Following the lamps is a good way to traverse and find the main entrance of the Mansion. Don’t worry though all of these new challenges will be worth it as you get new types of scrap here. So if you can survive and escape, you can make some good profit.
Dine

- Possible Monsters: Earth Leviathan, Forest Keeper, Hoarding Bug, Snare Flea, Eyeless Dog, and Bunker Spider
- Weather: Foggy, Eclipsed and Flooded
- Flying Cost: 600 credits
- Fire Exits: 1
Similar to Rend you are stuck in a blizzard-struck moon on Dine. So expect an unclear view of your surroundings, but just like Rend, you can use rope and lamps to find your way. Try carrying an extension ladder or a jetpack here, as it can be useful in reaching the fire exit. Depending on your luck and the weather, you may either have to deal with floods or with more entities thanks to the eclipse.
Titan

- Possible Monsters: Earth Leviathan, Eyeless Dog, Forest Keeper, Snare Flea, Ghost Girl, Thumper, Snare Flea, Bunker Spider, Coil Head, Jester, and Bunker Spider
- Weather: Eclipsed, Foggy, and Stormy
- Flying Cost: 700 credits
- Fire Exits: 1
Finally, we have the hardest map of the game. The good thing is the main entrance and the fire exit are quite close to your ship. This is a blessing because you can collect and get out with your scraps easily. It comes at a price though, not just the credits you spend getting here. But also at the monsters that you come across.
Since its Hazard level is S+ you can expect a high frequency of entities. Not only that but you are more prone to encountering annoying enemies like Ghost Girl, Forest Keeper, Jester, and more. So just like the previous two maps, be well-equipped. Another tip is to don’t outstay your welcome. The later it gets the more enemies you will meet so if you have enough scrap it’s best to escape.
That’s all for this maps list and what to expect in each Moon. Be sure to also check our Lethal Company guide to get more help with other topics of this game.


