A Discord Server is a hub where you can connect to friends or to other people you know. It’s a safe space for you and your people to enjoy. But sometimes Toxic people or bot accounts can raid your Discord server and ruin your whole experience. For such cases, having a Verification System in your Discord server will at least filter out a major chunk of the raiders. It’s a simple and effective way to protect your Discord Server from unwanted guests. So in today’s guide, I will show you how to make a Verification System in your Discord Server.
How to Make a Verification System on Discord
Making a Verification System in Discord is a simple process but a time-consuming one. So follow the below steps carefully.
First off, make a Text Channel where the Verification process will take place in Discord. Now Right-Click the channel and click on Edit Channel. From there go to Permissions and let the @everyone have the permission to View Channel and save the changes. Now go to the Server Settings and go to Roles, from here click on Default Permissions. Now for the @everyone role, disable all Permissions except for Reading Message History. Those who are not verified will not be able to see all of the Server Channels except for the Verification Channel.
Now you will have to make a message stating the Rules & Regulations of the Server and set up a Reaction Role in the Verification Channel for the Verification System in your Discord Server. We have already covered the topic of Reaction Roles in Discord in our prior articles so I would suggest checking that out first.
Once you have set up the Roles & the Reaction Role message, set the Permissions you want each Role to have in your Server. Before that, make sure that the Verification role that you have made in your server has the permission to view all of the channels in your Discord Server. If you want you can hide the Permission to see the Verification Channel as the user has already been verified.
Setting up a Membership Screening page & a Welcome Screen page
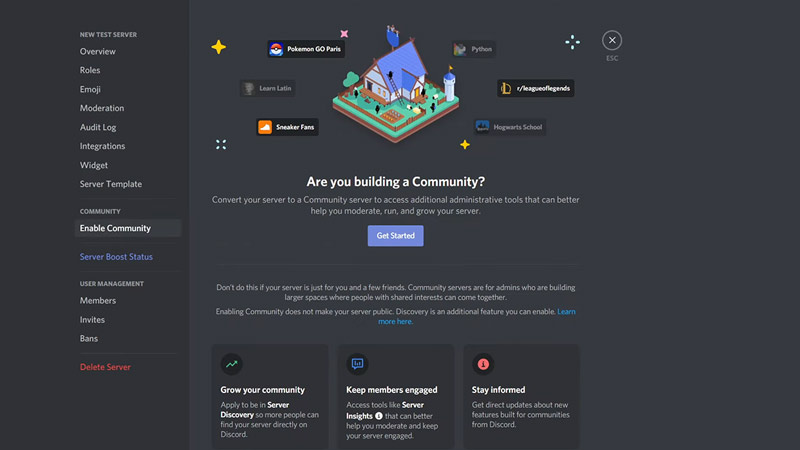
Now we are going to set up the Membership Screening Page. For this, go to your Server Settings and click on Enable Community. This will open a page regarding everything about making and running a Community in Discord. Click on the Get Started option on the screen and follow through the Steps. After completing that process, there will be a Community Tab in your Server Settings. Under it will have the option of Membership Screening. Click on it and select the Setup Membership Screening button. Now follow through with the instruction and you will be able to set up the Membership Screening for your Discord Server.
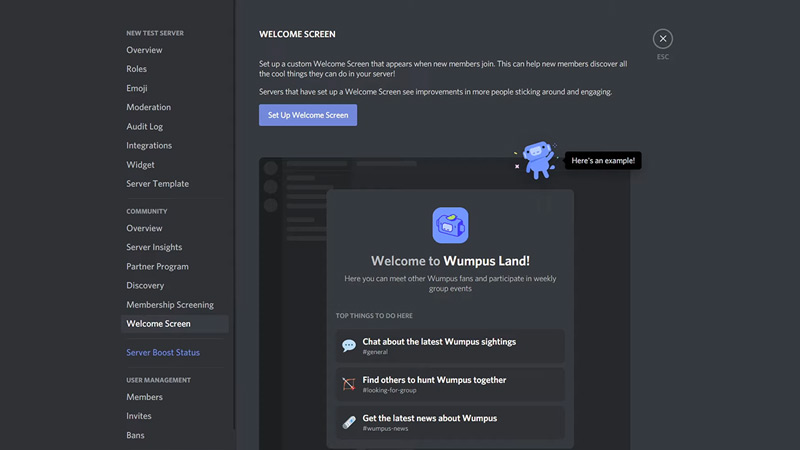
Another option you can apply for your Server is the Welcome Screen. From the Community Tab in the Server Settings, you will find the Welcome Screen. Again it will have its own set of instructions and after completing them you will be able to create a Welcome Screen. This step will complete the setting up of the Verification System in your Discord Server.
This was everything about setting a Discord Verification System into your Server. Hopefully, this guide has helped you verify the new accounts that join your Discord server. You can also check our guides like Discord Easter Eggs.