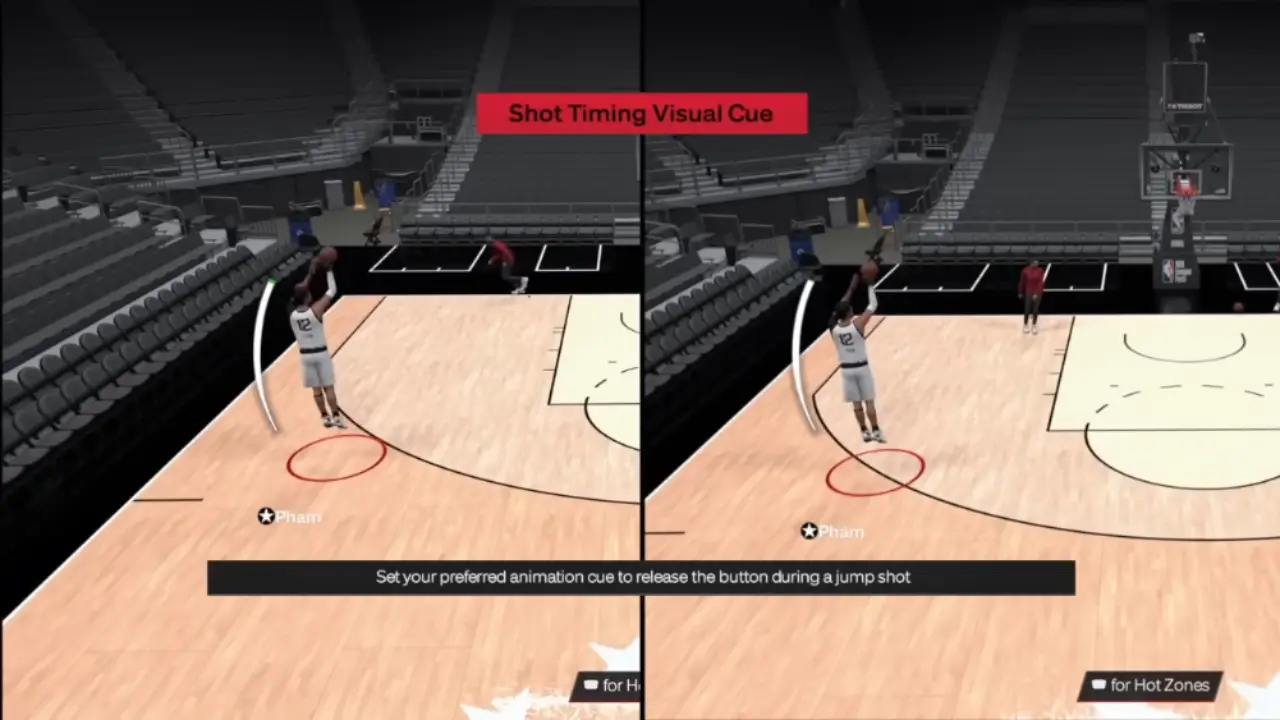
One of the most important gameplay mechanics in NBA 2K24 is shot timing. Good shot timing can be the difference between making shots consistently or bricking open looks. The shot timing visual cue setting provides feedback on your shot release to help improve your timing. However, the default setting may not be ideal for every player’s style. We’ll detail the best shot timing visual cue settings in NBA 2K24.
Best Shot Timing Visual Cue Settings in NBA 2K24

The shot timing visual cue settings allow you to customize the timing display to best suit your shooting style. It’s important to experiment with the different options to find the one that works best for you.
There are four shot timing cue settings to choose from:
- Release: The timing bar peaks at the very moment of shot release. This works best for shooters who prefer a late release.
- Jump: The bar peaks right at the jump. This is suited for those who like to release very early in the shooting motion.
- Set Point: The timing bar peaks slightly before the jump. This provides a cue for an early shot release.
- Push: The timing bar peaks just after the jump. This setting cues those who tend to release later in the shooting motion.
Spending some time in MyCourt or a Shoot Around practicing with each cue is a good idea to see which provides the clearest indicator for your natural shooting release point.
How to Change Shot Timing Visual Cue
To change your shot timing visual cue, follow these steps:
- Go to Options > Controller Settings.
- Under the Shot Timing section, select the cue you want to use or switch off from the menu.
That’s all we have on the best shot timing visual cue settings in NBA 2K24. Since you are here, you might want to check out the Locker Codes and the Contact Dunk requirements while you are here at Gamer Tweak.

