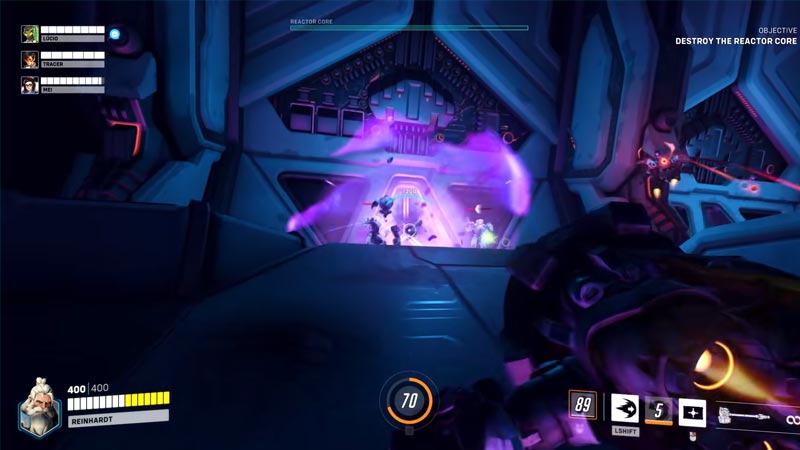
Overwatch 2 is the sequel to the Overwatch game released back in 2016. Throughout its early release period, players have been facing multiple issues while accessing the game. As time passes, players are experiencing new issues. DDoS attacks on the server and login issues followed by bugs leading to the removal of Heroes from the game, well what else could go wrong? These issues can only be fixed by the developers however there are some other issues in OW2 that can be fixed by ourselves. Rubberbanding is the most common issue encountered by players while playing games like Overwatch 2. Check out this guide and know about Rubberbanding and how to fix it in the game.
What is Rubberbanding Issue in Overwatch 2?

Every online multiplayer game works on servers that require constant monitoring. Whenever you perform an action, the game sends the information to the servers. Thereafter, the game receives the response from the servers and executes the action in the game. This transfer of information is completed in milliseconds. This action can be anything like walking, crouching, shooting, etc. The estimated time taken for sending and receiving the data is known as Latency. The higher the Latency, the more the game lags. Similarly, the Rubberbanding issue is also caused by high Latency issues wherein the player’s movement becomes twitching. To be more specific, when a player tries to move forward, this issue causes them to be held back and they become kind of shaky.
How to Fix the Rubberbanding Issue
Here are some solutions for high Latency that will fix the Rubberbanding issue in OW2:
- Reset your Router – Disconnect your device from the Internet and turn your router off. Thereafter, turn it on after a minute or a few and reboot the game.
- Update your Drivers – Right-click on the Start menu and open Device Manager wherein you will find Network and Video Drivers. Update both the drivers and check if the Rubberbanding issue is fixed in Overwatch 2.
- Release, Renew, and Flush your DNS – In order to perform these actions, follow these simple steps:
Open the Start menu and type CMD. Further, right-click on it and Run it as Administrator.
Later, type ipconfig /release and press enter to release the DNS.
Secondly, ipconfig /renew and hit the enter key. Upon completion, it will show as the IP address has been re-established.
Last but not the least, type ipconfig /flushdns in the command prompt and press the enter key.
This will mostly fix the Rubberbanding issue in OW2.
That’s all you can do to fix the Rubberbanding issue in Overwatch 2. If you found this article helpful, then make sure to check out our other OW2 guides.

