Genshin Impact is one of the most popular MMORPG games that contains a huge open-world map. This map guarantees a lot of fun in the form of exploration and quests. There are multiple world quests with quite a few challenging subquests. One such challenging subquest is the Dune-Entombed Fecundity: Part II of Dirge of Bilqis world quest. Wherein, players are given the task to Restore the Power to the Left Arm of a Giant Robot in Genshin Impact. If you are not sure about the restoration process, then this guide got you covered. Read till the end to know the steps to complete this objective.
Steps to Restore Power to the Left Arm in Genshin Impact
In order to restore the Power to the left arm, you need to place 2 Energy Blocks in 2 Energy Cells respectively. It is not that difficult and not that simple as well. Anyways, here’s how you can complete this objective:

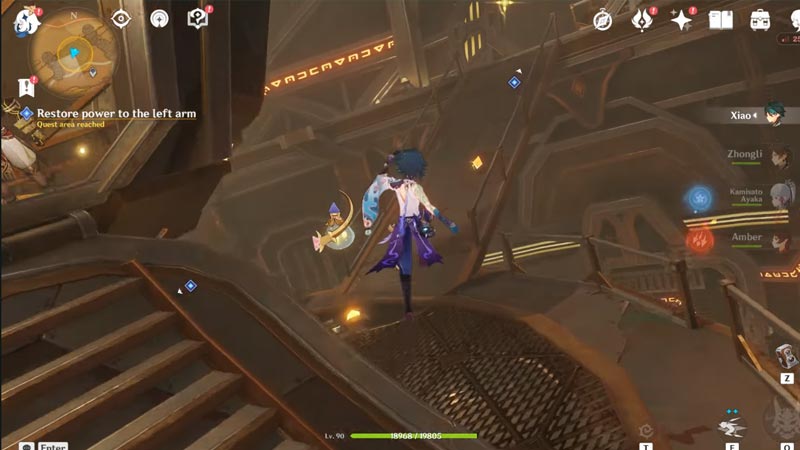
- While standing in the control cabin, move out and turn left. From there, you can locate a bridge that connects the cabin and a platform on the other side. Right on that bridge, you will find your first Energy Block.

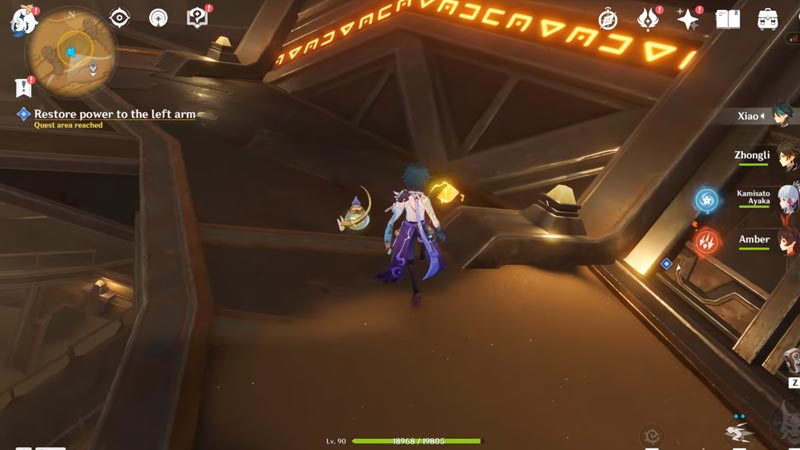
- At the end of that bridge, you will find a turned-off Energy Cell. Just left to the entrance of that Energy Cell, you can find the second Energy Block. Once you have obtained both Energy Blocks. you are halfway done on your way to restoring the power to the left arm in Dune-Entombed Fecundity of Genshin Impact.

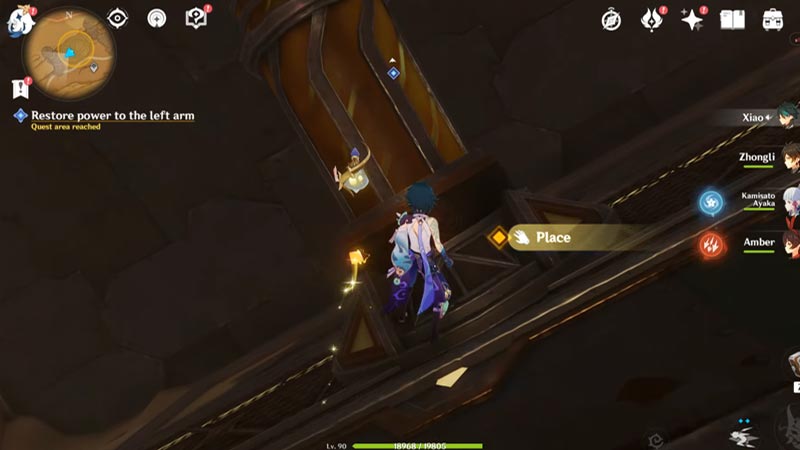
- You already know the location of the first Energy Cell, which is located at the end of the bridge as mentioned above. Simply head toward that Energy Cell and interact with it to place the Energy Block.
- Now for the second Energy Cell, head back to the control cabin. You can find another bridge on the other side of the cabin. The second Energy Cell is located at the end of that bridge. Head over to it and place the other Energy Block in it to restore the power to the left arm.
That is how you complete the power restoration task in the left arm of the Giant Robot. Meanwhile, you are here, make sure to check out our other Genshin Impact Guides on Gamer Tweak

