The Orochium Shrine in Zelda Tears of The Kingdom is tricky to complete because of its lasers and trapdoors. The objective of this “Courage to Fall” shrine, like many others, is to unlock a metal ball and place it at the entrance to get the Light of Blessing. To complete this objective, you must complete a series of puzzles and cross obstacles, which can be a bit confusing. In this guide, we will tell you how to solve the Orochium (Orochimaru, as named by the fans) Shrine in ToTK.
Steps to Complete Orochium Shrine in Zelda Tears of The Kingdom (ToTK)
The Orochium Shrine is located at coordinates in the Tabantha Tundra region (-1636, 2642, 0239). This shrine is confusing because as soon as you open the doors, you are faced with lasers that drop you down a trapdoor. If you’re stuck at the lasers in the Courage to Fall Shrine, then here’s how to solve it:
- Go around the left, beat the Soldier Construct II, and use the Ascend ability to climb up.
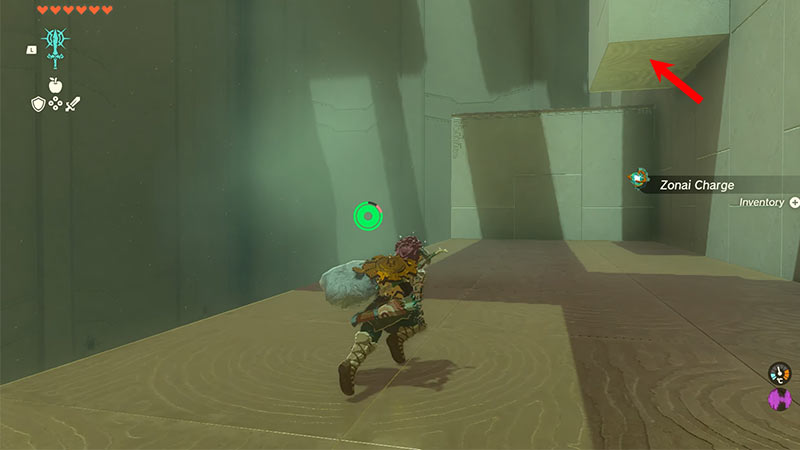
Image Source: 100% Guides on YouTube - Then, climb the stairs, crouch-walk through the opening, and take a right.
- Beat the enemies below and collect five arrows from the chest.
- Now, use Ultrahand ability to open the door and let the laser hit you.
- Once you’re down the trapdoor, dodge all lasers and use Ascend to reach the platform where the treasure chest is.
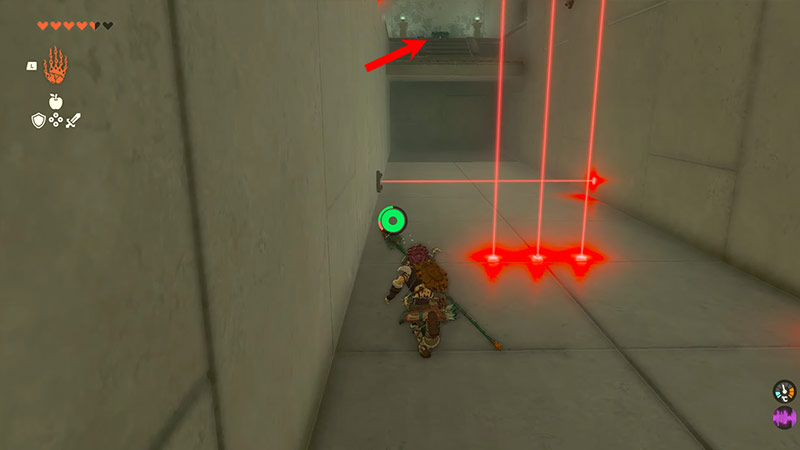
Image Source: 100% Guides on YouTube - Collect the Small Key from the chest and use Ascend to climb up.
- Turn around, beat the enemies, and use the key to unlock the metal ball.
- Now, you must carry the ball up the stairs and take the lift to the left.
- To unlock the glider ahead, place the ball in the pit, remove the glider with Ultrahand, and place the ball on the glider.
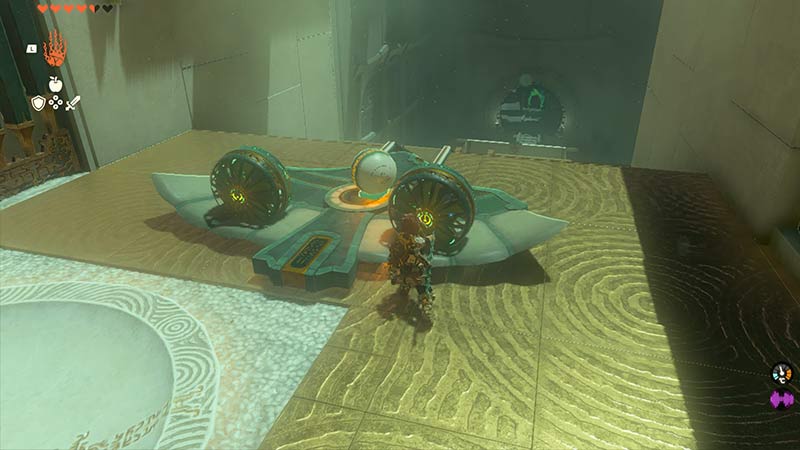
Image Source: 100% Guides on YouTube - Point the glider in the direction of the runway and hit it to get it moving.
- Then, glide down to the entrance and wait for the glider to reach you.
- Finally, use Ultrahand to detach the ball and place it in the pit to get the Light of Blessing.
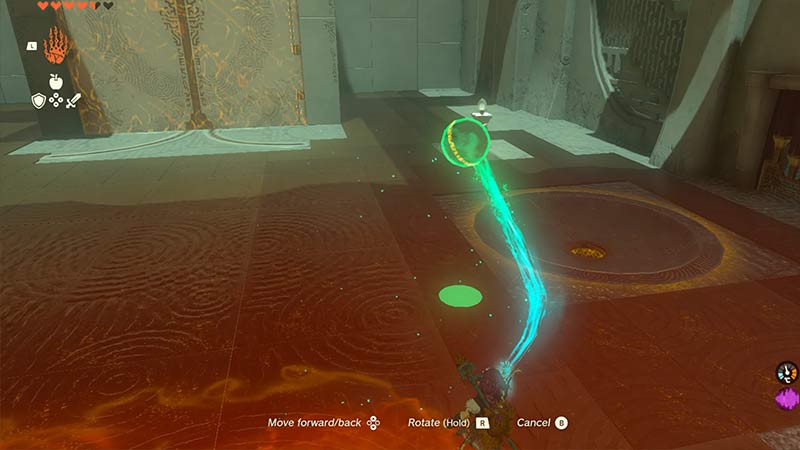
Image Source: 100% Guides on YouTube
If you want a step-by-step walkthrough, then can also check out this video by 100% Guides on Youtube.
You can use this Light of Blessing to increase Link’s Hearts or Stamina. We hope this guide helps you complete the Orochium (Orochimaru) Shrine in Zelda Tears of The Kingdom. While you’re here, check out our ToTK guides section for more shrine walkthroughs like Tukarok or Makasura. You can also visit our YouTube page for videos on the same.