Minecraft 1.18 is finally here and it’s a massive Caves & Cliffs Part 2 update. Now that the update is here, players are searching for Minecraft 1.18 shaders and that’s exactly what we will show you in this article. Let’s take a look at some of the best shaders that you can use to level up your visual experience of Minecraft.
Best Minecraft 1.18 Shaders – Caves & Cliffs Part 2 Update
Want better graphics in Minecraft? Take your pick from these Minecraft 1.18 Shaders list.
Iris Shaders

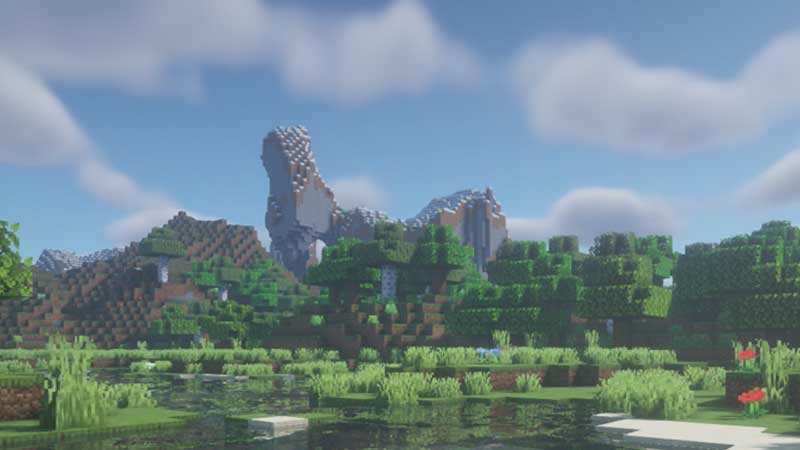
The best part of Iris is that when used along with Sodium mod, it completely uses your GPU’s full power. And it is fully compatible with any other mods you might have running on your system. Iris has quite a few good features such as Optifine parity, compatibility with CaffeineMC optimization mods such as Phosphor. With great mod compatibility, modern design, and good entity rendering of block entities like pigs, chests, etc, there’s a lot you will like in this shader. You will also get improvement in the shadow rendering and get smooth FPS as well.
Also Read | Minecraft Optifine 1.18 Download & Install Guide
BSL Shaders 1.18
BSL Shaders is a well-known name and you can download the latest version from Curseforge. It’s a shader pack that gives you a lot of customization and optimization options. If volumetric light, ambient occlusion, real time shadows, better clouds and built-in anti-aliasing is what you want, this mod will give it to you. It’s one of the most popular Minecraft shader packs and it’s truly worth the hype.
Sildurs Vibrant Shaders 1.18
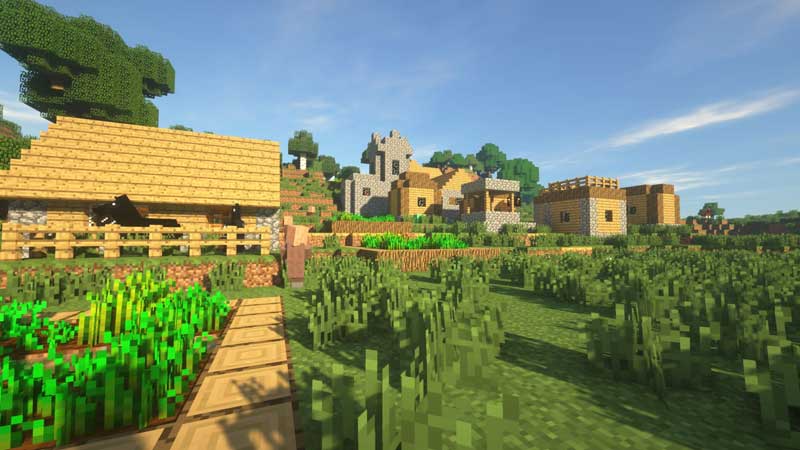
For those who prefer a better lighting system while ensuring that the performance is not affected, can also check out Sildur’s Shaders. The vanilla format of the base game gets a complete revamp and you will now get better reflections and more. The best part is that no matter how low-end your PC is, if it can run Minecraft, it can run with this shader pack.
SEUS Shaders (Sonic Ether’s Unbelievable Shaders)
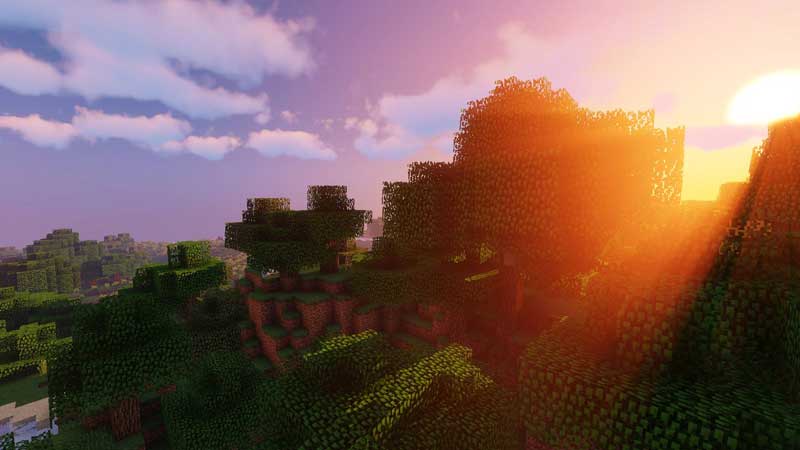
SEUS Shaders changes up the overall look and feel of Minecraft while keeping the essence intact. Everything looks more lively and real. The lighting system, accurate sunlight color and sky lighting takes the game up a notch and it’s equally awesome during daytime and night. Plus, the different light sources just glow differently with this shader pack. So, if realism is what you are going for, this is the Minecraft shader for you.
Complementary Shaders 1.18
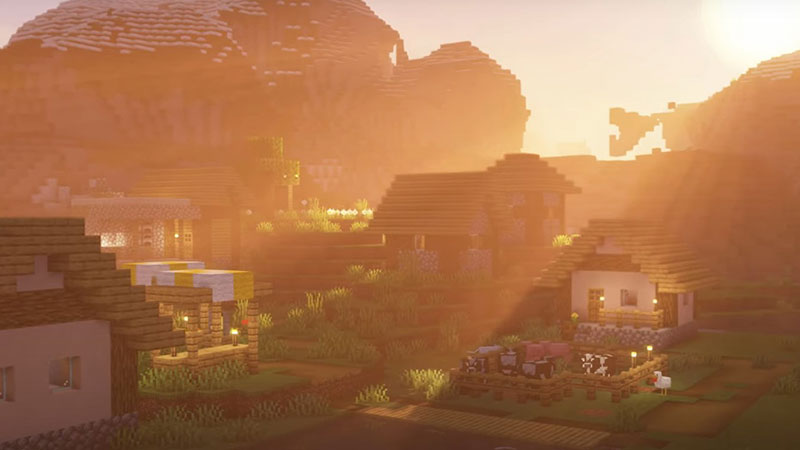
This is a shader pack that is based on BSL Shaders and it aims to give you greatness in everything – compatibility, looks, performance and more. It’s fast too and makes the game look awesome no matter the time of day. Whether it’s the sunlight creeping in or the moon shining brightly at night – this shader pack will deliver.
TME Shaders 1.18
This is yet another shader pack that gives you realism in Minecraft. Its color, reflection, shadows, fog, and more effects are simply amazing. Plus, you get improved skies, light and other environmental changes that will give Minecraft a fairytale-like look and feel. No doubt – with this mod, you’ll want to explore every corner of the world because it truly becomes more lively.
How to Install 1.18 Shaders?
- To be able to use Minecraft shaders on your PC, you need Optifine.
- Run Optifine and click on Install.
- Start the Minecraft Launcher.
- Click on the drop-down which is to the left of the green play button.
- Choose Optifine from there.
- Hit play and check the bottom-left section of the window. If it says modded that means Optifine has been installed properly.
How to Add Shaders to Minecraft?
- In Minecraft, click on Options.
- Then select Video Settings.
- Next, click on Shaders.
- In the new window, click on Shaders Folder which is at the bottom left.
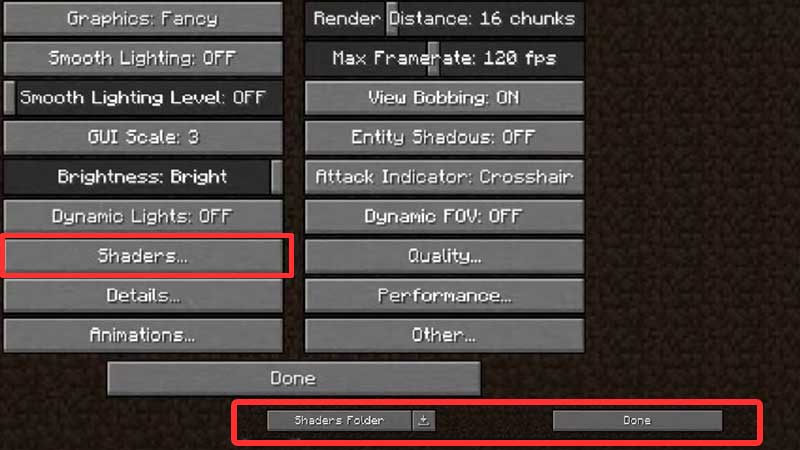
- Add in the Shader you want to use into this folder.
- Click on Done.
- That’s it! You have successfully added shaders to Minecraft and you can now enjoy everything they have to offer.
These were some of the best Minecraft 1.18 shaders that you can use. We will be adding more shader packs to this list often, so do check back soon. While you are here, don’t forget to know more about the best Texture packs that you can use in 1.18 update.