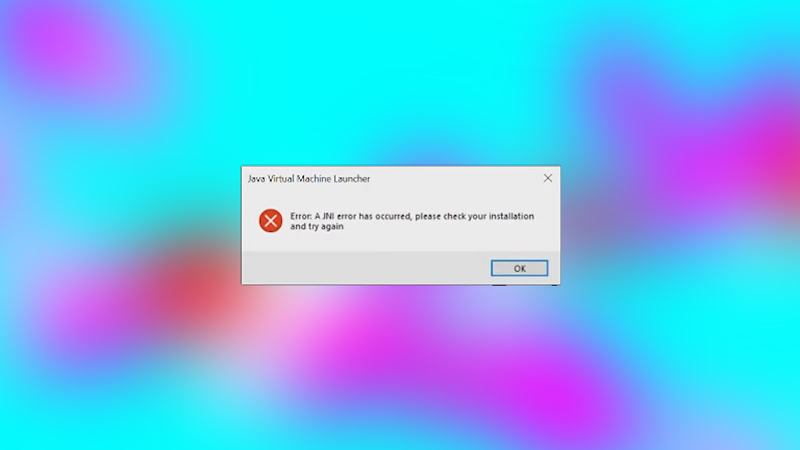
Minecraft gets major updates which bring quite a bit of change to the game. From the introduction of newer Mobs, the addition of new Blocks and Ores, to a massive change in World Generation, and more. With all of this new content, the players are very eager to play Minecraft but a certain problem has arrived. An error has been pestering many players since the 1.17 Minecraft update, the JNI Server Error in Minecraft. In this guide, I will explain how to fix the JNI Server Error in Minecraft.
How to Fix the JNI Server Error in Minecraft

There is a simple fix to the JNI Error in Minecraft. All you have to do is follow the given steps below.
- Download Java 18 or above.
- After downloading Java, install it on your PC.
- Once the installation is done, restart your PC (Just to be safe).
- Now from the 1.17 (or higher) Server folder, double click the server.jar file.
- The JNI Error should no longer pop up and your Minecraft Server should run smoothly.
- If the error persists then try to reinstall it and restart your PC.
Why does the JNI Error occur?
As of Minecraft 1.17 update, Mojang has updated their Java version. This means that till Minecraft 1.16, the game could run on Java 8. But as of 1.17, the game will only run on Java 16 and above (the latest versions). This way the JNI Error would occur while trying to execute your Minecraft Server. The Java version mismatch is the cause and after following these steps, the game should be running correctly. The download and install process for Java 18 and above is pretty simple and as you begin the download process, you will be guided. If there are any changes to this fix or if there is another error that is similar to JNI, we will be covering it as soon as possible. As of now, install, download, & enjoy your favorite game with zero problems.
This was all about the JNI Error Minecraft Server Fix. Hopefully, this guide provided you with the necessary information to fix this error. You can also check our guide on Security Bug Fix in Minecraft.

