If you are bored with your default Steam interface on your Windows 10 or 11 PC, you get the option to install custom skins and themes to customize it further. This guide will walk you through the process of adding this customization to your favorite gaming platform.
As you know, Steam has an impressive community where players interact and trade in-game items like skins. While you’re spending your time on this platform, you can try giving it a fresh look. Users can change some features like avatar, profile background, theme, and more. However, to completely transform your Steam UI, you must download skins, and here’s how to do it.
How to Customize Steam Design with Skins (Windows 10 & 11)
To download skins and customize your Steam design:
- Open your browser and go to Steam Customizer.com.
- Click on the ‘Download Tool’ option on the top-right side of the screen.
- Then, hit Download and install the tool.
- Go back to the Steam Customizer home page.
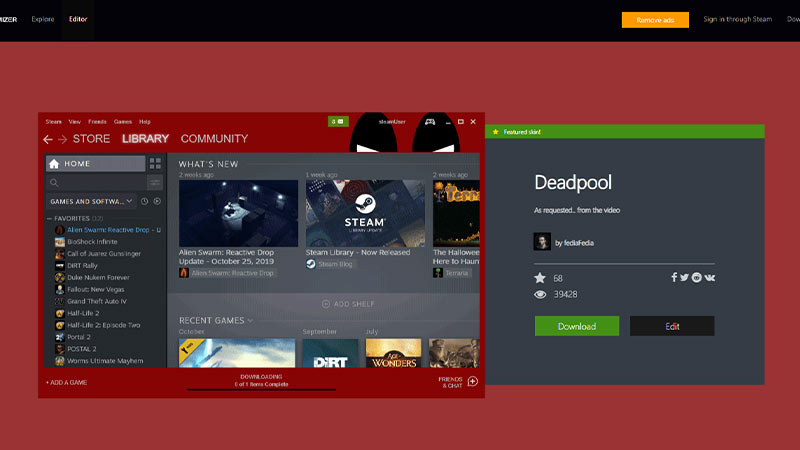
- You’ll notice two options where you can either create a custom skin or explore the community skins.
- If you want a pre-made skin then go to Explore.
- Then, select any skin you like and click on Download.
- Once the skin is downloaded, go to the Downloads folder and double-click on the skin.
- This will restart your Steam and automatically apply the design.
This site has a plethora of custom skins that you’ll like. So if you want to use a new skin every week, then you can easily swap skins. To do so, launch Steam and go to Settings. Now, navigate to the Interface tab and click on the drop-down menu below the ‘Select the skin you wish Steam to use’ text. Then, select your preferred skin and hit ‘ok’. Then, restart Steam to apply the skin. You can also go back to the default skin with this method.
That’s all from us on how to install custom skins and customize your Steam design. If you cannot choose between the skins, then here’s a list of the best Steam skins to use.