If you want to give your character a brand new look, especially something that’s custom made, this guide will help you out. Read until the end to know how to make a Minecraft skin and use the customization with your personal touch. You can even create a skin that looks like you!
How to Make your Own Custom Minecraft Skin?
To create your own custom Minecraft skin, you can use an online Skin editor such as the one on Minecraftskins.com. Through this site, you can either create a skin from scratch or you can edit one that has been made by someone in the community and change it up. Once done, you can also share the skin with others.
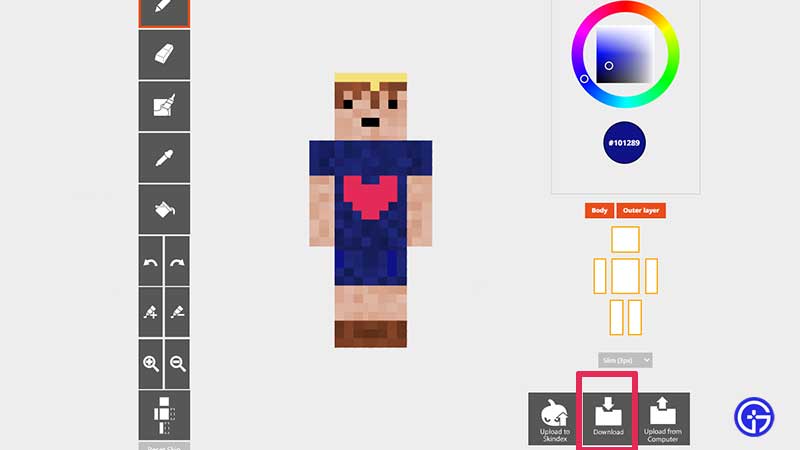
Minecraft Skin Editor for Custom Skins

The Minecraft skin editor gives you the options to change the look of your character. Explore every tool including the Pencil, Bucket, Color Picker etc to design your own skin. Create the attributes that you have and that’s how you can easily make a Minecraft skin that looks like you. Once you are happy with the output, select the option of Downloading it that you will see on the screen. You can also upload to Skindex if you wish.
In case you don’t want to go through all of these steps, you can simply choose a custom skins from the wide variety available on minecraftskins.com.
How to Upload a Custom Skin to Minecraft?
After you have downloaded and saved your custom-made skin to your device, check if the file has a .png extension which it should have. Then, follow the steps given below:
- Launch Minecraft.
- Choose Skins from the Main Menu itself.
- Select Browse Skin.
- Head to the folder where you saved the .png file.
- Select the new skin you want to use.
- So when you load up Minecraft again, you will see your character wearing the brand new skin that you made.
So, that’s all about how to make a custom Minecraft skin that’s your very own. While you are here, check out all our Minecraft guides that will give you various tips and tricks that you may not know about.

