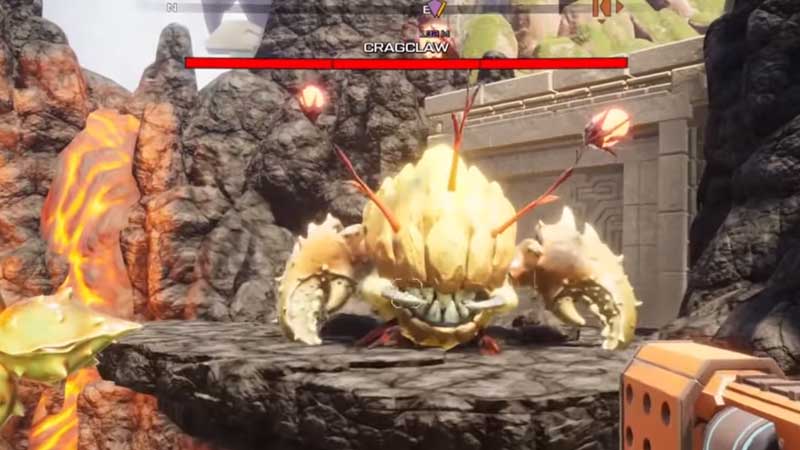
Cragclaw will be the first boss you will fight in Journey to the Savage planet during the main mission to Investigate the Tower. If you are finding hard to defeat the boss or stuck somewhere then here is a detailed guide. In this walkthrough, you can find a solution for how to Defeat Cragclaw Boss and how to unlock Bombegranate Stabilizer gear in Journey to the Savage Planet. The Bombegranate Stabilizer upgrade will allow you to carry explosives fruits in your belt. Before this, you can just grab them and throw them to break walls, but after unlocking the upgrade you can keep explosives every time with you. To unlock the Journey to the Savage Planet gear you will need to defeat Cragclaw Boss and you will need Proton Tether and Grapple Seeds.
Also do not forget to upgrade your Nomad Pistol with Supercharged shot (100 Silicon ) and Improved damage (100 Carbon). So let’s begin with the guide.
How to defeat Cragclaw Boss In Journey to the Savage Planet
After unlocking Proton Tether by collecting a sample from Chamber of Intrigue your next main mission is to Investigate the Tower. Follow the objective marker and you will stop at a mountain. Grab some Grapple seeds and throw them on the circular mushroom kind of plants on the wall. Climb up and you will discover a new region The Cliffs of Mt. Gzarfyn. Activate the Fast Travel point first.
You will have to cross the lava fall to reach a locked door. This new area has huge rocky pillars so lot of jumping is required. At this same place, you will fight the first boss Cragclaw. Killing him will unlock a path to Bombergranate Shrine. Collect a sample and return to the Javeline to craft Bombegranate Stabilizer. This will allow you to carry explosives, for breaking walls and defeating stronger enemies.
Tips to defeat Cragclaw:
There are three waves of battle with Cragclaw in Journey to the Savage Planet. You can grab health potion in the first two. After every wave, Cragclaw will unleash powerful attacks, you can see his health bar is divided into three parts. Each part represents one wave of battle. So before you enter the third and final one do grab some health potion and keep your bar full. Avoid standing on fire for a long time or else you will die.
Wave 1: When Cragclaw reveals itself he will have three glowing tentacles on this head. You have to destroy all three to empty the first section of health. The best tip here is to stand to hear the plant that drops health potion. The attacks will be slow and less severe. Cragclaw will release a wave of fire and rocks. You can dodge or crouch to avoid it, shoot the three glowing eggs on his head and enter the second wave. After every three attacks, Cragclaw will pause for a while, first avoid the attacks and then attack him.
Wave 2: In the second wave he will summon four tentacles and the fight continues. Now the attack pattern has four attacks straight. First, he will spit fire on you, so change your position. Next, he will release three fire waves one after another so dodge or crouch and then shoot down all four glowing eggs on his tentacles to empty the second section of the health bar.
Wave 3: In the last and final wave of attack, Cragclass Boss in Journey to the Savage Planet will have fine attack points. His attack patterns will be different know, he will release fire wave along with spitting fireballs. The area wherever it falls will catch fire. So be ready to jump to another platform, and shoot. This will be easier, but take care you won’t stand on fire for long. It will damage your health. You are not going to get any health potions in the last wave.
Crafting Bombegranate Stabilizer requires 100 Carbon and 200 silicon along with a fluid sample from Bombergranate Shrine.
After killing Cragclaw in Journey to the Savage planet you will get access to Bombegranate Shrine, grab the sample and return to your Javelin to craft Bombegranate Stabilizer. There is a cracked wall behind the shrine which will give you access to the Tower’s gate and a Fast Travel point on the right end.


