The NHL Franchise has had hip checking as a defensive option in-game which makes it important for you to know how to Hip check in NHL 22. In this guide, you’ll learn how to do a hip check easily in NHL 22.
How to Do a Hip Check in NHL 22?

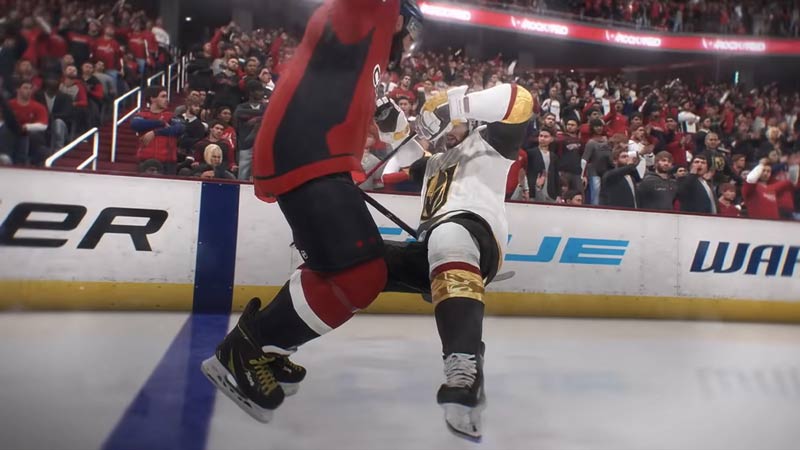
You can do a Hip Check when your team is off-possession of the puck by heading close to the opposing player and click the Right stick on Xbox or the Right Analog on Playstation and subsequently press LB on Xbox or L1 on PS. You can use the hip check to get the opponents off the puck. This is a great way to dispossess the player and is a little less physical than a body check. Additionally, it is also more technical and needs a little more physics revolving around it. Once you learn how to do a hip check, ensure you’re practicing it before you use it in-game though. While it is great to unsettle the opponent, it could also result in a counter and catch you out.
Hip Check or Body Check in NHL 22 – Which one’s better?

There’s just one answer to this- it is situational. While a lot of players prefer the body check, you risk putting yourself out of position more easily. However, in-game you’ll need to read situations before you go in for checking. In order to perfect it, you need to run some practice. These practice sessions will not only make you more comfortable with the process, but also invoke a muscle memory for each of the two checks. In order to help you out in-game, here’s a table listing the controls for both checks.
| Check Type | Play Station | Xbox |
| Hip Check | Press Right Analog + L1 | Press Right Stick + LB |
| Body Check | Move Right Analog As Per Opponent’s Direction | Move Right Stick As Per Opponent’s Direction |
We hope this guide was of assistance to you. Now that you know how to do a hip check in NHL 22, get practicing. Moreover, if you’re a fan of EA sports games, you’ll like our FIFA Guides section as well.

