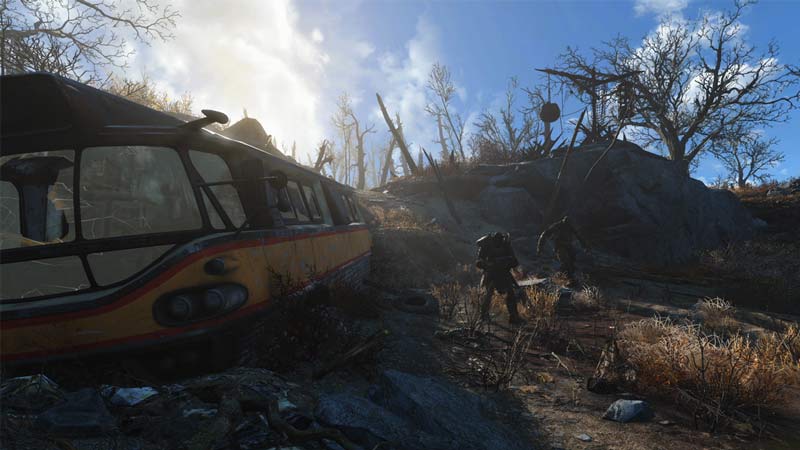
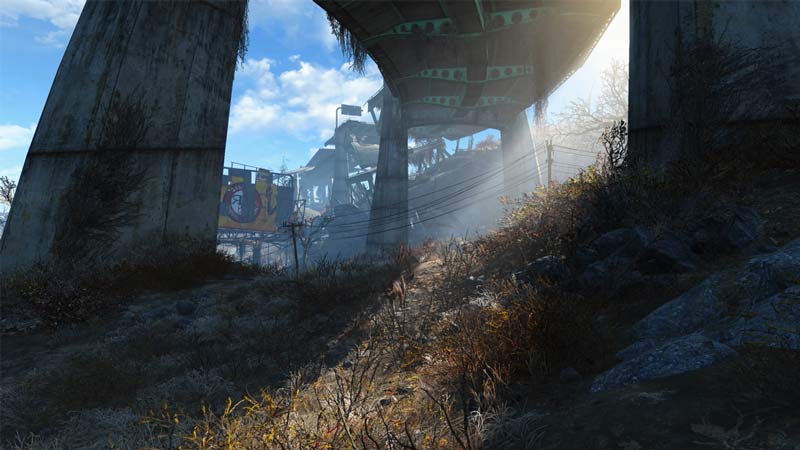
Fallout 4 has been facing stuttering, lag, and frame freeze issues for a while now and the community has pointed this out frequently in hopes of finding a working fix. The game was originally released way back in 2015 but is still played and loved by gamers worldwide. Among the many concerns the community had amidst the graphical ones, the stuttering issue seemed to bother a whole lot more. In this guide, we’ve mentioned a list of potential fixes for the same. Follow these fixes to bring your stuttering issues in Fallout 4 to a halt.
How to Fix Stuttering in Fallout 4?
In order to fix the stuttering issues in Fallout 4, you’ll have to optimize your system and tweak it a bit to smoothly run the game. Most of the issues occur because of incorrect system settings, which sees even high-end systems face this issue. We’ve listed out a few methods to get the best out of your system to run Fallout 4 and fix Stuttering once and for all.
Run A System Check
The first thing to do here is to ensure your system is ideal and fulfilling all requirements to run the game. Start and check if your system possesses the bare minimum required to run Fallout 4. To do this, follow these steps:
- Simply launch the DirectX Diagnostic Tool by holding down windows+R and entering “dxdiag” in the Run window.
- In the DirectX Diagnostic Tool window which appears, your system’s specs will appear under the system tab.

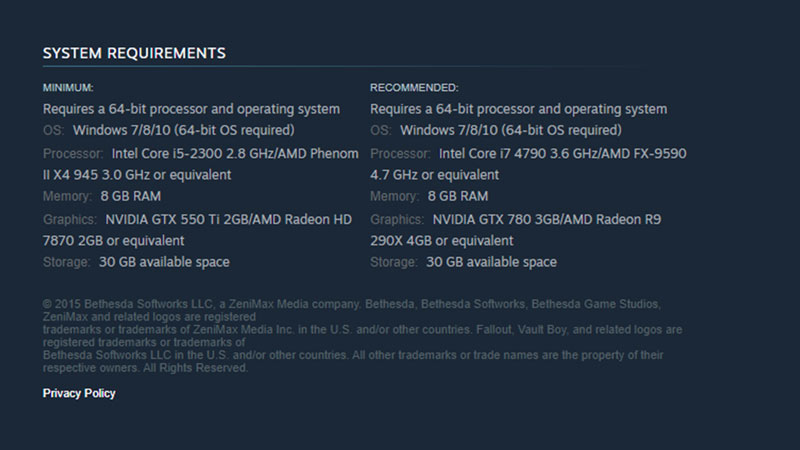
- You can compare your system’s specs with the aforementioned image which specifies what Fallout 4 needs to run.
- If your system specs don’t correspond to the minimum requirements or the recommended system requirements, this could be a potential reason for the stuttering you face in-game.
- If the reason is your specs falling below the minimum system requirements, you’ll need to upgrade your system.
Inspect the Space on your Hard Drive
It’s possible that your hard drive is running low on space and that’s what causing the stuttering issues. You can give this a check by heading to This PC and seeing if the space indicator on your hard drive is red. If this is the case, consider upgrading it to one with more space. Additionally, you can check to see if the space is limited only on the partition where you installed the game. If you have space on other partitions, you can borrow that space instead of purchasing a new hard disk. You can do this easily by using third-party tools. Here’s a method you can follow:
- Download minitool partition wizard and launch it.
- On the app, locate the partition you wish to extend and right-click on it.
- After you right-click, select extend from the options that appear.
- A pop-up window should appear with a drop-down list of partitions and a slider.
- In the drop-down list, select the partition and nudge the slider to match the space you wish to allocate.
- Now click on okay, then select apply.
- Launch your game and check if the stuttering issue is fixed.
Alter your Display Settings
It’s been noticed that the borderless mode in Fallout 4 has caused a lot of stuttering. To ensure you give preference to in-game performance over aesthetics, you’ll have to let go of this feature. You can change your resolutions to solve the stuttering issue for this. Here’s how you can do it:
- Open up your desktop screen and make sure your mouse is in a blank region and nothing is selected.
- Now either right-click or press the menu key on your keyboard (located between the right windows key and the right Ctrl key).
- From the options that appear, select display settings.
- The display menu will appear, locate the display resolution options and select whichever resolution has “recommended” mentioned in brackets.
- Similarly, launch Fallout 4, and in the menu head to options settings and set the recommended resolution.
- Save these settings. Your stuttering issues should have a fix now, relaunch the game to ensure the same.
Update your Drivers
Updating your drivers regularly fixes a ton of in-game issues that go beyond the stuttering issues you face in Fallout 4. Take a look at this easy method to update your drivers:
- Right-click on the Windows Start Menu and select “device managers“.
- In the window that opens, locate display adapters and click on it.
- Here your graphic cards will be displayed.
- Simply right-click on the graphic card and select the update option to update its drivers.

Shut Off Stuttering by Tweaking V-Sync
V-sync tries to limit your fps and prevent screen tearing among other issues. This however also results in stuttering while playing Fallout 4. While some fixes encourage you to disable V-sync, we’ve found that completely disabling it leads to additional issues. We, therefore, recommend tweaking it instead of disabling it. Here’s how To tweak V-sync:
- Simply head to the Nvidia control panel and locate manage 3d settings.
- In program settings, select Fallout 4 and locate the vertical sync option.
- Toggle it to adaptive.
- If you’re on AMD, download Radeonpro, install, and launch it.
- locate the tweaks tab, and in V-sync control enable dynamic V-sync.
Run Fallout 4 in Compatibility Mode
Running your game in compatibility mode is another good way of trying to cancel out the stuttering faced in-game. To run the game in compatibility mode, here’s what you need to do:
- Hover on the game icon, right-click and select “properties“.
- Locate the compatibility tab and check the Run this program in compatibility mode option.
- Hit Apply and click OK to save the new settings.
- Now simply relaunch the game and check if the issue still appears.
Clear Out Background Applications
Fallout 4 relies on a good network to run. In the scenario that your system has too many programs utilizing a lot of system resources while running in the background, the game is bound to have some stuttering. You can solve this easily-
- Simply open the task manager by holding Ctrl+Shift+Escape.
- Clear out any app you don’t require by selecting end task/process.
- Relaunch Fallout 4 once done.
Calibrate your Framerate
If your framerate sees frequent drops, it may cause some stuttering in-game. Here’s an easy way to ideally calibrate your frame rate thus reducing or putting an end to stuttering.
- Head to C:\Users\YourUserName\Documents\My Games\Fallout4 or the location where you’ve installed the game and stored the game’s files.
- In the Fallout 4 folder, locate Fallout4Prefs.ini. and right-click it, then edit with notepad.
- Once open, hold down Ctrl+F and type in iFPSClamp which will give you the text location of it.
- Here, you’ve got to enter a numerical value. You can set it in this manner iFPSClamp=58.
- Now save this file and exit.
- Relaunch Fallout 4. Your issue will have stopped.

These aforementioned steps should put an end to your issues regarding Stuttering in Fallout 4. We hope this guide was of assistance to you in-game. If you like playing Fallout 4, here’s a cool guide that explains how you can play as Lady Dimitrescu in Fallout 4!


