When you’re exploring the post-apocalyptic world of “Dead Rails,” the right selection of character classes can impact your overall experience. By default, you have the None class which doesn’t have any special abilities, making the game very challenging. However, there are some more classes that provide different equipment and modifications with a different cost for each of them. Learn more about Dead Rails classes in this guide.
Also Read | New Priest Class
Classes in Dead Rails
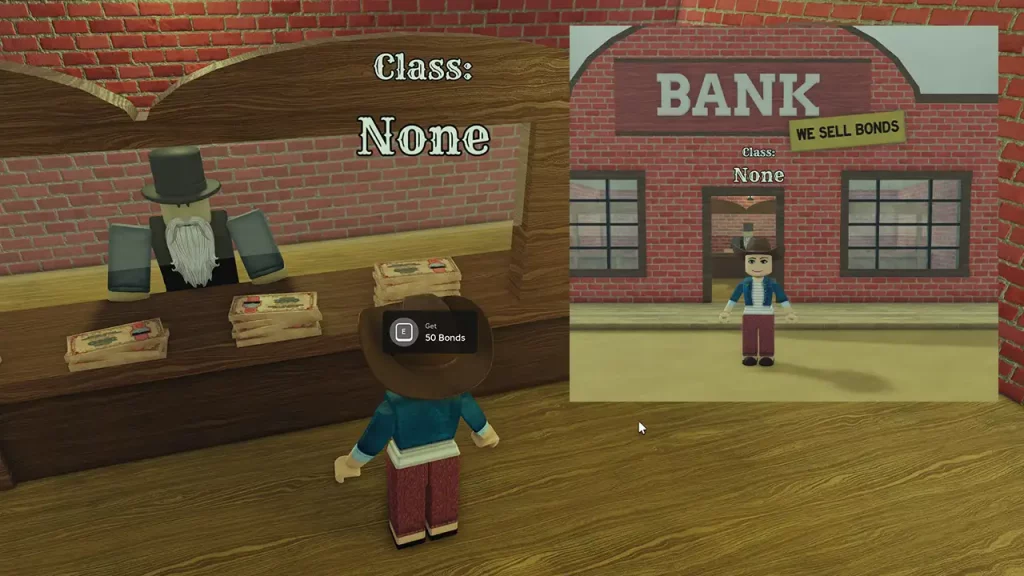
To change your class, visit the Tailor in the lobby, and spend Treasury Bonds to unlock them. Note that more classes may be added in the future but these are the ones that are currently available.
None Class
For those looking for a good challenge, the None class is the default choice. This class comes without special abilities or modifiers, serving as a true test of skill. Players start with:
- Shovel: A basic melee weapon effective for close-quarters combat.
- Brown Cowboy Hat
Choose this only if you want to have a realistic experience of surviving the harsh world of Dead Rails.
Doctor Class
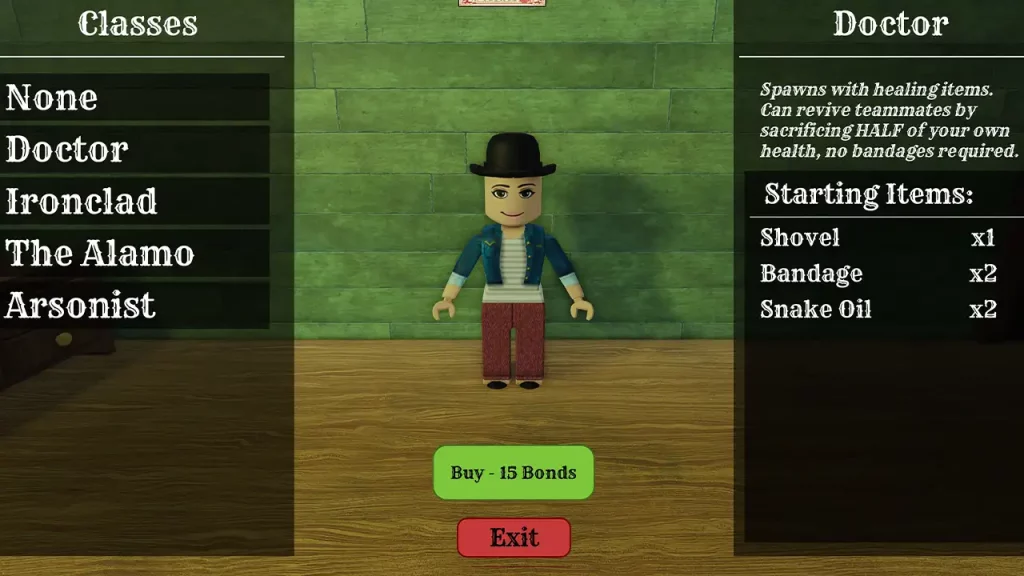
If you’re playing with friends, the Doctor class is a crucial addition because you will provide the necessary support and healing. Doctors can revive teammates by sacrificing half of their own health without the need for bandages—a critical advantage in dire situations. Starting equipment includes:
- Shovel
- Bandages (x2): Essential for treating wounds and maintaining health.
- Snake Oil (x2): Potent healing items that restore health over time.
- Bowler Hat
The Doctor’s ability to balance personal health with team survivability makes this class important for co-op play.
Iron Clad Class
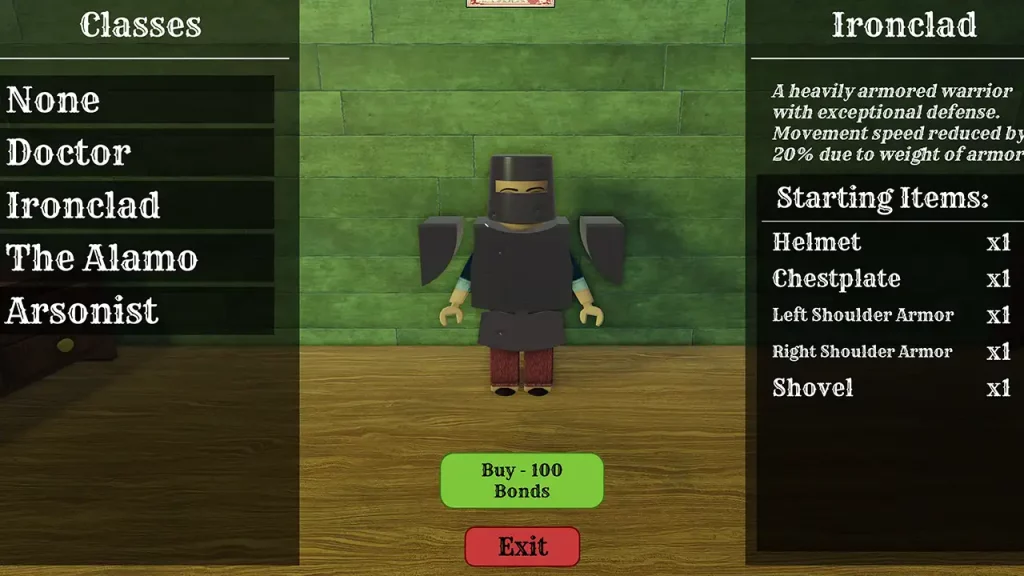
For players who prefer to be at the forefront, the Iron Clad class is the one providing good defense. You are a heavily armored warrior with a 20% reduction in movement speed due to the armor’s weight. Your equipment includes:
- Helmet: To protect you from attacks to the head.
- Chestplate: Shields the torso from attacks.
- Left and Right Shoulder Armor: Enhances overall durability.
- Shovel
The Iron Clad player will come in handy during intense combat scenarios, especially when you get ambushed.
The Alamo Class

Specializing in fortifications, The Alamo class focuses on defensive strategies to protect the train. Players opting for this class are equipped with:
- Helmet
- Steel Walls (x3): Deployable barriers.
- Barbed Wire (x3): Defensive measures to scare off and damage enemies.
- Shovel
The Alamo class ensures the train and the players on it remain safe when the area around them turns to chaos.
Arsonist Class
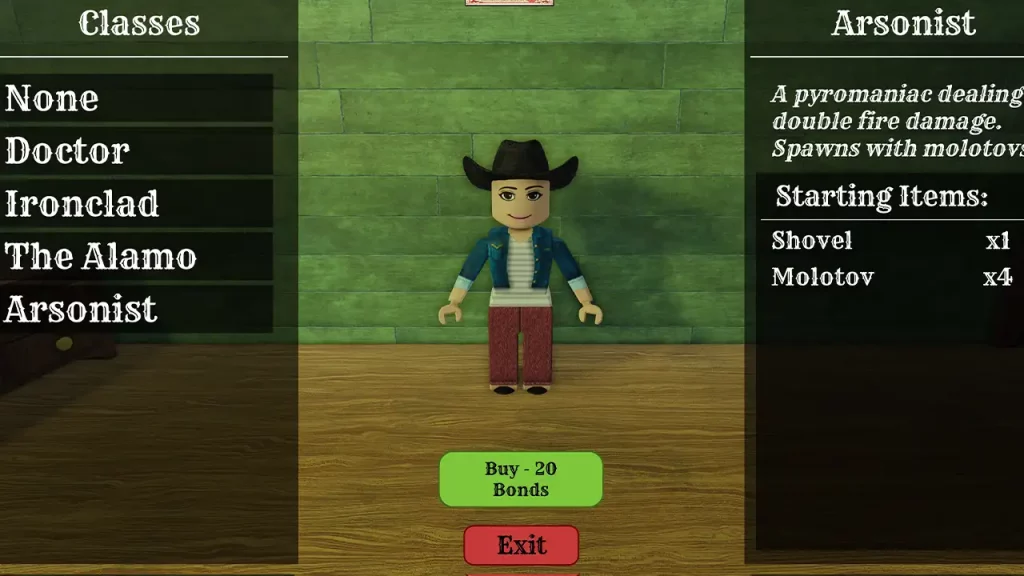
For those who prefer destruction, the Arsonist class delivers double fire damage and spawns with a fiery arsenal. This class is ideal for aggressive players who want to focus on taking down enemy mobs.
- Shovel
- Molotov Cocktails (x4): Explosive devices that set areas and enemies on fire.
- Charred Cowboy Hat
The Arsonist’s expertise is with flames, and if you have a team with a DPS-style player, this is the ideal class for them.
Unlocking Classes
To access these classes, players must visit the Tailor in the Lobby. Unlocking a class requires Treasury Bonds which can be collected during runs or purchasable at the Lobby Bank. Since Bonds are mostly obtained from areas packed with enemies, it’s best to head out and explore important buildings during your travel.
Costs:
- None: 0 Bonds
- Doctor: 15 Bonds
- Ironclad: 100 Bonds
- Arsonist: 20 Bonds
- The Alamo: 50 Bonds
Selecting the right class is crucial and can depend on your preferred playstyle and team dynamics:
- Solo Play: The None class offers a pure challenge, while the Iron Clad provides durability.
- Duo Play: Pairing a Doctor with an Iron Clad balances offense and support.
- Trio Play: Incorporating The Alamo adds defensive capabilities to the team.
- Squads: A diverse team including an Arsonist can maximize damage output and adaptability.
With the right balance of direct combat, supportive roles, or defensive tactics, you can make the Dead Rails journey more rewarding.