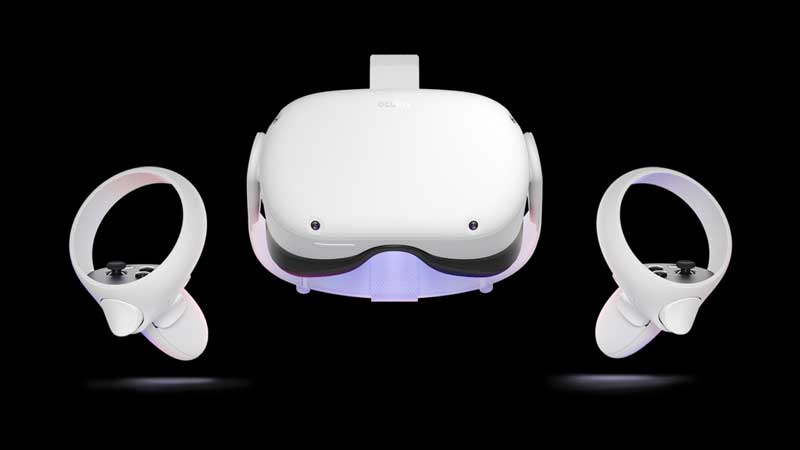
The Oculus Quest 2 is a really popular VR (virtual reality) device, and if you connect, stream, and cast it to the Roku TV, you can have a great experience. However, the only issue with doing so is the fact that the process can often be rather confusing and tricky to understand. If you too are one of the many going through this dilemma, we have got just the guide for you. Here, we will show you how to cast the Oculus to Roku TV.
How to Connect, Stream & Cast Oculus Quest 2 to Roku TV?

In order to cast the Oculus Quest 2 to Roku TV, you need to make sure you have a TV with the Chromecast app installed. Alternatively, you can also plug a Chromecast device in.
Next, you need to ensure that your VR headset and mobile are connected to a common Wi-Fi network. Once you do so, switch on your TV and then do the same for the Oculus headset.
Now, open up the Oculus application on your mobile device. Once in the application, click on the Cast icon. This icon is easy to identify as it is resembled by a headset with Wi-Fi waves. You will find the said icon in the top right corner of your screen. Upon clicking on this icon, you will be asked to grant certain permissions (this is only if you are casting for the first time). Make sure to grant access to the relevant services and continue.
Now, you should find the Oculus headset in the Cast From section of the application. If there are other headsets in your vicinity and they show up on the application, just make sure you select yours.
Now, head to your TV or Chromecast device in the Cast To box. Before doing so, make sure to switch your TV & Chromecast are switched on.
Once you complete this process, simply click on Start at the bottom of the screen. And that’s it. With these simple steps, you will be able to connect/stream/cast your Oculus Quest 2 to Roku TV. As you can see, this process is quite easy as long as you follow the steps in this guide.
Now that you know how to do so, take a look at our guide on How to Fix Oculus Go Controller Not Working.

