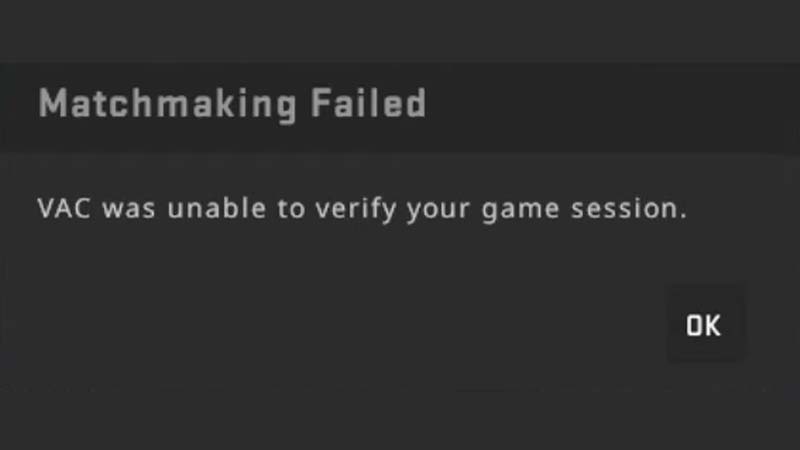
Vac Was Unable to Verify the Game Session error in CSGO is one of those frustrating things you might find hard to fix. But quite opposite to the popular belief, you can actually fix this error in few easy steps. So if you just started your Counter-Strike: Global Offensive after a while got this error, don’t worry, we will guide you to solve this issue in this guide right away.
How to Fix VAC Was Unable to Verify the Game Session in CSGO?

To Fix VAC Was Unable to Verify the Game Session error in CSGO, you need to follow below simple steps:
- Verify Game Files Integrity
- Restart Steam Client
- Repair Steam Client
- Reinstall CS:GO
Verify Game Files Integrity
- Go to Steam library, once you close the game.
- Right-click on CS:Go
- From the drop-down menu, click on the Properties.
- Click on the Local Files tab.
- From here, click on the Verify Integrity of Game Files button.
- After a minute or so of verification, your issue must be solved.
- But before you start the game, go to the next step.
Restart Steam Client
- Close the Steam Client
- Make sure it is not running in the background.
- You can check this via your Taskbar Tray, or via Task Manager.
- Make sure you close all the running instances of the Steam Client.
- Once done, restart the Steam Client and load up Counter-Strike: Global Offensive.
- Your game should load up now. If not then you can move on to the next step below.
Repair Steam Client
- Close the Steam Client
- Make sure it is not running in the background.
- You can check this via your Taskbar Tray, or via Task Manager.
- Make sure you close all the running instances of the Steam Client.
- Press Windows key+R, this will open up the Run window for you.
- Type in “cmd” and press Control + Shift + Enter.
- This will open up the command prompt in administrator mode.
- It’s vital to run the cmd in Admin mode to do this Steam repair.
- You can also click on start, type in “cmd” and click on “run as administrator.”
- Type in below command
- “C:\Program Files (x86)\Steam\bin\SteamService.exe” /repair
- The directory might be different for you, depending on your Steam Client installed location.
- After this open Steam and start CS:GO
- Voila! You have successfully fixed VAC Was Unable to Verify the Game Session in CSGO.
Reinstall CS:GO to Fix Vac Was Unable to Verify the Game Session Error
If none of these steps help you, then the only way is to uninstall and reinstall a fresh copy of Counter-Strike: Global Offensive in your system. But if you have access to another system with CSGO near you, you can try logging in to the Steam client on that particular system. If you still are not able to log into the game, then you can skip this step of reinstalling the CSGO again.
If you are still getting the error message and cannot log into your game, you need to contact the Support team. But keep in mind they will only be able to help you if you never used any aimbots or wallhacks. If you are guilty of using one or more types for cheats then this could be the reason why your account has been blocked in the first place. To lift this ban you need to get in touch with the Valve team.
That’s all about how to fix Vac Was Unable to Verify the Game Session error in CSGO. While you are here, also check out our Steam Guides to get more tips & tricks like this. We also have covered more hidden secrets for all the latest popular games in our Video Game Guides.


