Imagine yourself in the WWE ring hitting a superstar with an RKO. Well, the custom face scans option allows you to build a character with your face on it. But many players are wondering how to upload face scans in WWE 2K23. If you too are one of them, then you’re at the right place. With this guide, you’ll be able to upload a custom face and apply it to a new superstar in the game.
WWE 2K23: How To Create & Upload Face Scans
The process of uploading a face scan is similar to custom logos. Make sure you have a stable internet connection. If playing on a console, check if your account is linked to the 2K account.
To upload custom Face Scans in WWE 2K23:
- Take a clear photo of yourself with proper lighting and convert it into 512×512 dimensions.
- Launch the game and accept all agreements like EULA at the start of the game.
- Then, open your browser and go to WWE’s official website.
- Click on the “Upload Images” option and select your gaming platform.
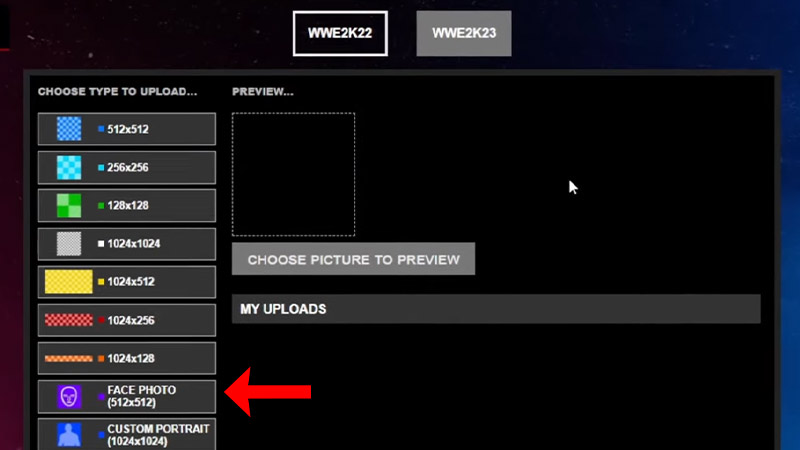
- Sign in to your account in the new window and select 2K23 on the Upload Images page.
- Then, select the “Face Photo” option and select your photo.
- Hit “Upload Now” and select “Accept”.
Once you complete these steps, your face scan will be uploaded to the game.
How to Use Face Scans on a WWE Superstar
Once the face scan is uploaded, follow these simple steps to apply it on a custom superstar:
- Launch the game and go to the Online tab.
- Then, go to Community Creations and select Image Manager.
- Select your photo scan and download it to your local file.
- Then, go back all the way to the Main Menu and go to the “Creations” tab.
- Select “New Custom Superstar”.
- Then, follow the prompts till you reach the customization menu.
- In the “Face” option, select the Face Template closest to your head shape.
- Then, go to the “Facial Photo Capture” option and select your face scan.
- Now, match your eyes, nose, and mouth with the character’s mouth and edit the fine details on the Facial Region page.
- Then, select “Accept” to add your face scan to a WWE character.
You can also remove the background of your image and create a face texture if you have Photoshop. Here’s a video by the Youtuber JasonReidDarin to help you get the perfect face scan. Once the process is complete, you will have a WWE character with your own face in the game.
That’s everything from us on how to upload Face Scans in WWE 2K23. For more such content like How to Create a Custom Title, make sure you visit our WWE 2K23 section.