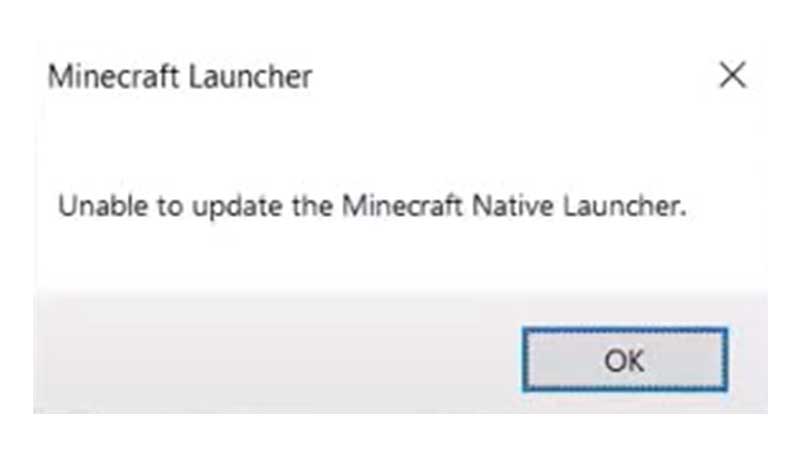
Why can’t I update my Minecraft native launcher? This is the question on the minds of many players because this issue blocks you from playing the game, especially after a new content update. Let’s take a look at all the troubleshooting tips that you can follow to solve this problem.
Unable to Update Minecraft Native Launcher Fix

There are multiple reasons for this error to show up and we will take a look at the potential fixes for each one in the steps given below.
Restart your PC
If you are unable to update Minecraft Native Launcher, restart your PC and see if the fresh boot up helped fix any bugs or glitches that may have appeared.
Check if your Antivirus or Firewall is Blocking Access
Many times, it’s the antivirus or firewall on your PC that’s interfering with the Minecraft launcher update. To check if this is the case, disable your antivirus and firewall and find out if the update is able to complete without problems. If it does, then add Minecraft to the whitelist.
Disable your VPN
Apart from this, also check if a VPN is running in the background while you are trying to update the launcher. This may potentially cause issues connecting to the Minecraft servers so turn it off and try to connect again.
Run as Administrator
One of the reasons why this error could come up is because the app doesn’t have the necessary permissions to launch/update. Search for Minecraft Launcher via the Windows Search option and click on Run as Administrator to give all the required privileges to this software.
Repair Minecraft Launcher
To repair your Minecraft Launcher, follow these steps:
- Click on the Windows icon at the bottom of your screen and search for Settings.
- Click on Apps from the menu on the left and then choose Apps & features.
- Under App list, type Minecraft. The filter should be set to All Drives.
- Click on the 3 vertical dots on the right side of Minecraft Launcher and hit Advanced Options.
- Scroll down and find the Reset section.
- Now click on Repair. Don’t worry, the app’s data will not be affected.
- Make sure to not mistakenly click on Reset because this will delete the app’s data.
Troubleshoot Compatibility
- Click on the Windows icon and type Minecraft Launcher.
- Now click on Open File Location under the logo of the app that will appear.
- Right click on the app and click on Troubleshoot Compatibility.
- Click on Try Recommended Settings.
- Continue the process until it’s done and then check if the error persists.
Uninstall and Reinstall Minecraft
- Make sure you have a backup of your worlds to be on the safer side in case any problems arise during the reinstallation process.
- Once the files are backed up, uninstall Minecraft and restart your PC.
- After that, head to the official website and download the latest version of Minecraft Java edition.
- Restore your save data and other assets and check if you face any issues after this.
That’s everything that should help you fix the ‘Unable To Update Minecraft Native Launcher’ error. If none of this worked, the best option is to contact Mojang Support.
And for more guides related to Minecraft, check out our articles on Gamer Tweak.

