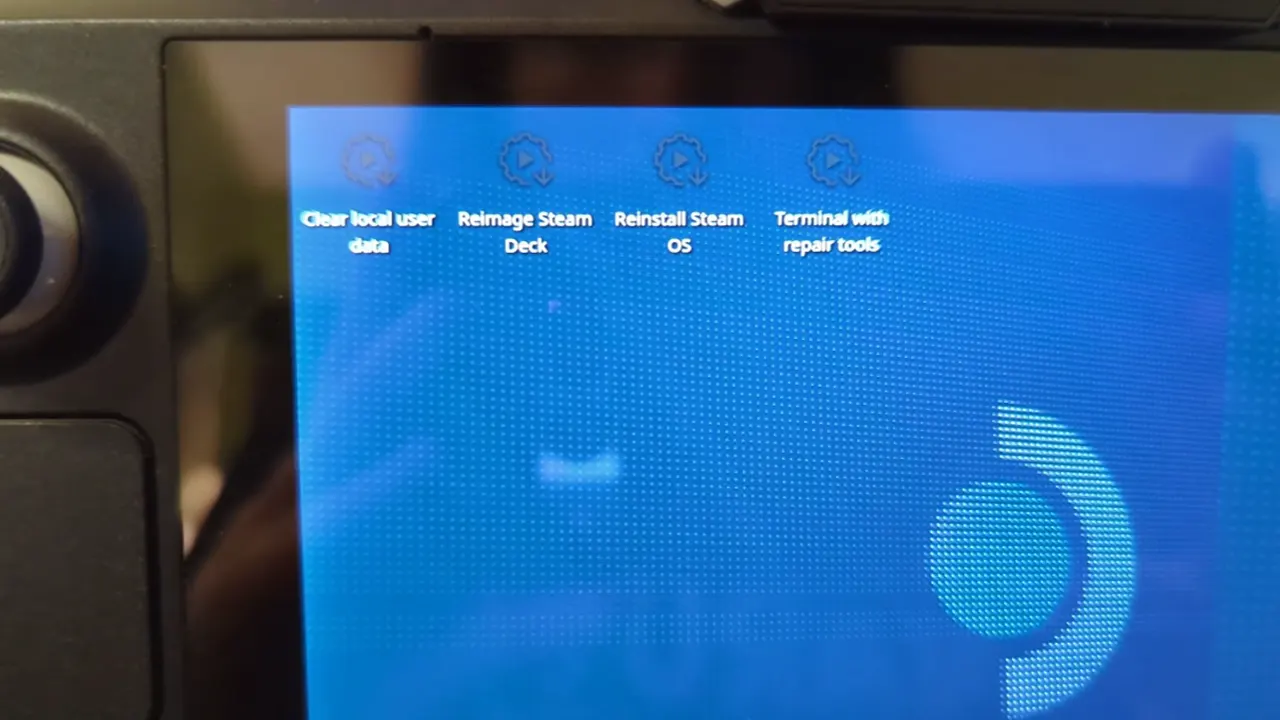
With the help of Steam Deck Recovery Image, players can easily re-image their SteamOS. But in this process, all the Steam Deck Data such as user info, installed games, applications, and OS will be deleted. Consider it as a complete factory reset and installation of a new SteamOS on this handheld. With that out of the way, here’s how you can install the new SteamOS.
How to Re-Image Steam Deck (Get Recovery Image)
Follow the steps below to re-image your Steam Deck:
- Head over to your Internet Browser and download Steam Deck Recovery Image.
- After that, insert a USB Drive (minimum 8GB) into your device.
- Now download any of the following utility software for your respective devices:
- Rufus for Windows
- Balena Etcher for MacOS and Linux.
- You have to use the above software to write the Steam Deck Recovery Image to your USB Drive. Doing so will format your USB Drive.
- Next, eject your USB Drive from the system and insert it into your Steam Deck handheld when it is switched off.
- Now, press and hold the power button and volume down button simultaneously to enter the Boot Menu.
- From there, select your ‘EFI XYZ USB Device’ from the list and wait for the system to boot up.

- Once Steam Deck booted, select the Re-Image Steam Deck option and Proceed.
- Wait for the system to format and restore the SteamOS on your Steam Deck.
You have now successfully used the Recovery image to format and reinstall the SteamOS. Besides Re-imaging, you have other options such as Clear local user data, Reinstall Steam OS, & Recovery tools. Here, re-imaging Steam OS is better than reinstalling it. That’s because the first option will clear all the bad entries from the system and give you a fresh experience.
That’s all for installing Steam Deck Recovery Image by Re-imaging. For more such informative content, make sure to check out our Steam Deck section. We have a bunch of such helpful guides stacked up there.

