If you decide to set up a dedicated server for Soulmask, you can explore a private world with friends, set your own rules, and experience PvP or PvE however you like. The official servers can support online multiplayer of up to 70 players, so if you don’t want to go for that and would like to join a personal, non-official server, here’s how to get started.
Related | List of All Soulmask Admin Commands
How to Set up a Private Dedicated Server for Soulmask
There are two ways you can set up a dedicated server for Soulmask — you can rent it or host it yourself.
Renting a Server for Soulmask
There are various services that offer Soulmask servers. You can look up “Soulmask server rental” or “Soulmask server hosting” on your preferred Search Engine to find these providers and choose the one best suited for you.
Renting a server includes the steps of selecting the server plan which involves the number of player slots, server location, and duration. Once you’ve set that up, the hosting service will provide you with the server IP address and any other information needed to connect.
Some benefits of renting a server include DDoS protection, the latest NVMe SSD server hardware, being able to get your server in a few minutes and overall, it should be very easy to set up.
Hosting a Dedicated Soulmask Server Yourself
This option requires some technical knowledge but gives you more control over the server.
Download SteamCMD which is a command-line tool from Steam used to manage dedicated servers. You can download it from the official Steam website linked above.
Create a folder for SteamCMD on your PC where you can extract the contents of the zip file you’ve just downloaded.
Now, search for CMD in the Windows search bar, and run Command Prompt.
Type cd and then paste the file path for the folder you just made. It can look something like this:
- cd C:\Users\Your username\Documents\SteamCMD
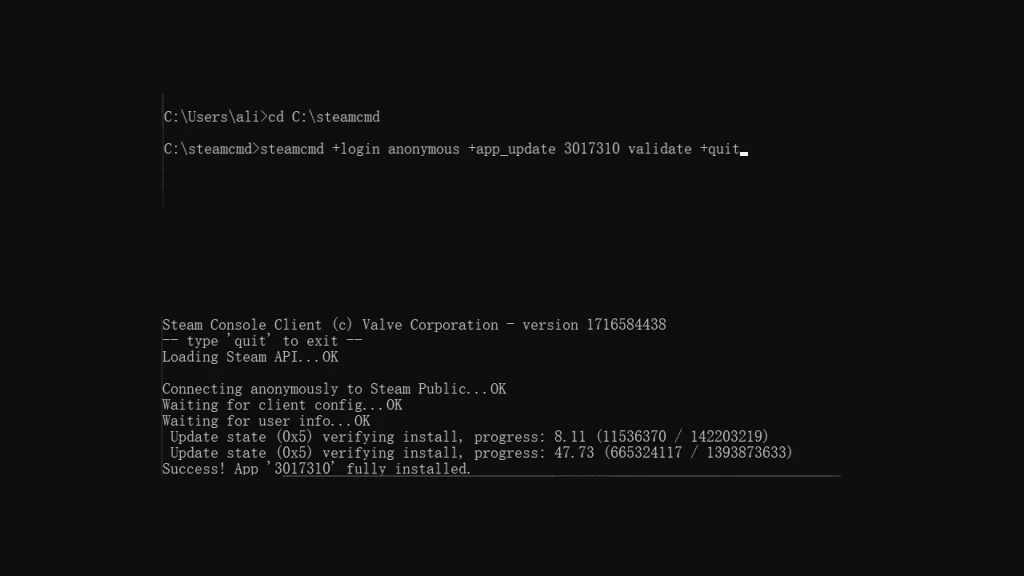
Then, use this command to download the dedicated server:
- steamcmd +login anonymous +app_update 3017310 validate +quit
Wait for a while until the server is installed. When you see the Success prompt, you’re ready to go.
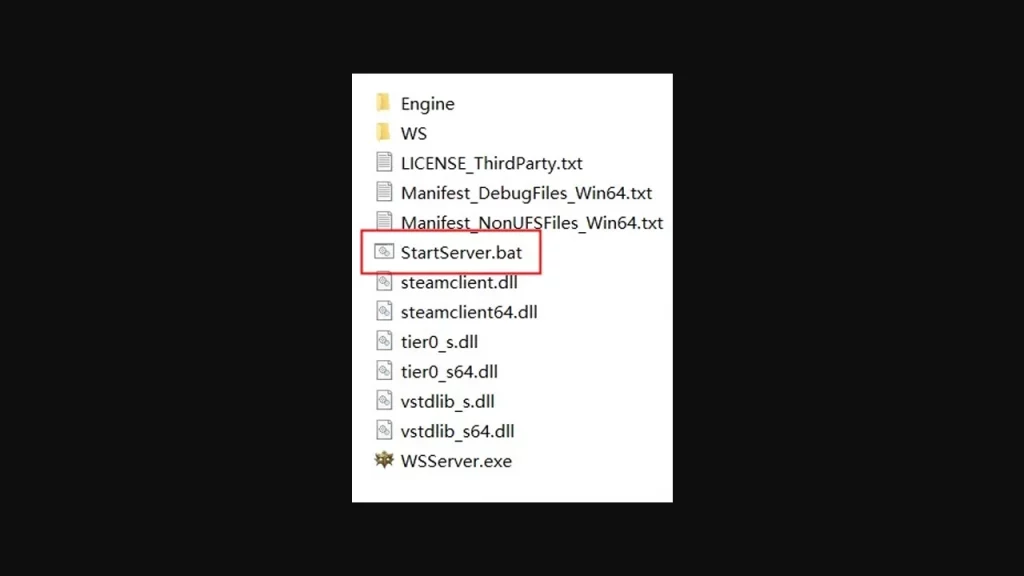
Now open the StartServer.bat file to run the server. The path will look like this:
- C:\steamcmd\steamapps\common\Soulmask Dedicated Server For Windows\StartServer.bat
How to Customize the Server Settings
- First, make a copy of the StartServer.bat to edit and customize the file.
- Edit the file: StartServer – copy.bat
- Delete the original content of that file and replace it with: call StartServer.bat
- Then add the parameters you want to customize at the end of the line, with spaces to separate every parameter.
Here are some commonly used parameters as shared on fandom:
Setting the server name: -SteamServerName=\”your server name\”
- Setting the max players on the server: -MaxPlayers=50
- Server password: -PSW=\”yourpassword\”
- Enable GM access password: -adminpsw=\”yourGMpassword\”
- Setting to PVP mode: -pvp
- Setting to PVE mode: -pve
This is how the StartServer – copy.bat file may look like:
- call StartServer.bat -SteamServerName=\”your server name\” -MaxPlayers=50 -PSW=\”yourpassword\” -adminpsw=\”yourGMpassword\” -pve
Then, run StartServer – copy.bat and the Soulmask dedicated server will start with your customized settings.
For more details regarding advanced launch related documentation, common startup parameters, save path, and more, remember to head over to the Soulmask Private Server page on Fandom.
If you’d like to know some more Soulmask tips and tricks like how to increase your awareness strength, how to get the worship container, how to water crops, fill water troughs, and how to get cotton, check out our Soulmask guides right here.