Dark Brethren tall tale is the 4th Tall Tale featured in Sea of Thieves A Pirate’s Life expansion. You will have to find 10 journals and complete 12 Commendations to finish this Tall tale. Here is a complete walkthrough of the Sea Of Thieves Dark Brethren Guide.
How to Complete Sea of Thieves Dark Brethren Tall Tale
Here is the fourth tall tale walkthrough of Sea of Thieves.
Journal 1 – My Darkest Hour
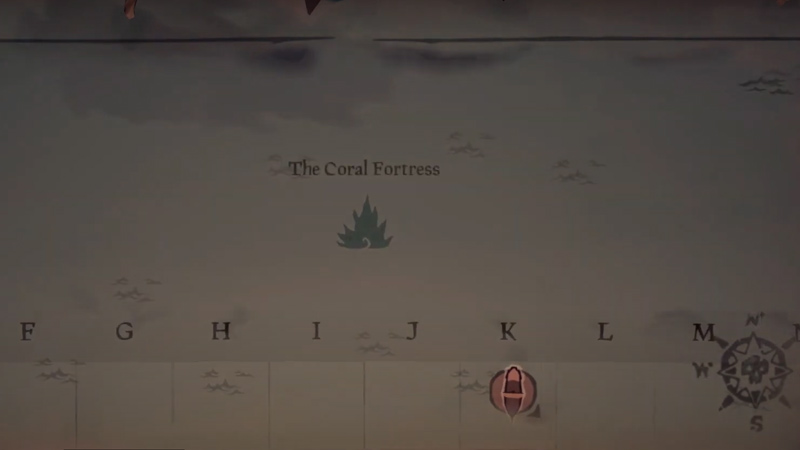
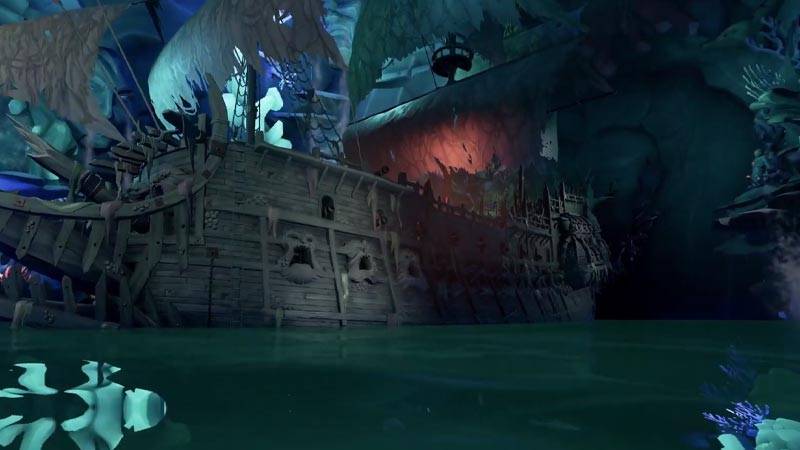
Board your ship and go to your map. On the North West side of the map, you will find the Coral Fortress right between the I and J coordinates of the map. Sail there and follow Jack Sparrow to the entrance of the gates. He will open the doors of the cave with the pendant that he is wearing. This pendant is a gift from Calypso and will be the key to open the gate. Enter the cave and swim your way to the right until you find the shipwreck there on the ship you will find the first journal.
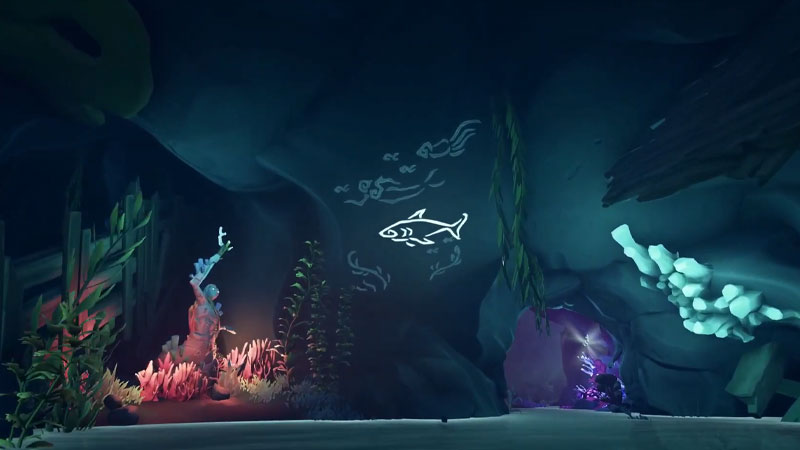
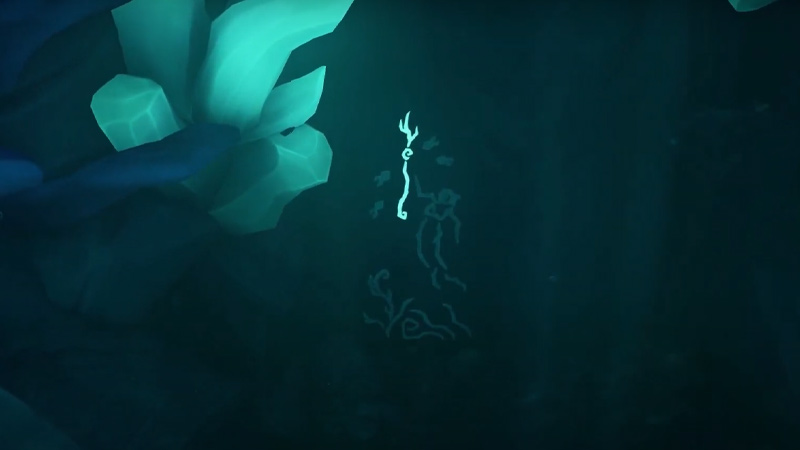
Once you find the journal, your next step would be to find 3 levers on the wall. You need to pull these three levers in the right order for the next clue. From where you entered the cave, swim to the left and there you will find the first lever on the wall which you will need to pull. Right next to it as you swim to your right you will find the second lever. and the third lever will be right in front of you from the entrance of the cave. Once you pull all of these levers in the above order, you will see murals appear on the wall with a fish and mermaid.
Journal 2 – Following
Once this room is done, Jack sparrow will take you through some caves, so just use him as a guide and keep following him. In the cave that you swim through, on your right you will get the second journal called ‘Following’.
Journal 3 – Company
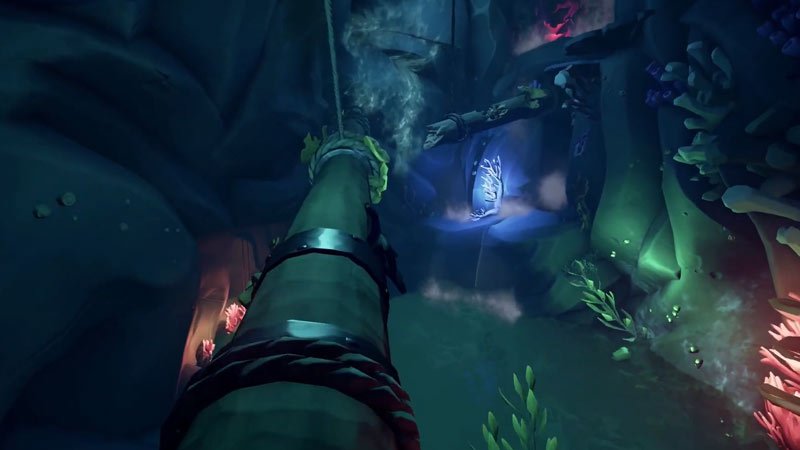
Post that you will swim through the cave in a room with waterfalls. Here, you will see that there is a pulley system that will lead you to the top. Time your jump properly to jump on the platform and here you will find the next journal called ‘company’. Once you get the journal, you will have to climb the ladder that is present there and find that Jack Sparrow is falling down the water slide.
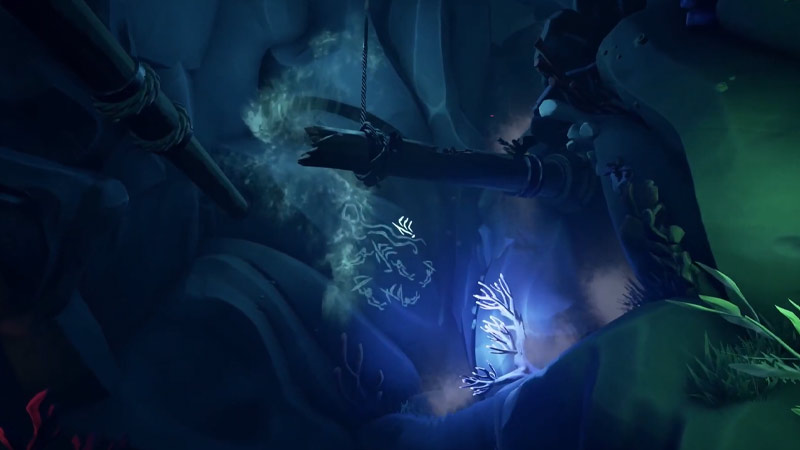
Follow Sparrow and jump down the water slide. There will be numerous paths, you can take any one of these paths. At the end of the path, you will be dropped in an underwater room beneath the Flying Dutchman. Here in this room, you will be bet with more levers on. Again maintaining the sequence in which they are pulled matters. The first lever is on the wall to the right of the Dutchman. The second lever is on the starboard side of the ship. You will have to swim underneath the ship to reach this lever. Once this lever is pulled, look to your left from this spot and you will find the last lever. This will reveal a mermaid mural on the wall in Sea Of Thieves Dark Brethren Guide.
Journal 4 – Davy Jones
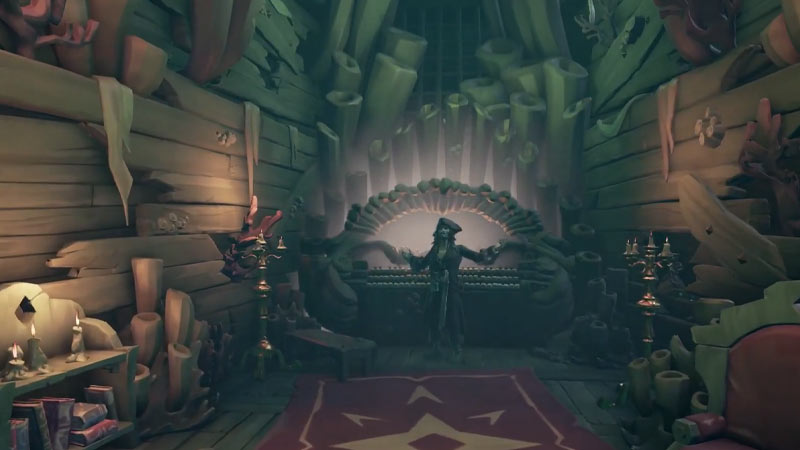
Post that, climb the Flying Dutchman from the stairs and go to the lower level of the ship. There on the map table, you will come across a dagger. pull that out which will lead to a short dialogue from Jack Sparrow and he will pull the dagger out for you. Follow Jack Sparrow on the upper deck and you will see that the torches on the ship have lit themselves and the captain quarters if the flying Dutchman has opened up. In the quarters you will find the next journal named ‘Davy Jones’.
Collect that and then comes the Organs puzzle that you will need to solve Sea Of Thieves Dark Brethren. Sparrow will hand you a piece of paper that will open up a book that will be on the organ. The puzzle is pretty simple. Just follow the numbers from 1 to 8 and press the keys in the right order to play the song. Once done, hurry up to the upper deck and gather all the supplies that you find in order to prepare for the battle.
Journal 5 – Risk
Once the battle begins, the mermaid statues on the walls of the room will notify you from which side the enemy waves are coming from. Defeat these enemies. Remember, some enemies will also board the ship and attack so watch your back. Once the battle ends, the mermaid statues will glow and the final song will start playing. This will open up the next area. You will have to fight more enemies in the form of mermaids. Post that, swim down to the bottom of the water on the bed where you see two cages. This is the location of the next journal named ‘Risk’ in one of these cages. Your next step would be to cut down all the ropes that you see and make the wooden structures float.
Journal 6 – A Better Offer
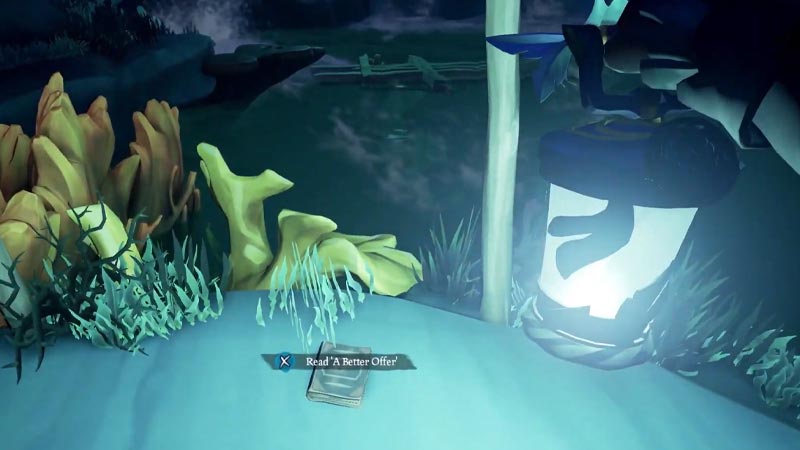
Swim back on top and use these wooden structures as platforms to jump to the next location. Go to the dark area underneath the ladder and find the next journal called ‘A Better Offer’. Climb the ladder after that and on your left, you will be met with another pulley that you would need to drop downward. This will lower the ship and create another platform. Your next step will be to pull 3 levers in the perfect order again. From the pulley location, jump down to your left near the waterfall where the first lever is. The second lever will be next to the waterfall on the left itself. The third and final lever will be underwater where you cut the strings for the smaller platform. This will lead to another mural appearance on the wall which would be a trident in Sea Of Thieves Dark Brethren Guide.
Siren Statue Puzzle in Sea Of Thieves Dark Brethren
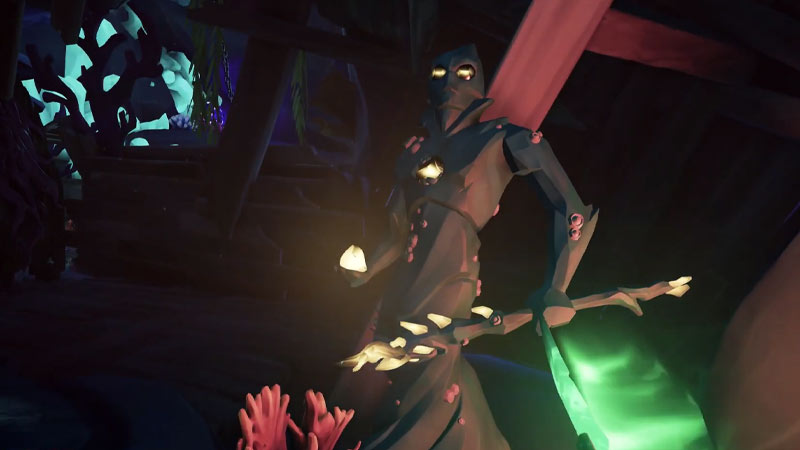
After this is done, go to the platform that you created by dropping the ship and meet with Jack Sparrow. He will lead you to another pathway that will bring you to a room with 3 siren statues. Your goal here is to attack the sirens and get them in a position where their arm will match the mural paintings corresponding to them. The first statue you will encounter right after you enter the room. To activate the other two statues, you will need the Heart of the Siren. Here is when Jack Sparrow will come into the picture and hand you over the Siren Heart through the wall. Use this on the second statue and position its hand upwards. Do the same with the third statue in Sea Of Thieves Dark Brethren.
This will open up a door to the next room with the same 3 siren statues. Follow the same rules like the one in the previous room and position the sirens. You will have to shoot their arms here as these are not physically accessible. Once you shoot all three, pull up the lever that is located at the entrance of the room. This will raise the shipwreck and you can use this as a path to go to the other side. The path will lead you to another room and there you will see a lever on your right hidden which you need to pull.
Follow the mast paths and around these paths, you will find the levers. Follow the path and whichever levers you come across first pull them. This will reveal another mural with three circles Sea Of Thieves Dark Brethren. Post that you will again have to place the three sirens in the correct position to open up the door in the room. Simply shoot the siren arms and the door will open.
Journal 7 – Change
After getting through the door on the left side of the room will be the next journal called ‘Change’. You will have to face some enemies that will be in the room after you pick up the journal. After you defeat them, use the geyser to jump across and cut the rope present there to open up the door beneath you in Sea Of Thieves Dark Brethren.
Journal 8 – A Change of Location
Once you get done, on your left there will be a purple glowing flower-like thing on the wall that you need to slash in order to get access to the water section. There you will again need to solve the Sirens puzzle to raise the water level of the room. As the water level rise, on the left side of the room you will find the next journal named ‘A Change of the Location’.
Right behind the journal is the first lever. For the second lever, you will have to raise the bigger mast in the room and jump over to the next platform and you will find it there. The last one is under the water beneath you. This will reveal the fifth and the final mural in Sea Of Thieves Dark Brethren. Now use the two pulleys in the room to create a path to the water slide. Time this perfectly as the bridge you created will come down.
Journal 9 – Rescue
Once you cross the mast bridge you will use a water slide that will take you to the next room. Here you will overhear conversations of 4 people. Now remember that you cannot be too close to them. If you get too close, they will teleport to the next location and you will have to start the entire Tall Tale again. After around 3-4 minutes, you will see them end the conversation and leave. This will be the right time to get the next journal that will just be on your right ‘Rescue’.
Journal 10 – The Brethren Convenes
Then go to the table and besides the chair will be the final journal ‘The Brethren Convenes’ of Sea Of Thieves Dark Brethren Guide
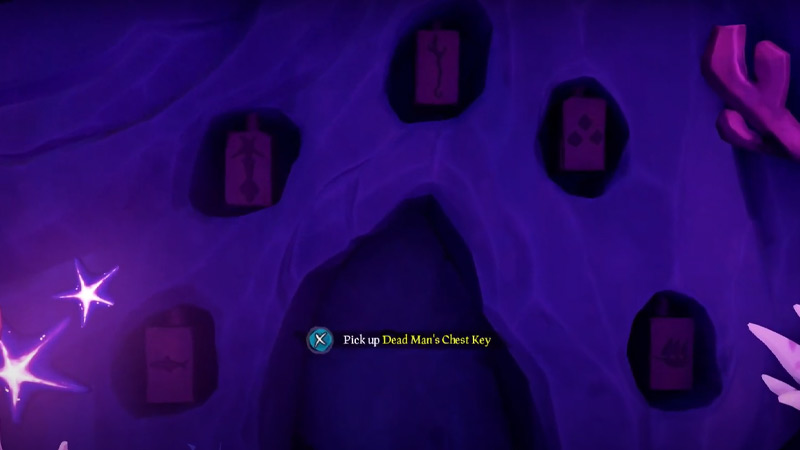
Next comes the Block puzzle on the right of the room. This is where the murals will come into the picture. The blocks need to be in the same position that you found the murals starting from left to right. The sequence is Fish, Mermaid, Trident, Circles, Ship. This will open up the door and give you the key to the Dead Man’s Chest. The chest is in the room on the right of the dining table from where you are standing. Once you open the chest you will find a mysterious parliament in the chest. Go to the last page and read it.
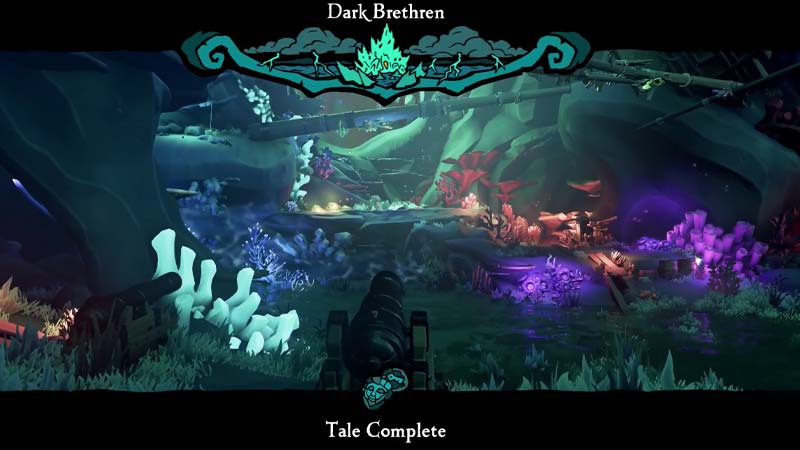
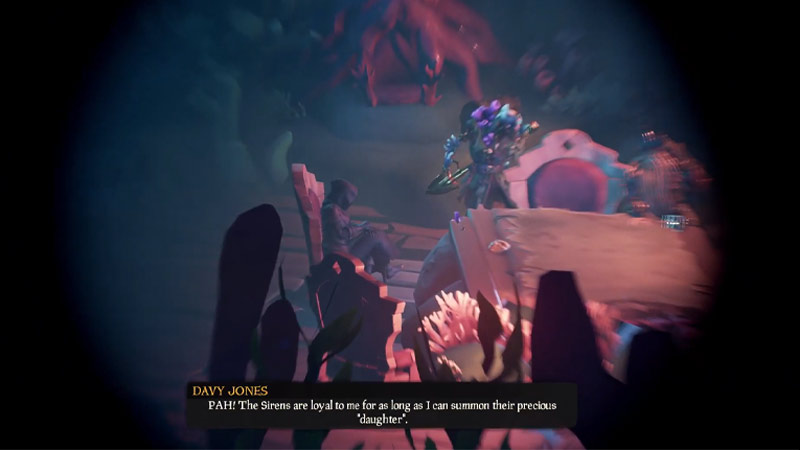
Now is the climax of this tall tale. Go with Jack Sparrow of the final room and disrupt the ritual that Davy Jones is conducting. You are going to face a whole lot of enemies and will have to break the force field in order to stop Davy Jones. This will finally end this Tall tale and Davy Jones will disappear.
So that will be all for our guide on Sea Of Thieves Dark Brethren Guide. You will complete all the commendations as you go through completing all these tasks. If you would like to know how to get the siren heart in Sunken Pearl, we have a guide on that too for you to check out.