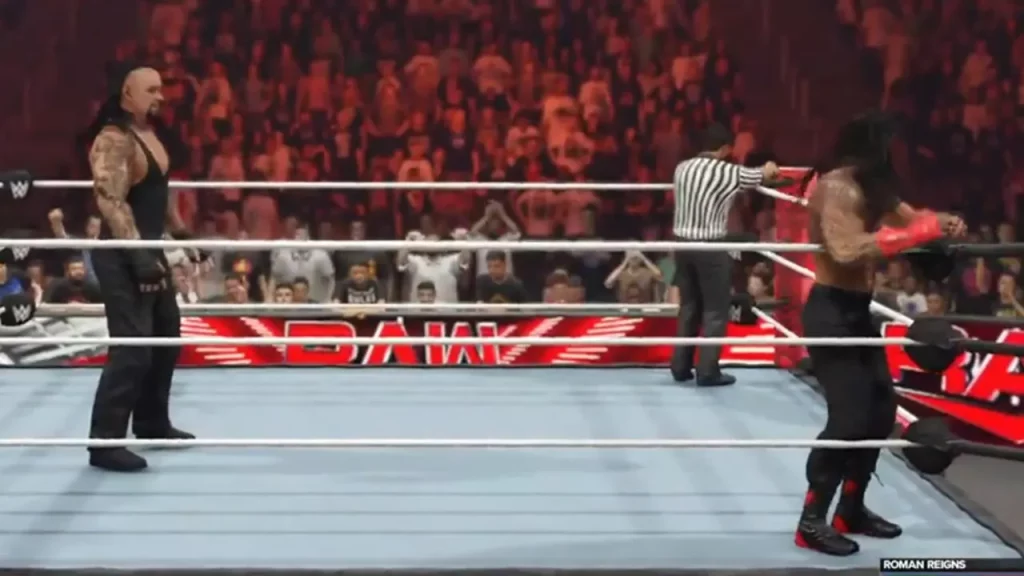
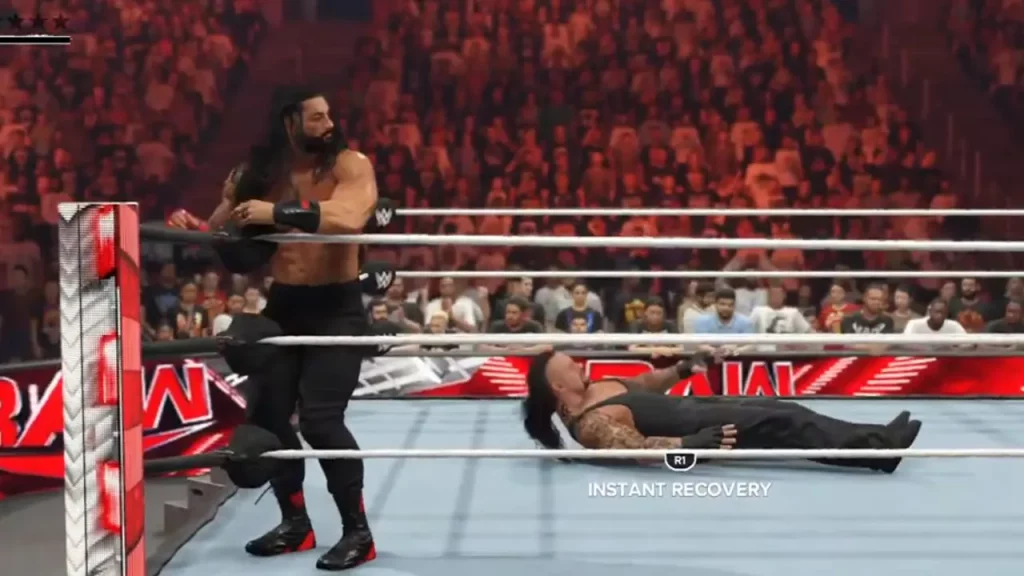
If you are a fan of pro wrestling, especially WWE, you know that protective padding is situated in the corner of the wrestling ring, helping to hold and tighten the ropes. Players can remove this padding to expose the Turnbuckle in WWE 2K24 and smash their enemies directly into the equipment. Since you have seen this happening quite a few times in PPV events, any fan would want to recreate it in the game, and this guide will help you with everything you need.
Fortunately, removing the Turnbuckle in the game is easier and simpler than in real life. However, there is still a chance that your opponent will use it against you. To avoid that, ensure you have damaged your opponent and knocked them down before attempting to remove it.
How to Remove Turnbuckle in WWE 2K24

Head to any ringside and select the Turnbuckle that you want to remove. After that, press RT and LB on your Xbox or R2 and L1 on PlayStation. PC players must press Space and U to remove the Turnbuckle in WWE 2K24. Once you hit the correct buttons, you will see a short animation of your character removing the protective padding. After that, you can directly push your enemies into the exposed Turnbuckle and deal more damage to them.
While attacks on the exposed Turnbuckle will cause significant damage, this has a drawback. As you know, moves like Irish Whip or running attacks can be reversed, and if the opponent hits a successful Reverse, it could be terrible for the players. Nevertheless, it’s a useful option in your arsenal if you want to hurt your opponents.
That’s all you will need to remove the Turnbuckle in WWE 2K24. If you found this guide useful, do check out our other WWE 2K24 guides in our dedicated section here at Gamer Tweak.


