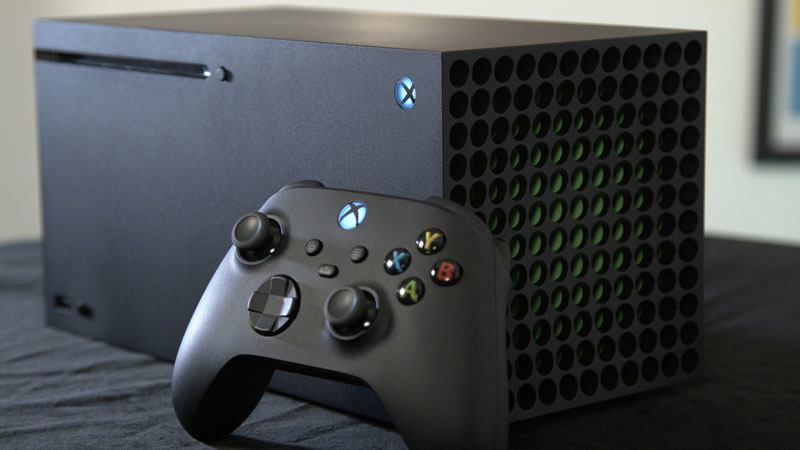
With the release of Xbox Series X and Series S, players will now be able to leverage several next-gen hardware benefits. Along with the hardware upgrade also comes new mechanics for recording video clips. Luckily, the process has not got complicated, instead, Microsoft has been very thoughtful and made the process lot easier. In this guide, we will walk you through how to record video clips on Xbox Series X and Series S.
Xbox Series X and Series S: How to Take Video Clips
You can record video clips in Xbox Series X and Series S by simply pressing and holding the new Share button on the controller. This new button is exactly in the center of the console right between the Options and View button. By holding this button, you will save a video clip of 30 or 60 seconds, based on your settings.

If you want to save a video clip manually, hit the Xbox guide button to head the settings menu. From here, select the Capture & Share button. This will start the recording for whatever time you have allocated. You can change the allocated recording time and stop the recording from the same Capture & Share menu.
To find the recorded and saved clips, head to the same Capture & Share menu and click on the Recent Captures option. This will bring all the recent recordings in front of you. You can change all the settings and what Xbox Series X and Series S Share button do from the same menu.

Additionally, you can also upload your recorded clips on OneDrive to get access to them from a PC or any other system. If you are on a last-gen console, there will be no Share button. Hence, you will have to record video clips manually while using Xbox One console.
That’s how you record video clips on Xbox Series X and Series S. Since the hardware will be new, you might require help with some other things as well. You can refer to our guides on how to take screenshots, change date/time, and upload screenshots/videos on Xbox Series X and Series S.

