Days Gone has around 12 Nero checkpoints, in this guide we give you the exact locations of all Nero Checkpoints and how to open the doors solutions. After completing all you will earn World’s End Trophy. Every Nero Checkpoint also acts as a Fast Travel point. By unlocking all 12 checkpoints you will get max Health, Stamina and Focus and also collect Collectibles inside the Nero cabins.
When you visit you will have to do two things first find a fuel to run the generator and second before you turn anything on cut down the loudspeakers by clicking on top of Nero cabins. The loud noise will attract a lot of Freakers and it will be hard for you to escape. Also, it will become an unsafe fast travel point. Below you can find a list of all Nero Checkpoints with their exact maps location, where you can find the Fuel and other details.
All Twelve Nero Check Points Locations Guide
Little Bear Lake Nero Checkpoint – Cascade Region
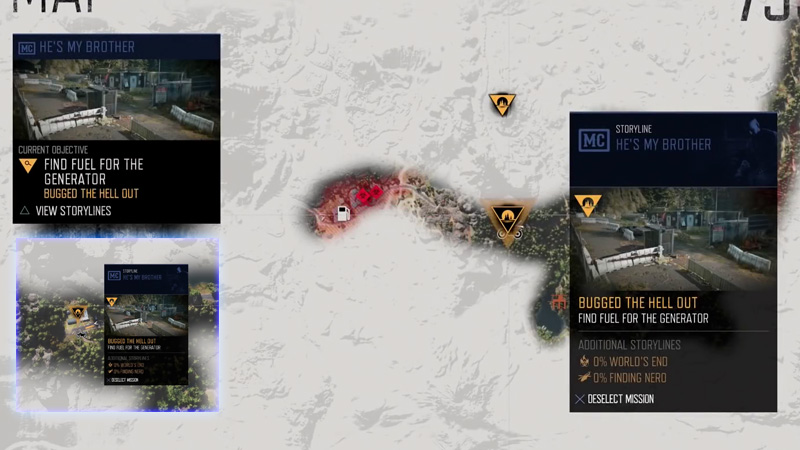
The first appears in the story mission when you start the game after Boozer is injured you visit the camp and then the Nero checkpoint. It is not easy to miss, you will spot this first when you ride with Boozer inside a tunnel. Reach the checkpoint, on the road, there is a towing car, take the fuel and refill the generator on the left of the door. Before you turn it on, go to the right of the cabin and climb up, cut down the loud speakers and start the generator. Enter and scan for Nero Injector and collectibles.
Horse Lake Nero Checkpoint – Cascade Region
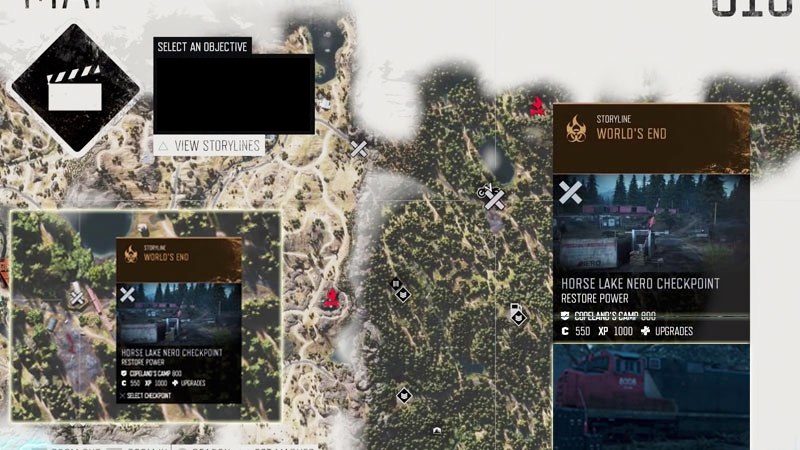
For the second one, you have to scan down the wilderness a bit. As the map reveals itself to follow the map location in the above image. The Nero Checkpoint is located near a small pond. The easiest way to locate the cabin is to find the train. The fuel to run the generator is kept near the engine, first push the van towards the slope and climb up. Break the loud speakers, get the fuel and climb on top because the entrance is blocked by fences. Activate the generator and enter the cabin.
Old Pioneer Cemetery Nero Checkpoint – Cascade Region

For the third drive towards North East side of the above location, from the pond region where you access the third Nero Check Point. Follow the road and you reach a dead end. The fuel can is kept near the tree as soon as you cross a red truck on your right. Carry the fuel and walk through the round military tent and on your left, you will spot the generator. Fill the gas and turn it on. Enter the Nero research cabin and collect the Nero injector.
Marion Forks Nero Checkpoint – Belknap Region
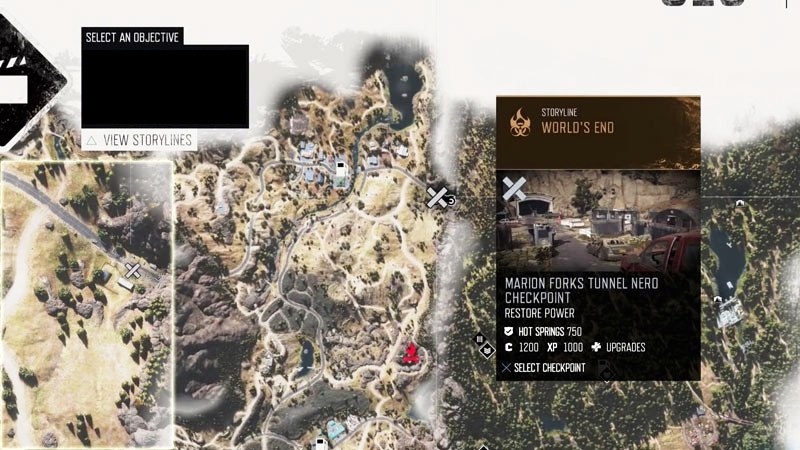
This one is in an open region easy to find, the Nero Checkpoint is located behind a military truck. The fuel can is in the truck, after refueling there is an additional task to open the doors. You have to find a fuse to fix the door panels. There is a panel on the left side of the door where you have to place the fuse. Interact with the panel first, and then follow the white dots.
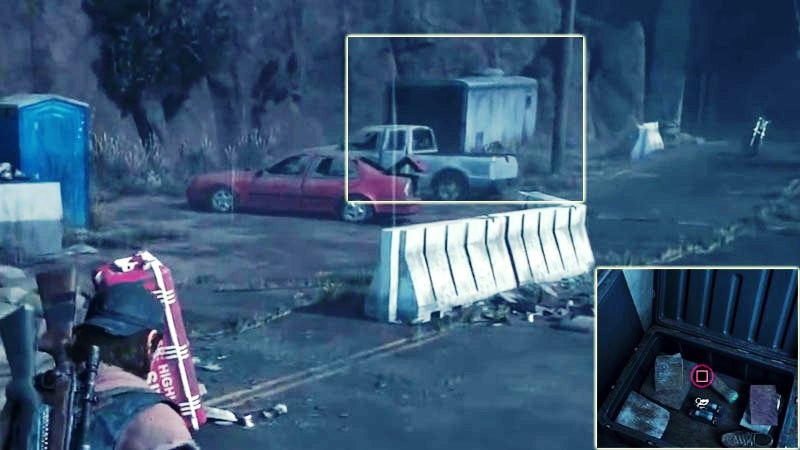
Use Survival vision to track down the footsteps. To save your time go on the road and look for a white trailer it is on the opposite site of a military truck where you found the fuel can. There is a case inside which has the fuel, return to the panel on the door and fix it to access the Nero Checkpoint.
Iron Butte Pass Nero Checkpoint – Belknap Region
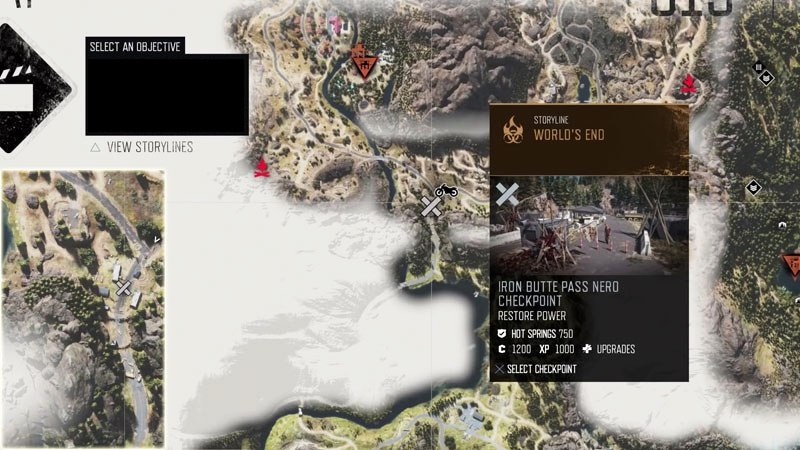
To locate this Nero Checkpoint search for Nero board and barrel with a fire burning over it. Instead of going straight turn left three are some big trees. Soon you will see the entrance, on your left near the dead bodies you will find the fuel can. Continue moving further you will reach the main road, the generator is in front of the tent. Fix it and then enter the Nero Checkpoint.
Old Sawmill Nero Checkpoint – Lost Lake
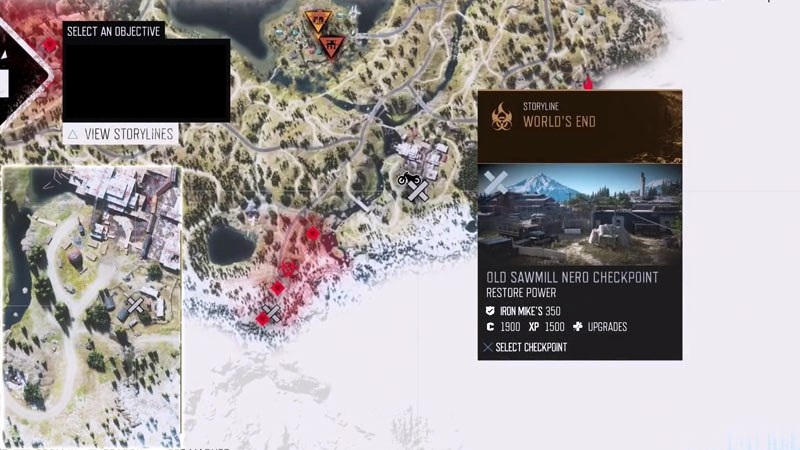
Visit the location shown in the map screenshot above, look for a Danger board. The area is big so stay a bit outside to find the Nero Checkpoint. Once you spot the board go inside and walk right, take the first tent the gas can is inside. The generator is near a big boulder.
Santiam Tunnel Nero Checkpoint – Lost Lake
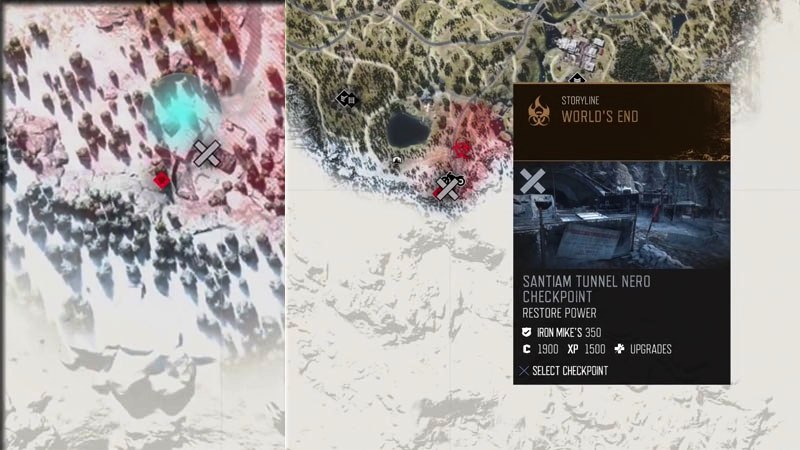
Now this one is a bit tricky, you will need two fuel cans and a fuse to access the Nero checkpoint. The fuse is inside a nest. On the above map location walk towards the tunnel, the nest is on the right corner of the tunnel. The first fuel can is inside the round tent, and the second is outside on bit right look for a red crate placed near white sandbags. The can is on the floor in the extreme end. Carry the can and first place the fuse on the panel of the cabin. Then use the crates to climb up on the roof and go to the backside, activate the generator and you are done with this Nero checkpoint.
Rogue Tunnel Nero Checkpoint – Iron Butte
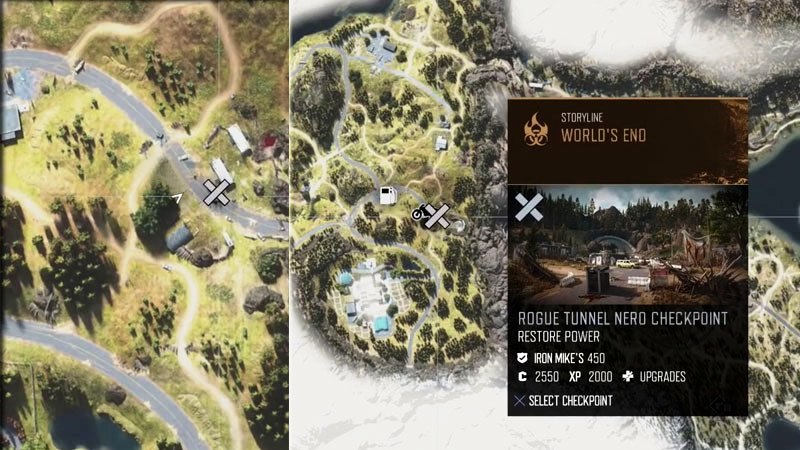
After reaching the marked location, the Nero checkpoint is easy to spot. It is on the road, for the fuel can look on the left side a parked car. The can is on the backside, carry it walk towards the facility the generator is on the roadside. The Nero Injector is in the second research cabin situated on the backside of the one on the road.
Spruce Lake Nero Checkpoint – Crater Lake
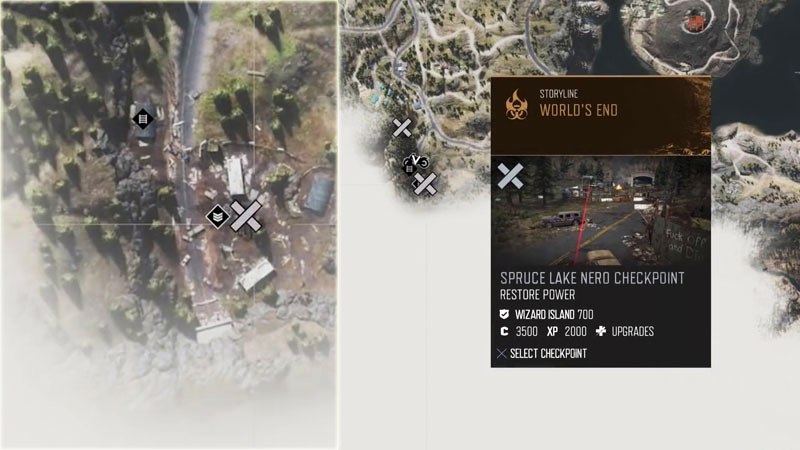
You will be somewhere in front of a tunnel, go straight and the Nero cabin will appear on the left side. Go inside, the door is broken and collect the fuel can. Carry it towards the second cabin in the end and you will find the generator. You will also need a fuse to unlock the door, from the generator turn left to look for a round military tent. On the right side of the tent, there are some crates, the last one near the rocks has the fuse.
Volcanic Legacy Scenic Bayway Nero Checkpoint – Crater Lake
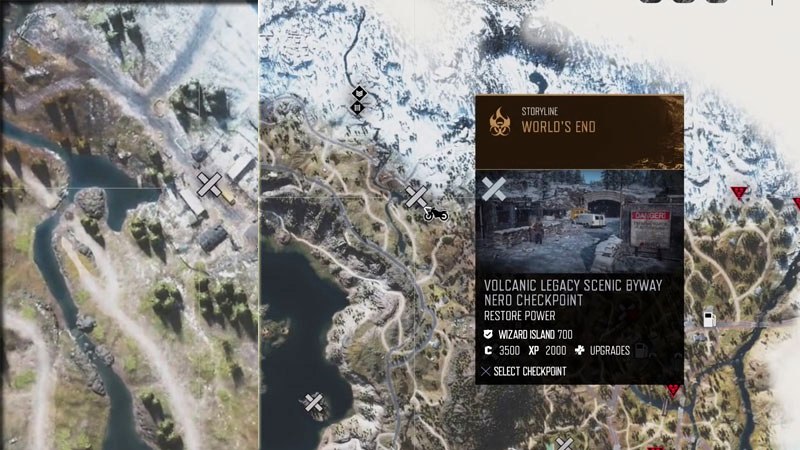
Look for a yellow school bus the generator is on the on its left. There is a small area with fences, the generator is in the corner. For the fuel can, on the right of the bus, there is a military tent. Go to the backside and you will find the can near crates. Carry it to the generator to unlock the cabin.
Chemult Community College Nero Checkpoint – Highway 97

The region is locked and it will be available once you complete the story and reach the College area. The fuel can is in front of one of the Nero cabins, pass through the tents and look on the floor. The generator is hidden behind some crates around the cabins not that hard to locate. Next, you will have to find a fuse, the cabin will simply on your left from the generator. Interact with the panel to start fuse investigation. Return the military tent region, the last one on your left has a crate open it to get the fuse.
Pillette Bridge Nero Checkpoint – Highway 97
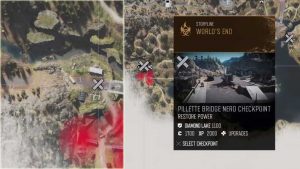
This one is easy to find, once you reach the research checkpoint look on the road near the guard’s cabin for fuel can. Walk towards the yellow bus and turn right, keep walking till you find an area to climb to the cabin region. The generator is in the corner. Activate it and collect the final Nero Injector.
If you had also gathered all the collectibles that are micro recorder you will get World’s End silver trophy. Now you have locations of all twelve Nero checkpoints by completing them you will unlock 12 different fast travel points and max you our Health, Stamina, and Focus.