Despite everything brought on deck by Ready or Not, players are still looking for extra fun. Thanks to the Modding community, there are plenty of interesting mods available on the internet. And when we say plenty, it is literally a lot. We had to handpick a few Best Mods so that players could maximize the fun.
But before downloading, it is important that everyone know how to Install Mods in Ready or Not. Because if you copy-paste Mods in the wrong folder (which I have done several times in the past), then they won’t work at all. That said, here’s how you can install Mods easily.
Here’s How You Can Install Mods in Ready or Not
- First of all, head over to the Internet and download your favorite Mod.
- The downloaded Mod is archived. This means the Mod file is usually in .rar or .zip format.
- You can use software like Winrar or Winzip to extract the file.

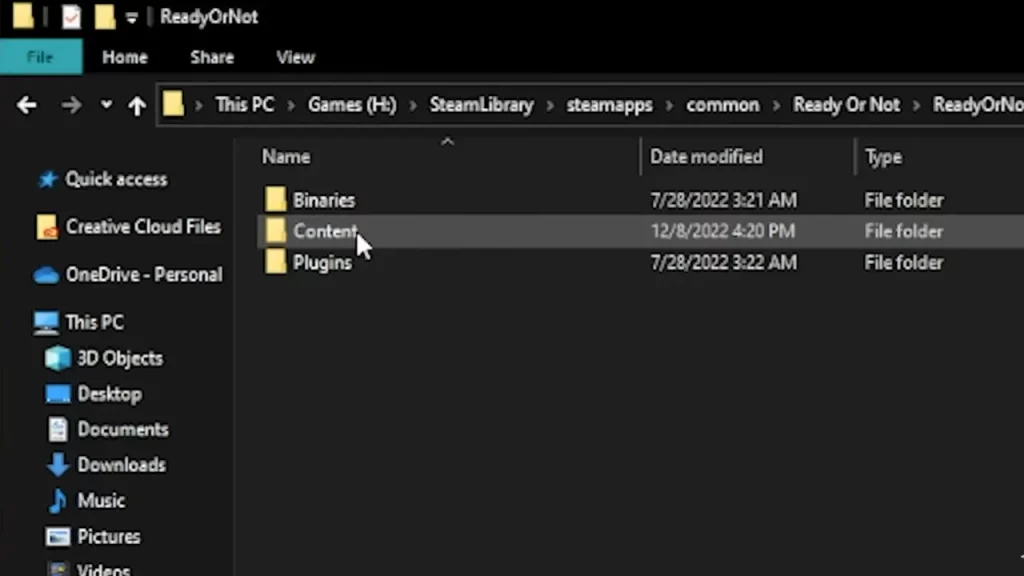
- After that, you need to copy that .pak Mod file into your main game directory. To find the directory, use the following steps:
- Head over to your Steam Library and right-click on Ready or Not.
- Select Manage and click on Browse Local Files.
- Now, enter Ready or Not > Content > Pak folder. If there is no Pak folder, then create one manually.
- In the Pak folder, copy-paste your extracted Mod File.
Now launch Ready or Not and enjoy the Mods that you have installed. One important thing that I want you to know is don’t install too many Mods. Too much exploitation of the game will eventually ruin the experience for you.
How to Uninstall Ready or Not Mods
If you want to remove a Mod from Ready or Not, then you can do that by simply deleting the .pak file from your game directory. It is that easy to install and uninstall a Mod.
Also Read | Ready Or Not Mods Not Working
That covers everything about this topic. We have covered plenty of similar topics about Ready or Not in our dedicated section for it on Gamer Tweak. So if you need any sort of help, you are free to check it out.

