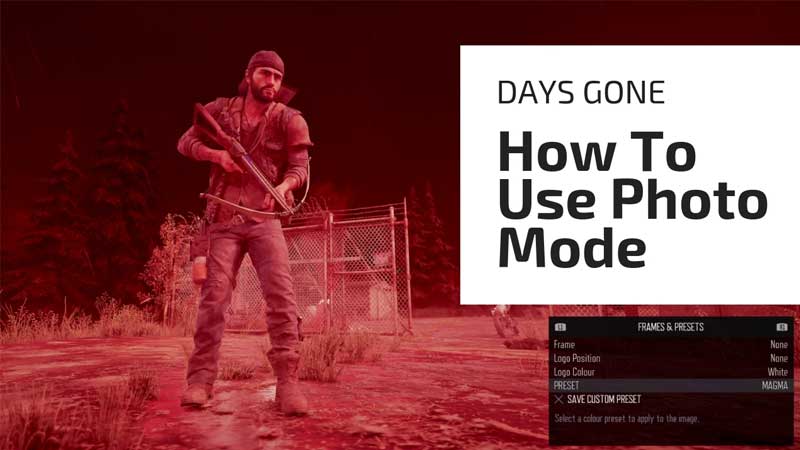
Days Gone has an amazing Photo Mode with tons of options to create the best pictures. In this photo mode guide, you will learn how to take pictures and edit them inside the game. The photo mode section has options to adjust the camera angle, brightness, contrast, fov, focal distance, aperture, etc. You can also customize Deacons expression, hide him and his bike or other characters from the photo and add amazing frames with Days Gone Logo. You can also watch a full video guide on using photo mode at the end of this article.
How To Use Photo Mode
When you find the best scene then press Options from PS4 Controller. It will launch a menu, select Photo Mode. There will be a small menu on the bottom left of the screen, press L1 and R1 to toggle through different settings. Below is a small list and what they do.
Photo Mode Camera Settings
- Tilt – Tilt the image upside down or reverse.
- Brightness: Add or reduce light in the picture.
- Contrast: Adjust the dark areas of the photo.
Photo Mode Lens Settings
- Field Of View – Get more area in the picture, zoom in and zoom out.
- Focal Distance: Adjust image clarity, reduce blurriness.
- Aperture: Lower F-stop to make the background blur.
- Film Grain Amount: Add film grain.
Photo Mode Character Settings
- Deacon Visibility – Hide & Show Deacon in the image.
- Deacon’s Bike Visibility – Hide & Show Deacon’s bike in image.
- Other Character’s Visibility – Hide & Show all character beside Deacon.
- Facial Expression – This is the fun part, you can change Deacon’s Facial expression from Angry, Happy, Joy, Contempt, Disgust, Fear, Sad and Wink.
Photo Mode Frames & Presets Settings
- Frame – Choose from 11 different frames.
- Logo Position – Set Days Gone Logo.
- Logo Color – Change Days Gone Logo Color.
- Preset – Choose from 18 different presets and create 5 custom presets for your images.
For more settings hit X, and you and modify Color Grading additional options who want to do more with the images. You can then press Share and Triangle to save the screenshot of the best images. We also have a video that will help you to understand how the Photo Mode works. You can check all the frames, facial expressions, and preset mode.


