Do you want the new secret Exotic Weapon in Destiny 2? A new Exotic Outbreak Perfected Weapon that can be unlocked via a long quest. With the end of Revelry Event Destiny 2 gets a new Update 2.2.2. This new update adds something new in the game and it is the Exotic Outbreak Perfected Weapon. The secret weapon can be unlocked by playing a quest that will give you a Fallen Transponder.
Investigating the transponder will tell you to decipher six Nodes that will put on a mission to unlock the secret exotic weapon.
To unlock Exotic Outbreak Perfected Weapon the first thing to do is decipher a series of clues. For this, there are different sections of Lost Sectors to investigate. Later you will be visiting back to the Tower and face Mithrax a fallen warrior. He was first seen in Destiny 1. And later finishing all the end objective will reward you with Exotic Outbreak Perfected weapon.
How To Get Outbreak Perfected Exotic Weapon
Fallen Transponder Location:
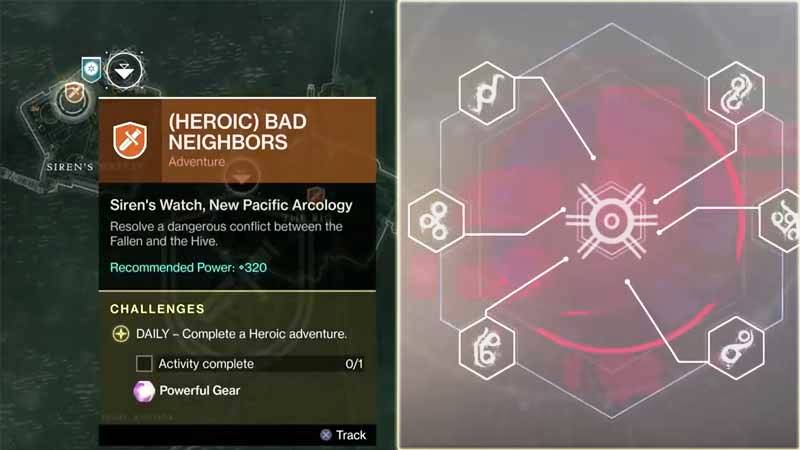
From the Destination got to Titan and select (Heroic) Bad Neighbors Mission on Siren’s Watch. If you are unable to find this restart your game with another character. Start the quest and head to the location, in the end, you will have to defeat some Shreikers. After killing, you will have to follow the objective marker to open a vault door in a room with red lights. There are two doors in it, one on the left has a Fallen Transponder on the desk in the middle of the room that will trigger Outbreak Perfected Exotic Weapon Objective. While the one on the right will complete the current objective.
Go to inventory to reveal the details of Fallen Transponder, and it will give a tree of six nodes each with a puzzle. All nodes are hidden in six lost sectors, four will be found on Earth and two on Nessus.
Node 1: Node data requires field verification
there are banners of dissolution in a place first for filth lost to the sun, lost to the stars within our unclaimed un-home east of the devil’s raze. So find the cavern, see with four eyes this is the hearth our leaders claim rust, rot, wet, dark- a metal nursery, a metal brood what a future we build! – transl. from Eliksni
Node 2: Node data requires field verification
now to the grave of the drained captain find his spoils six lives, stripped and spiked a warning to no one see how low we stoop – transl. from Eliksni
Node 3: Node data requires field verification
now leave the squator northeast to your archon’s ruins descend into the belly, deep below find the nest, the untouched rations behold the legacy of your people – transl. from Eliksni
Node 4: Node data requires field verification
now ascend, wander, think two people both traveler-chosen two people both ruins-living two people both widow-making with lost leaders and uncertain futures together, we could be more than we are – transl. from Eliksni
Node 4: Node data requires field verification
now go, take to the stars you, as we, were once wayfarers you, as we, built lives around machines but your symbiosis was different you choose your people to be reborn – transl. from Eliksni
Node 6: Node data requires field verification
now north by northeast find our best hope at separatism see – no great civilization can live within a rift no great leader imagines salvage as birthright surely you must understand my heart – transl. from Eliksni
Outbreak Perfected Exotic Weapon Nodes Puzzle Solution – Lost Sector Nodes Location
Node 1: Trostland – The Drain, EDZ
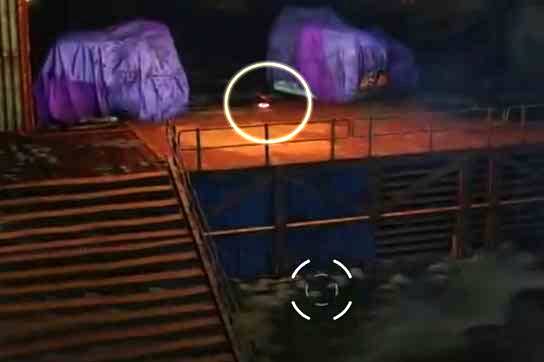
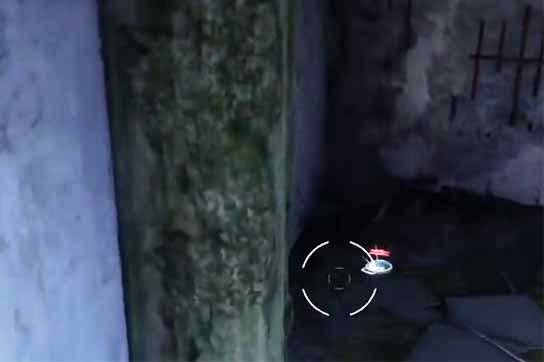
Go to the end of Lost Sector, you will reach a big room with a blue flag on the roof. Go down and look on a platform with crates covered with purple sheets. The first node is on the floor.
Node 2: Whispered Falls –
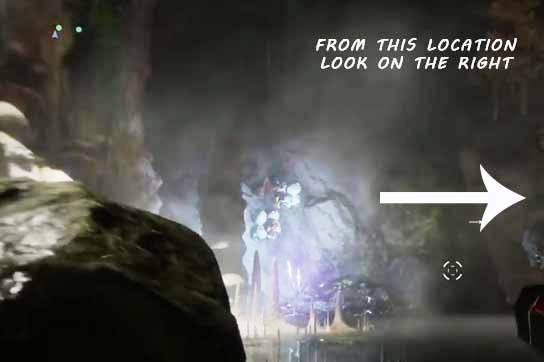
Whispered Falls is nearby in the outskirts, you will find it at the very start of the lost sector. You will enter a big cave during the start of the Lost sector, the Node is on the floor in a small cave on the right.
Node 3: Atrium –
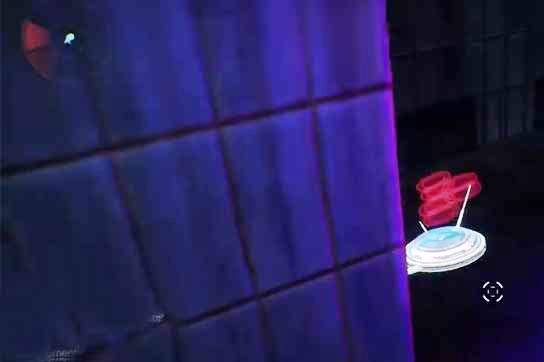
Return to Trostland using Fast Travel and head to the Atrium. It is located below the church, the node is hidden behind a wall. Walkthrough the lost sector you will reach an underground bunker type room with few enemies inside. Then from a door on the left, you have to jump down and there is a room on left end with the node behind a wall near the bunk beds.
Node 4: Widow’s Walk –
Return to Trostland using Fast Travel located on the left side of the region. The entrance is near the church. There is a chest at the end of the lost sector or look for a big blue flag on the left wall. Jump on the broken floors on your right to find the node.
Node 5: The Rift – Exodus Black (Arcadian Valley) – Nessus
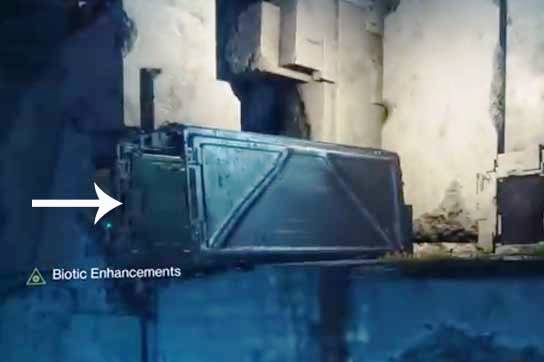
Now head to Nessus, and land on Exodus Black. From the place of landing walk straight and there will be a small opening in the wall that will take you to the Rift Lost Sector. The node is hidden into a big chest on the back end of the region. You have to jump from the front side.
Node 6: Glade of Echoes The Carrion Pit – Nessus
For the last and final Node, return to Exodus Black and head to Glade of Echoes lost sector. You have to enter an underground it called the Carrion Pit, there is a reward chest at the end. On its right, there are some crates and the node is behind hidden in a corner.
Mithrax Location
Now you have all the six nodes, return to The Farm and go to the Basement. Go down and in the end behind the shelves you will find a fallen warrior Mithrax , interact to start the quest. You will be facing strong enemies in this quest so be ready with your best load outs. You will be playing a special timed mission, you can play with three friends and the Power Level Requirement is 690.
Zero Hour
The quest will with a 20-minute deadline at old school tower, follow to the enemy area and kill everyone. There are stronger enemies with shields, use the exotic rifles from the past event Revelry. Each new level brings stronger enemies, and you will also face mini-bosses. So continue walking till the end, and watch out for different types of enemies. There is a lot of jumping and moving around, till you reach the final fight.
- Wave 1 – After entering follow a small passage on the left and pass through the vent to reach the enemy area.
- Wave 2 – After clearing enemies from the open area, jump right of the broken tower and crawl your way through the debris to reach a second open area where you will face the next wave of enemies. There are snipers.
- Wave 3 – Next you will cross through a small door facing more enemies in the alleyways. You will have to enter into a half-open door that will take you into the vents. Here you have to jump a lot, go down through the lift area and use a good leg armor. Walk through the vent to reach a huge ship area and clear the enemies.
- Wave 4 – Continue through the vent, and you will end up coming into a big space with two balconies. After reaching to the second balcony there is a hidden vent on the ride, look for red pipes. Walk through the vent to reach the next region.
- Wave 5 – Continue through the vents and you will reach an open area with ledges, don’t stand them or else you will fall down, just use them to jump towards the open door. From the door turn right and look on the left top for a vent.
- Wave 6 – The passage will take you outside the wall, jump on floating objects to continue following right. There is an iron ledge on the bottom right, jump on it and jump again further below for the next platform. Turn right and keep jumping to reach the next area. There is a button, by pressing it, the platform extends further outside so that your teammates can jump directly on it.
- Wave 7 – Jump up to locate an open vent on the top form your last location. It will take you back inside the wall. You will reach an open room with yellow platforms on the wall, use them to jump up. Go to the top and break the vent on the right to go to the next area.
- Wave 8 – You will reach a room with fans, a big one, jump on the circle platform on the center of the fan and on the around you will see small passage you can avoid the fan blades to go down. Look for the red areas to jump down.
- Wave 9 – Continue another fan region until you reach to the very bottom. You will reach a second big open area where once again jump over on the tiny glowing ledges on the left and right to move forward.
- Wave 10 – Continue another fan region until you reach to the very bottom. You will reach a second big open area where once again jump over on the tiny glowing ledges on the left and right to move forward. Continue jumping to reach the vents.
- Wave 11 – Finally you will reach a room where you have to activate ventilation to escape the region. A small map on the left will give you the location of four panels. Just activate them and then continue to the next region.
- Wave 12 – In the next region avoid the moving electrical claw, don’t worry about this there are many places to hide. Similar to the above region you have to activate four buttons to disable electric barriers.
- Wave 13 – In the next region you will have to jump to move the platform all the way to the top towards the bridge, you will fall if you stand on it for too long.
- Wave 14 – You will slide in the next region, and watch to move left and right at the right time. Turn left after stopping and there is a small vent on the right of stairs. It will take you to the vault.
- Wave 15 – There is a lot of gold in the region, to go to the next room wait for some time and a secret door will open up. You will reach a big area with a stolen weapon from the glass case. Go right from there and drop into the holes cut down through a laser.
- Wave 16 – Continue following the vents to enter the Tower Ruins. You will face a bunch of Enemies in this region along with the main boss.
That’s it kill the boss and you will get the brand new Outbreak Perfected Exotic Weapon. Below is the detail about weapon perks.
Outbreak Perfected Exotic Weapon Perks:
- The Corruption Spreads – Intrinsic: This weapon creates SIVA nanite swarms on rapid hits and precision kills.
- Extended Barrel – Barrel: Weighty barrel extension. Increase Range, Decreasing handling speed and Moderately controls recoil.
- Accurized Rounds – Magazine: This weapon can fire longer distances. Increases range.
- Outlaw – Trait: Precision kills greatly decrease reload time.
- Paratism – Trait: This weapon does more damage to enemies based on the number of SIVA nanites that attach to them.


