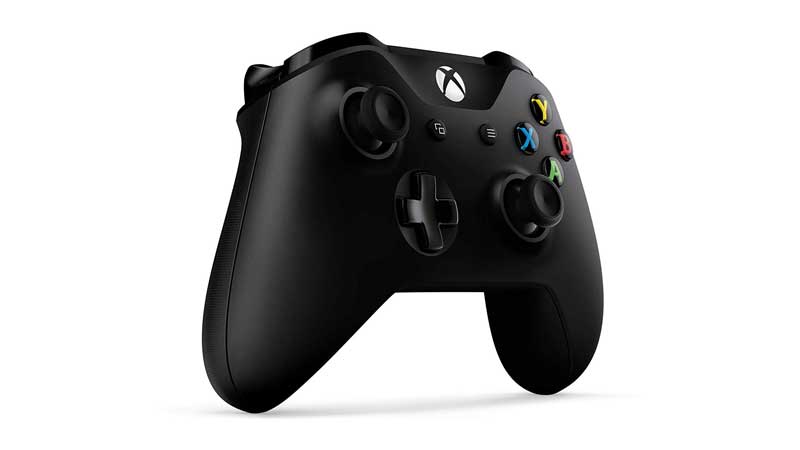
If you are using Xbox One Controller a lot and want the same experience on your Windows PC then in this guide you will learn how to connect Xbox One USB controller to a Windows PC and play games on it. A lot of games support Xbox controller so you don’t have to worry about compatibility, all you need is proper setup and later you can customize the controllers key as per your requirement and enjoy gaming.
There are three ways to connect the Xbox controller to a Windows PC, the first is with the help of USB cable, second is through Bluetooth and the third method is by using the Xbox Wireless method. Below all three steps are mentioned in detail that will help you out to connect the Xbox controller to PC or Laptop.
You can connect two controllers at a single time through Bluetooth, on USB you can connect upto four depending on the game support and on Xbox Wireless Bluetooth Adapter supports upto 8 Wireless Controllers, 4 Chat Headsets or 2 Stereo Headsets.
Connect Xbox Controller To PC or Laptop Using USB – Method 1
This method is simplest of all, just requires a Micro-USB cable, a standard one you can find easily in the market. Xbox One controller has a Micro-USB port, use a Micro-USB to standard USB cable and connect it to your PC or Laptop USB slot. On Windows 10 PC the drivers for the controller will be installed automatically. On Windows 7 or Windows 8.1, you can go with the same process but if this does not work then run Windows Update. If nothing works then you have to manually update Xbox One controller USB driver through Device Manager. Follow the below steps.
- Press Ctrl + R on Windows Desktop to launch the Run box.
- Type devmgmt.msc and click on Ok.
- Look for newly connected hardware or look below Microsoft Xbox One Controller.
- If you find any yellow exclamation sign then right click on it and choose Properties > Drivers > Update Drivers.
Connect Xbox Controller To PC or Laptop Using Bluetooth – Method 2
Bluetooth the second most convenient way to connect Xbox Controller on a Windows PC or Laptop. Laptop by default comes with Bluetooth but in PC you will need a Bluetooth Dongle. Once you have a working Bluetooth device in your system you can then follow the below steps to connect Xbox One Controller to PC or Laptop.
- In Windows 7 right-click on the system tray, bottom right space where you can see the clock and choose Add Device.
- In Windows 8, move your mouse to the extreme right of desktop to launch the Menu and click on Settings > Change PC Settings. Go to Devices and click on Add Device.
- In Windows 10, similar to Windows 7, look in System Tray for Bluetooth Icon. Just right click and Add Device.
- After turning on your PC Bluetooth, on Xbox Controller press the bind button on the front side near the micro-USB port. Hold it for few seconds to put it in the pairing mode.
- The controller will be visible in your PC or Laptop connect it to bind it with your system.
Connect Xbox Controller To PC or Laptop Using Xbox Wireless Adapter – Method 3
For this, you have to pay some money and buy Xbox Wireless Adapter, a USB dongle that fits directly on the PC / Laptop. The adapter is available on Amazon.
- Buy the Xbox Wireless Adapter and Connect it to your Windows PC or Laptop.
- Press the Xbox Logo key on the Xbox One Controller to turn it on
- Press the small Sync button above Xbox Logo on the right of LB and it will start flashing.
- Now press the Sync Button on the Xbox Wireless Adaptor till the Xbox Controller light stop flashing. This means the controller is now connected.
To connect Xbox Wireless Adapter you will need the drivers, ample of time Windows will add the drivers automatically but it fails to try using Windows Update.
That’s it with these three methods you connect the Xbox USB controller to your PC or Laptop and play games with Xbox console experience.


