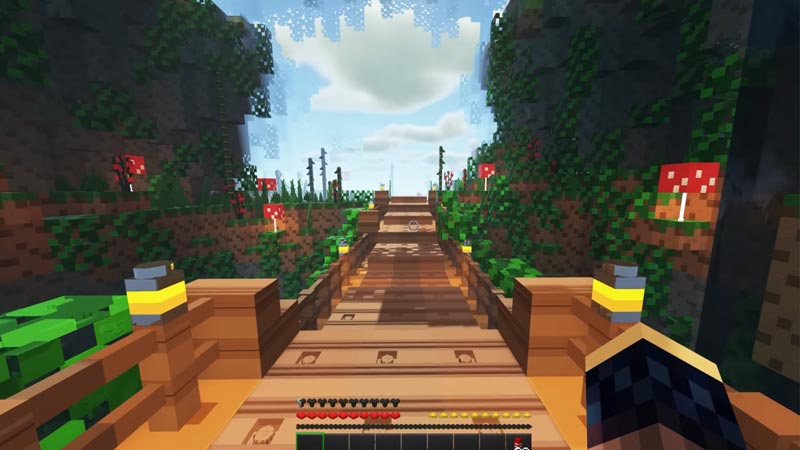
Although Minecraft is one of the most engaging Sandbox Games, I would still want to experience it with better graphics. Luckily, we have Texture Packs available that make elements like Trees, Blocks, Mobs, etc look more detailed. However, many of us get confused when it comes to installing Texture Packs for Minecraft (Java Edition). If you are one such player looking to get the Texture Packs but are not able to, then this guide is all you need. Here is everything you should know about it.
How to Download & Install Texture Packs in Minecraft Java Edition (1.19)
There are plenty of websites out there through which you can download the Texture Packs. For example, you can get it on the official Minecraft Website (link), Resourcepack.net, and several other websites. Make sure that you are downloading the desired Texture Pack for Minecraft Java Edition by taking a look at the description. For those who don’t know, all the Texture Packs are always downloaded as a .zip folder.

Now that you know how to get a Texture Pack, here is what you can do to install it:
- Open your Minecraft Launcher and start the game.
- While in the Main Menu screen, enter Options > Resource Packs.
- From there, click on Open Pack Folder and move the download Texture Pack (.zip folder) there.
- Head back to Minecraft and click on Done. The download Texture Pack will now appear on the left side (Available Section) of your Minecraft Java Edition game.
- Further, select the Texture Pack so it can take effect.
- Run the game normally to see all the enhancements made by the Texture Packs.
Also Read | Best Minecraft Texture Packs For Bedrock Edition
You have now successfully downloaded and installed the Texture Pack in Minecraft Java. While you are here, make sure to check out our other Minecraft Guides on Gamer Tweak.

