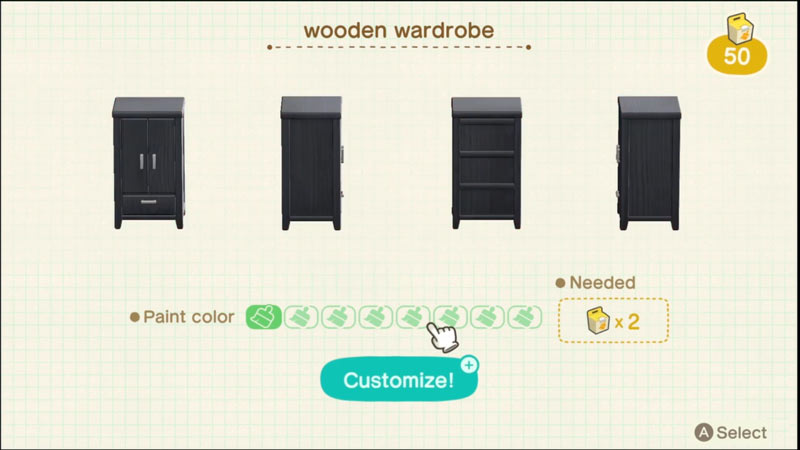
In Animal Crossing New Horizons, you can get Customization Kits to change the look of any DIY project. This fifth installment of the famous Animal Crossing franchise sets you on a near-deserted island. As you progress through the game, you can develop a town-like community there. To build your perfect house in this town, you can customize your furniture and tools to match its aesthetics. This guide will tell you how to unlock customization options and get more kits in ACNH.
How to Unlock Customization & Get More Kits

While progressing through the game, you will get to build a museum and invite three new neighbors to live on your island. Once you do that, Tom Nook will give you a workshop on Customization at the Resident Services. But first, he will give you a recipe for a Wardrobe. Build it and bring it back to him to start the workshop. After completing this workshop, you can start customizing items.
To customize items, interact with any DIY Workbench. Then, select the piece of furniture you want to alter. Choose from the wide options and click on the (+) button to Customize. Note that some furniture will require more than one kit. That means you have to look for a way to get more.
Getting More Customization Kits in Animal Crossing New Horizons
Tom Nook will give you 50 Customization Kits for completing his workshop. To get more customization kits, head over to the Nook’s Cranny Shop and talk to Timmy. He will sell you the kits for 600 Bells each and you can stack 50 of them at once. You can also sell them for 150 Bells, which is a bad deal so we recommend you not to. As you progress further, you will unlock the selection option at the shop and you can get the kits from there.
That’s everything on how to get Customization Kits in Animal Crossing New Horizons. You can check out more helpful guides like How to Dance in our ACNH section.

