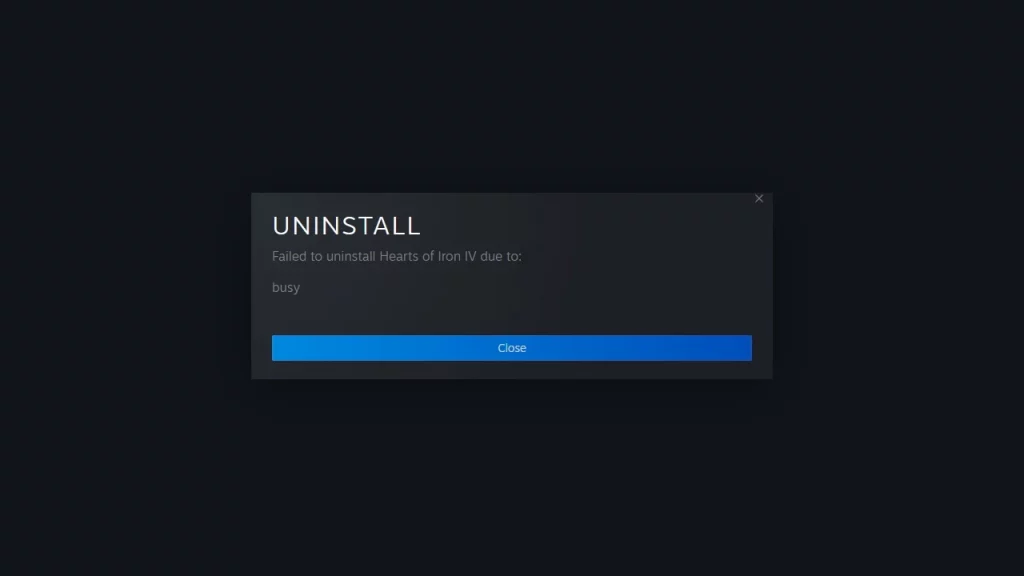
The Failed to Uninstall Due to Busy Steam Error is one of the most common errors that has been surfacing from time to time for the past few years while the developers are yet to address the issue. The error prevents users from uninstalling any game from the Steam Client. This can be really frustrating if you are trying to get rid of some games to clear space on your computer.
Experiencing the same error with your system as well? Follow this guide to find out the solutions to fix this problem.
Fix Failed to Uninstall Due to Busy Steam Error

There are multiple reasons because of which users encounter this Failed to Uninstall Due to Busy Steam error in the first place. Mostly, software conflicts, corrupted data, and background running processes are the causes. That being said, below given are some working troubleshooting methods that you can try one by one to possibly solve the error.
Restart PC
One of the simplest troubleshooting that works most of the time. Restarting your computer helps to fix any software temp-related problems that often cause such errors to be encountered. Go ahead, save your unsaved work, and restart your computer to check if the problem is solved.
Verify Game Files

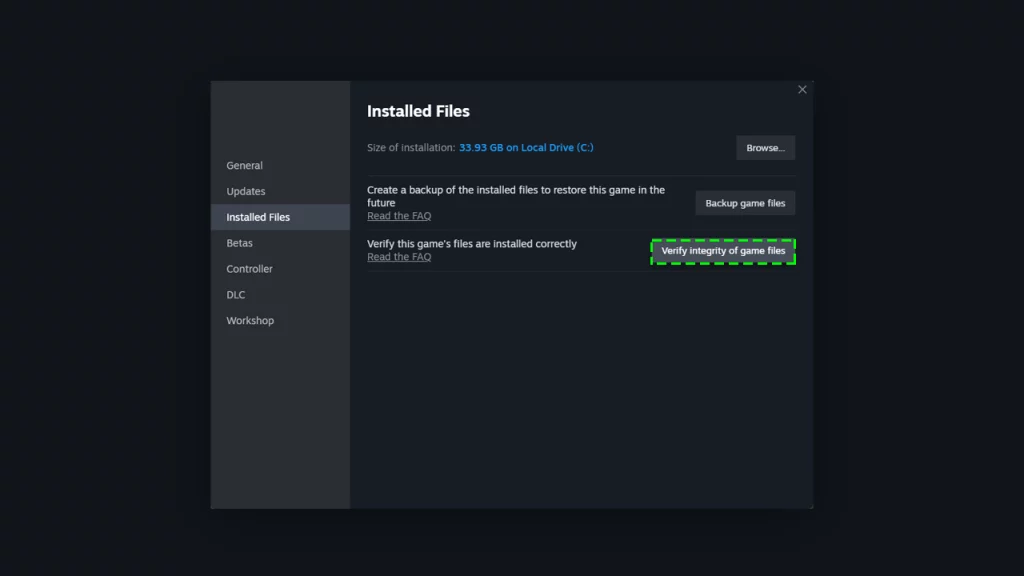
Sometimes corrupted and missing game files can prevent the game from being uninstalled properly, hence this error occurs. To fix this you can use the inbuilt game integrity feature. Follow the below-given instructions to do so.
- First, open the Steam app on your device and head to the Library.
- Here, right-click on the game that you are trying to uninstall and select the Properties option.
- Now inside the Properties, head to the Installed Files tab.
- Here, click on “Verify Integrity of Game Files.”
Once done, you can try to uninstall the game and check if the problem still persists.
Delete Download Cache Data
Some users found deleting the Steam cache data solving this issue. While the magic behind it is yet to be figured out, you can try this method with your computer to possibly resolve the problem.

- Launch Steam on our Computer.
- Click on the Steam option located in the top left corner of the screen.
- Select settings from the menu options.
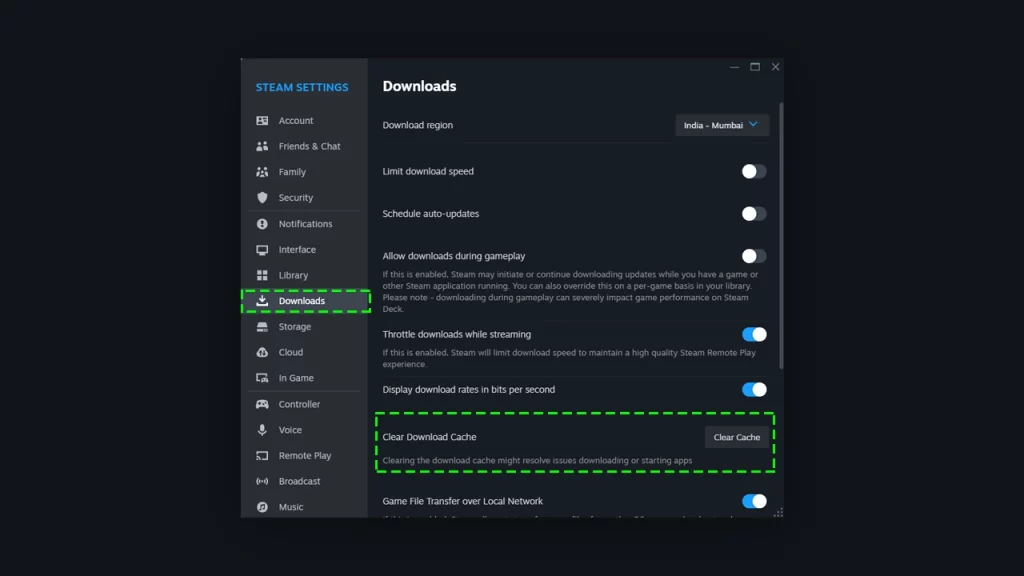
- On the new prompt window, click on the Download Tab from the left-side option list.
- Find the Clear Download Cache Data and click on the clear cache option.
Once done, refresh can check if the problem is solved.
Use Steam Flush Config

This command helps to fix a lot of small glitches and bugs that might be causing this failed to uninstall due to busy steam error to occur. Flushing the Config helps to refresh the core file of the Steam app. This does not affect your data on the app, although make sure you know your login credentials just in case you need them.
For Windows
- First, completely exit from the Steam client.
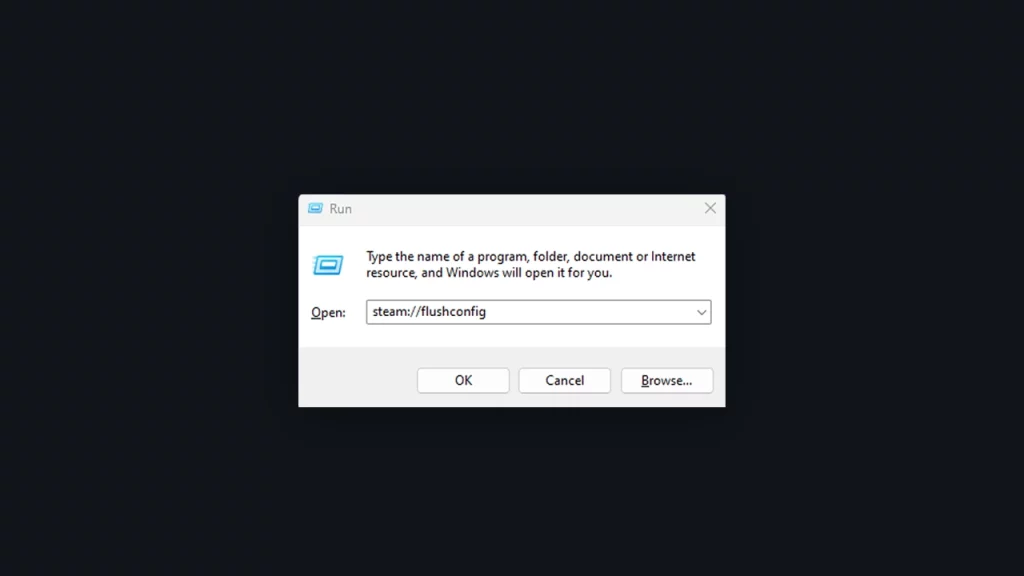
- Now press the Windows key + R button to open the run dialogue (Additionally, you can also search ‘Run’ and open it from the start menu.
- Now, in the input box, type steam://flushconfig and press enter.
- Once done, restart the PC.
- Next, launch Steam from the installation folder (~C:\program files (x86)\Steam) do not use the desktop shortcut to open.
For macOS
- Firstly, completely exit from the Steam client.
- Now, open the Network window by clicking the Command button + K
- Here, type steam://flushconfig and then press the enter button.
- Now restart your device.
- Next, launch the Steam app and check if the problem is fixed.
That’s everything you need to know about how to fix the failed to uninstall due to busy Steam error on your PC. If you find this guide helpful, check out our Steam dedicated category on Gamer Tweak for more such useful guides, tips, and how-to tutorials.

